As the chill of winter sets in and the holiday season approaches, many of us find joy in decorating our homes to reflect the beauty of the season. One delightful way to add a personal touch to your winter decor is through DIY crafts. Among the most charming and accessible crafts are paper bag snowflakes. These simple yet stunning decorations can be hung in windows, draped from ceilings, or used as part of festive centerpieces. In this article, we’ll explore 15 creative paper bag snowflake designs that will inspire your crafting spirit.
Basic Techniques for Cutting Paper Bag Snowflakes
Before we get into the designs, it’s crucial to understand the basic techniques for cutting paper bag snowflakes. Here’s a quick guide to get you started:
- Folding Techniques:
- Accordion Fold: Fold the paper bag back and forth like a fan. This technique works well for creating symmetrical designs.
- Triangular Fold: Fold the bag diagonally to create a triangle, which is perfect for more angular designs.
- Safety Tips:
- Always cut away from your body and keep fingers clear of the cutting path.
- For intricate cuts, use a craft knife on a cutting mat.
With these techniques in mind, you’re ready to start creating your snowflakes!
15 Creative Paper Bag Snowflake Designs
1. Classic Star Snowflake
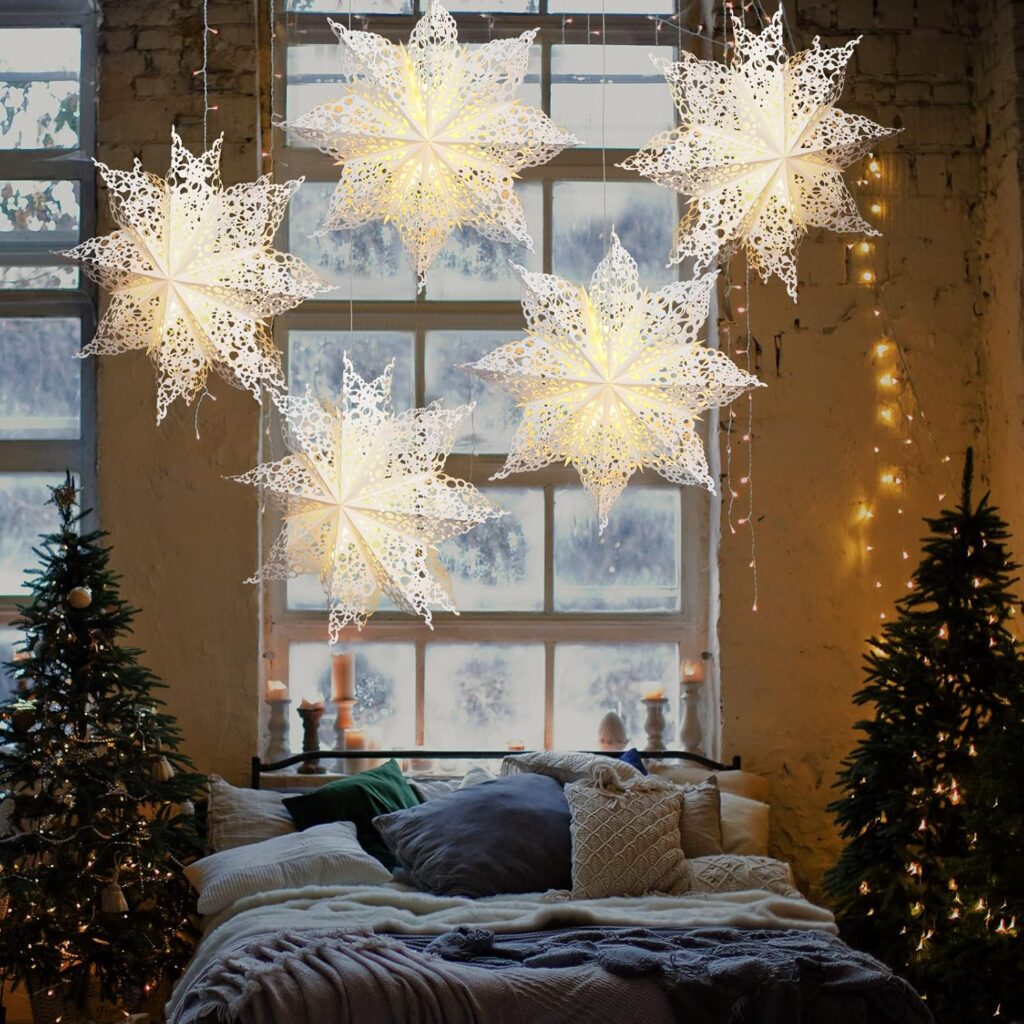
The classic star snowflake is a timeless design that captures the essence of winter. To create this snowflake, fold your paper bag into an accordion and cut out star shapes along the edges. Once unfolded, you’ll reveal a beautiful star design.
2. Geometric Snowflake

For those who love clean lines and modern aesthetics, the geometric snowflake is perfect. Use a triangular fold and make sharp, angular cuts. When opened, this snowflake will feature a stunning array of shapes that are sure to impress.
3. Lacy Snowflake
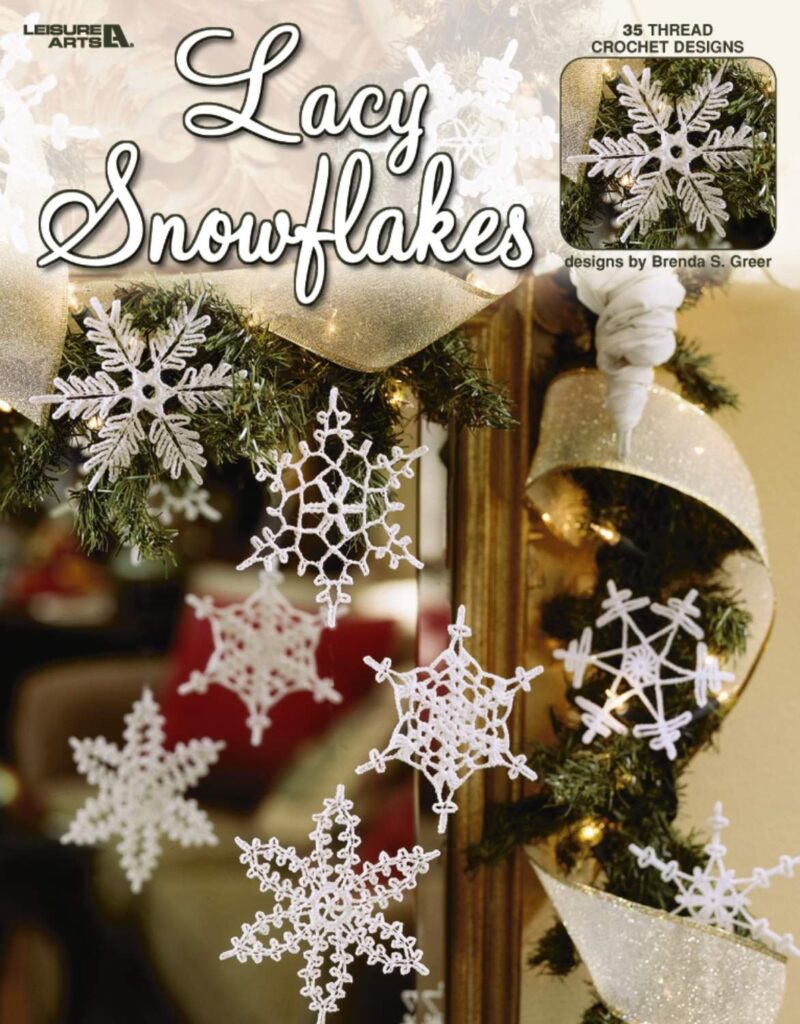
To achieve a delicate, lace-like effect, fold your paper bag multiple times and cut intricate patterns. The more intricate the cuts, the more beautiful the lacy effect will be. This snowflake looks particularly lovely when sprinkled with a bit of glitter.
4. 3D Layered Snowflake
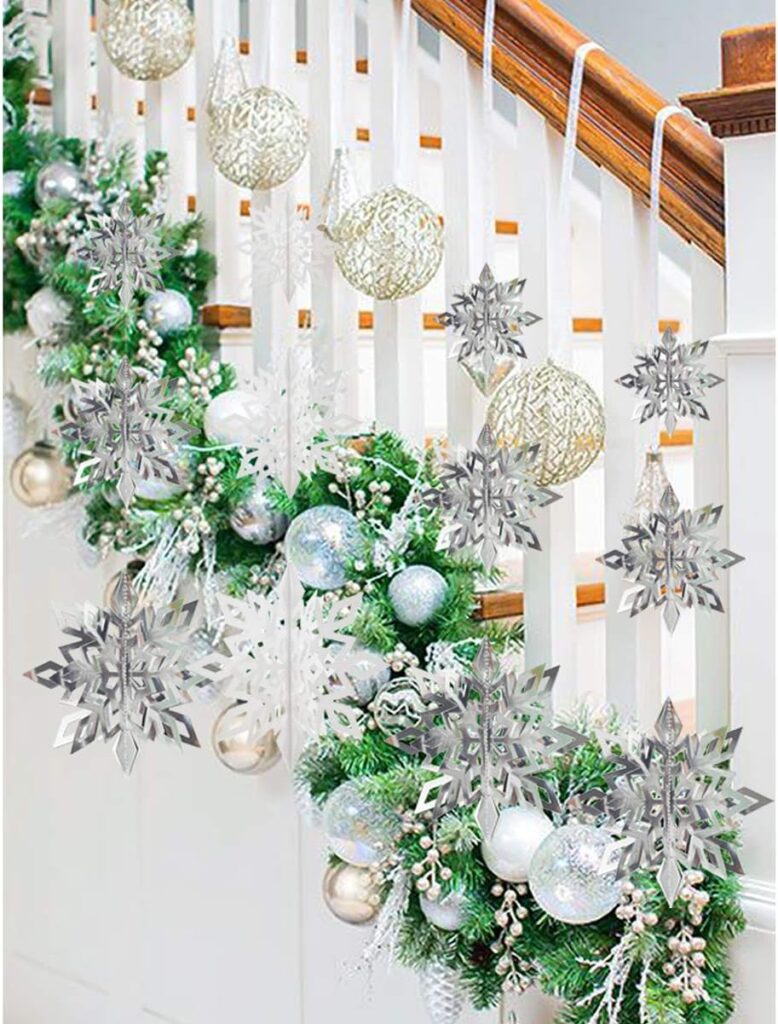
Create depth by layering multiple snowflakes together. Cut several identical snowflakes and glue them together at the center, staggering the layers slightly. This 3D effect adds a dynamic touch to your decor.
5. Stenciled Snowflake

For a personalized touch, use stencils to cut out patterns in your snowflake. You can buy stencils or create your own. This technique allows for intricate designs that can match your home’s color scheme.
6. Heart Snowflake
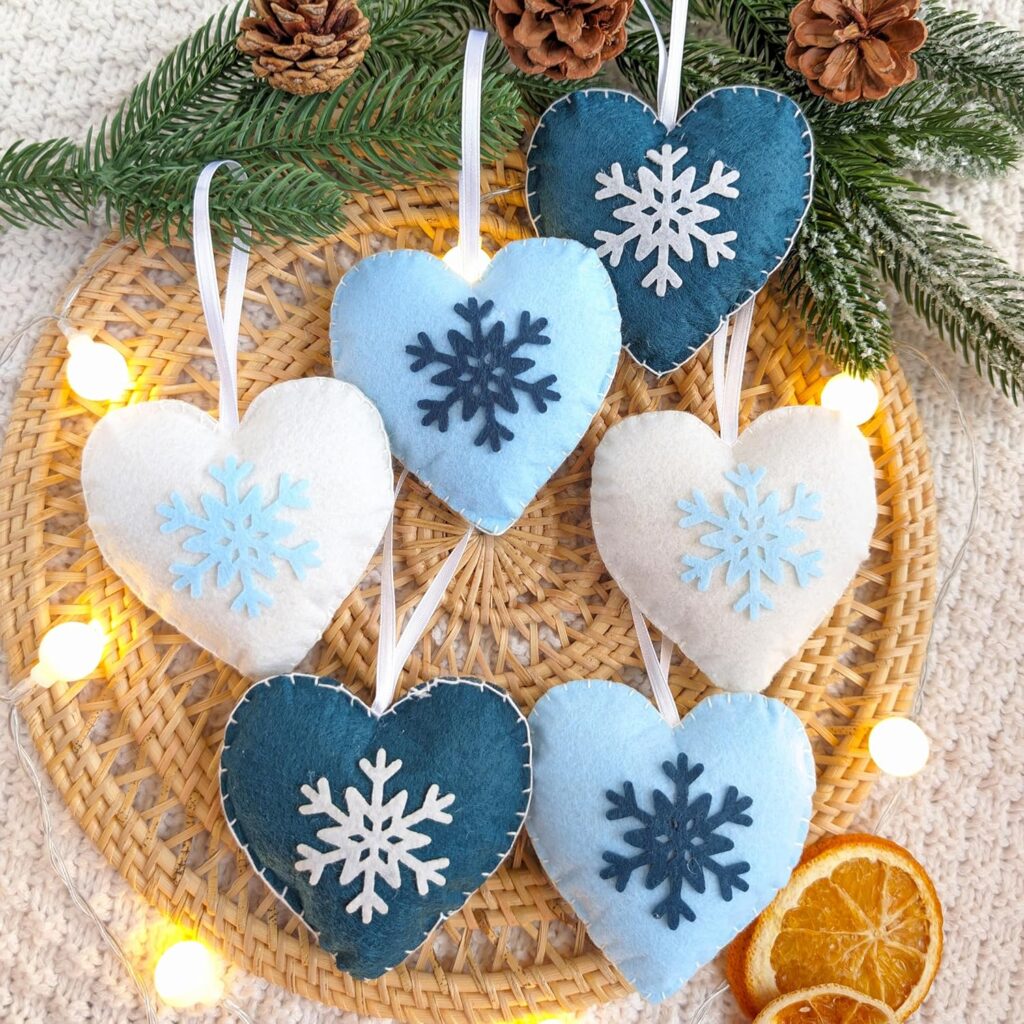
Combine love and winter by incorporating heart shapes into your snowflake. Use a combination of standard cuts and heart shapes to craft a unique design that’s perfect for Valentine’s Day or any winter celebration.
7. Nature-Inspired Snowflake
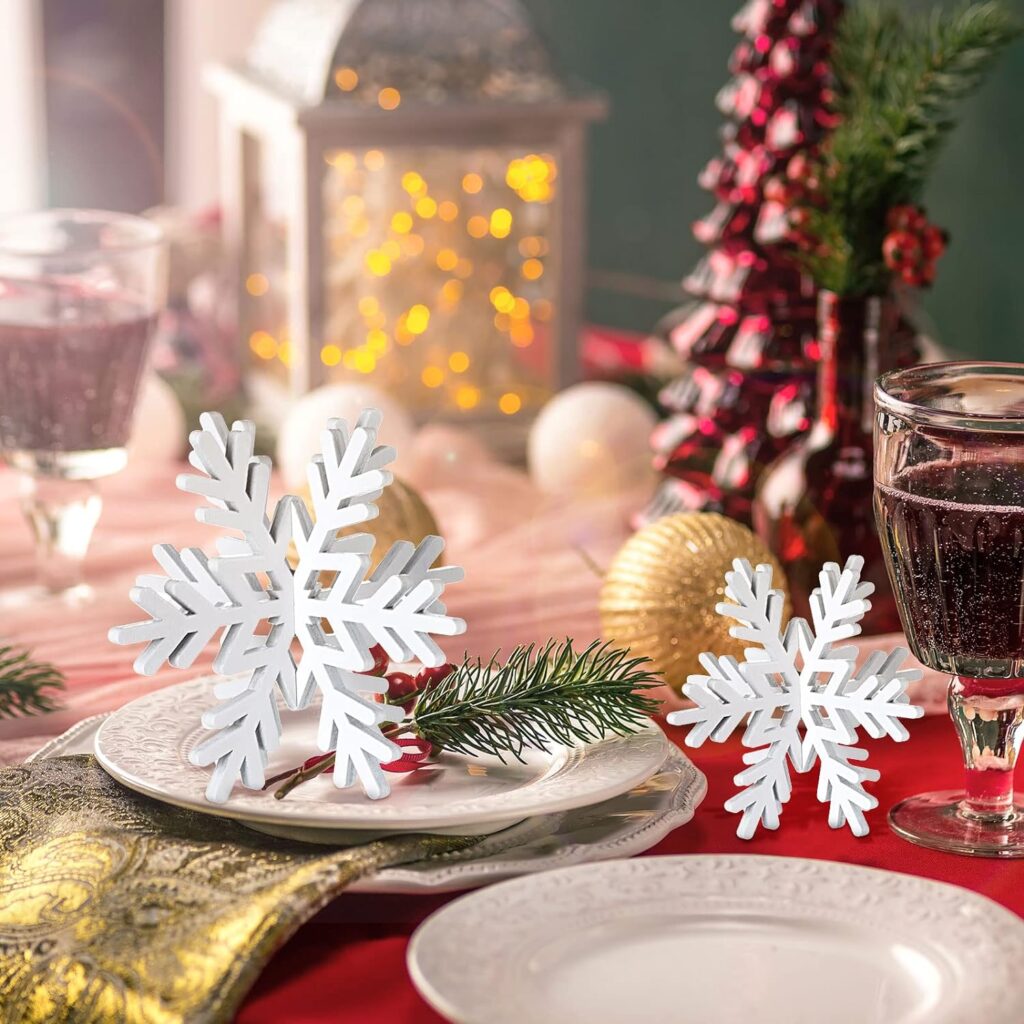
Draw inspiration from the outdoors by creating snowflakes that feature leaves or floral motifs. Cut out shapes resembling petals or leaves, and you’ll have a snowflake that celebrates nature, perfect for transitional decor.
8. Monogrammed Snowflake
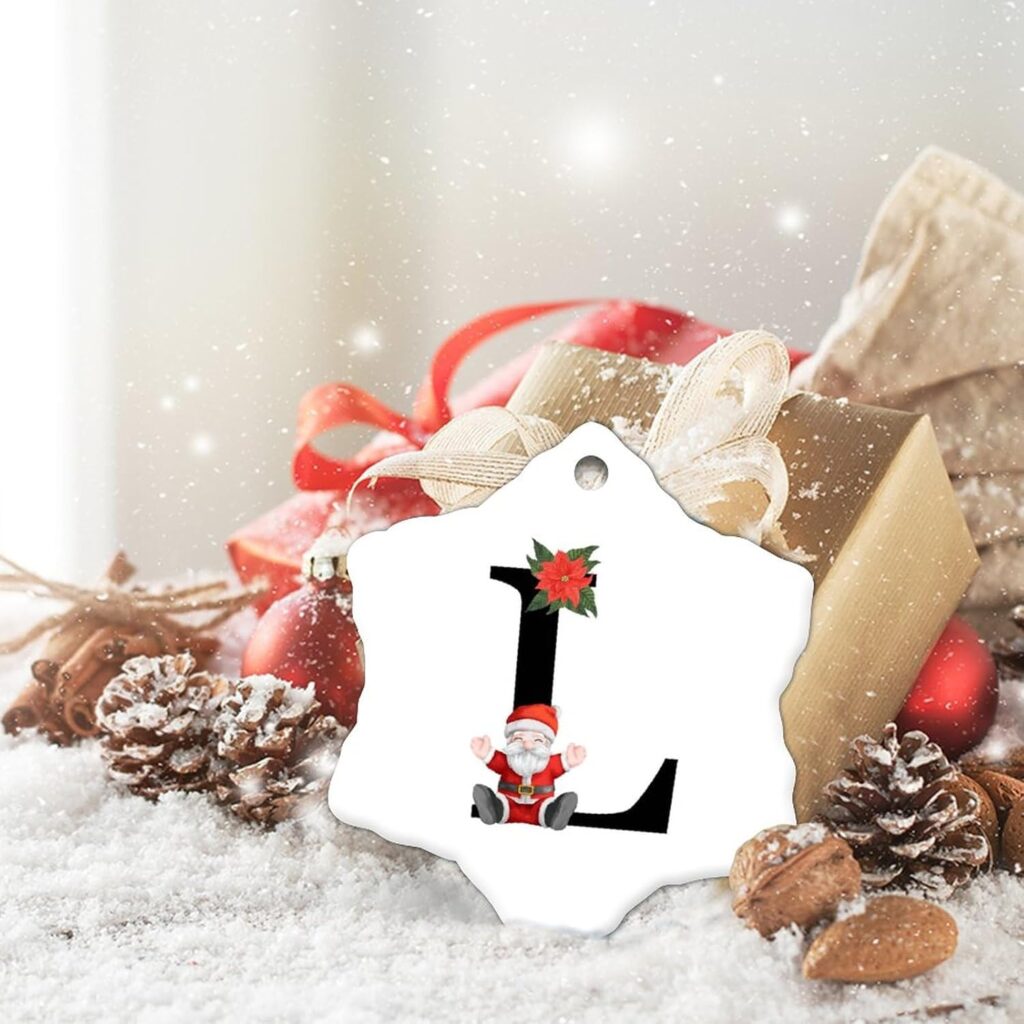
Personalize your decor by adding initials or names to your snowflakes. Simply cut out the initials from the center of the snowflake for a chic and personalized decoration that can also serve as a great gift.
9. Giant Snowflake
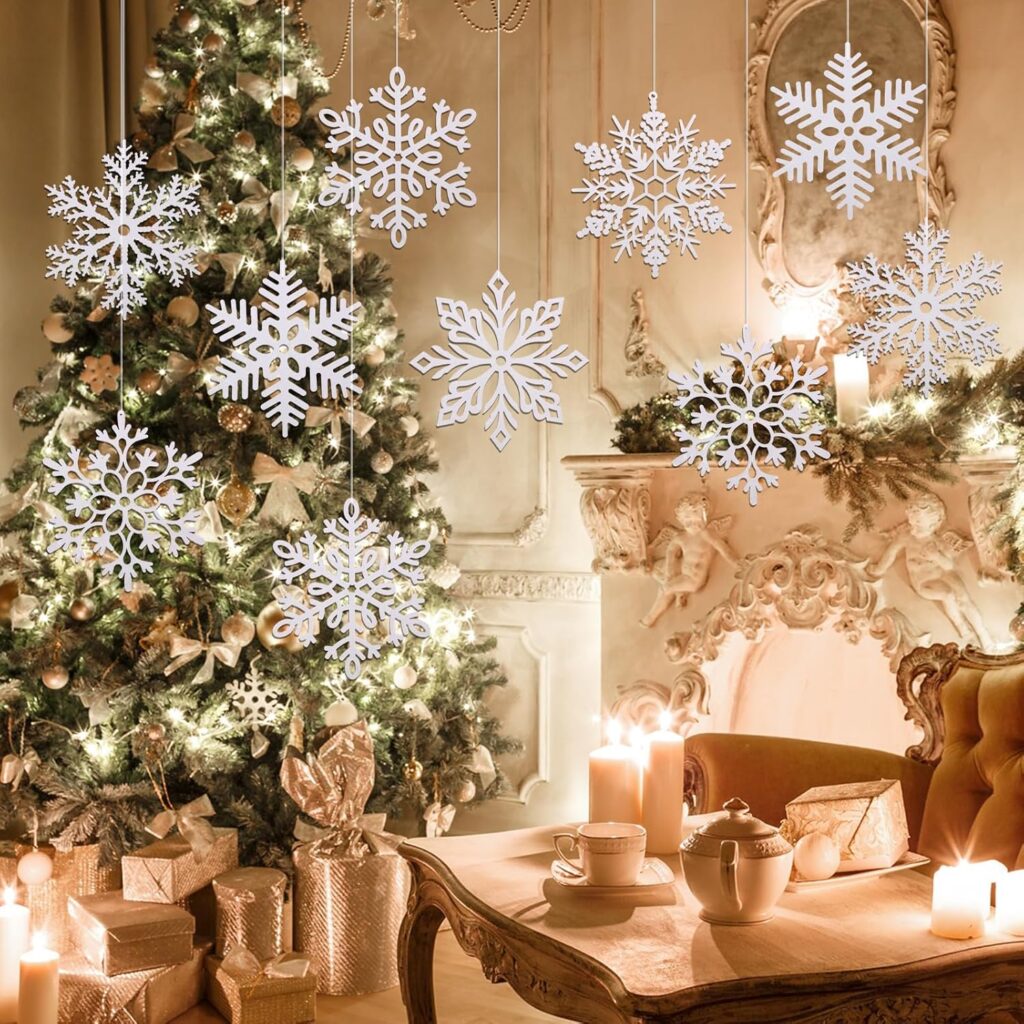
For a statement piece, create oversized snowflakes that can be hung from the ceiling or displayed on walls. Use large paper bags and follow the basic folding and cutting techniques, but on a larger scale.
10. Mini Snowflakes
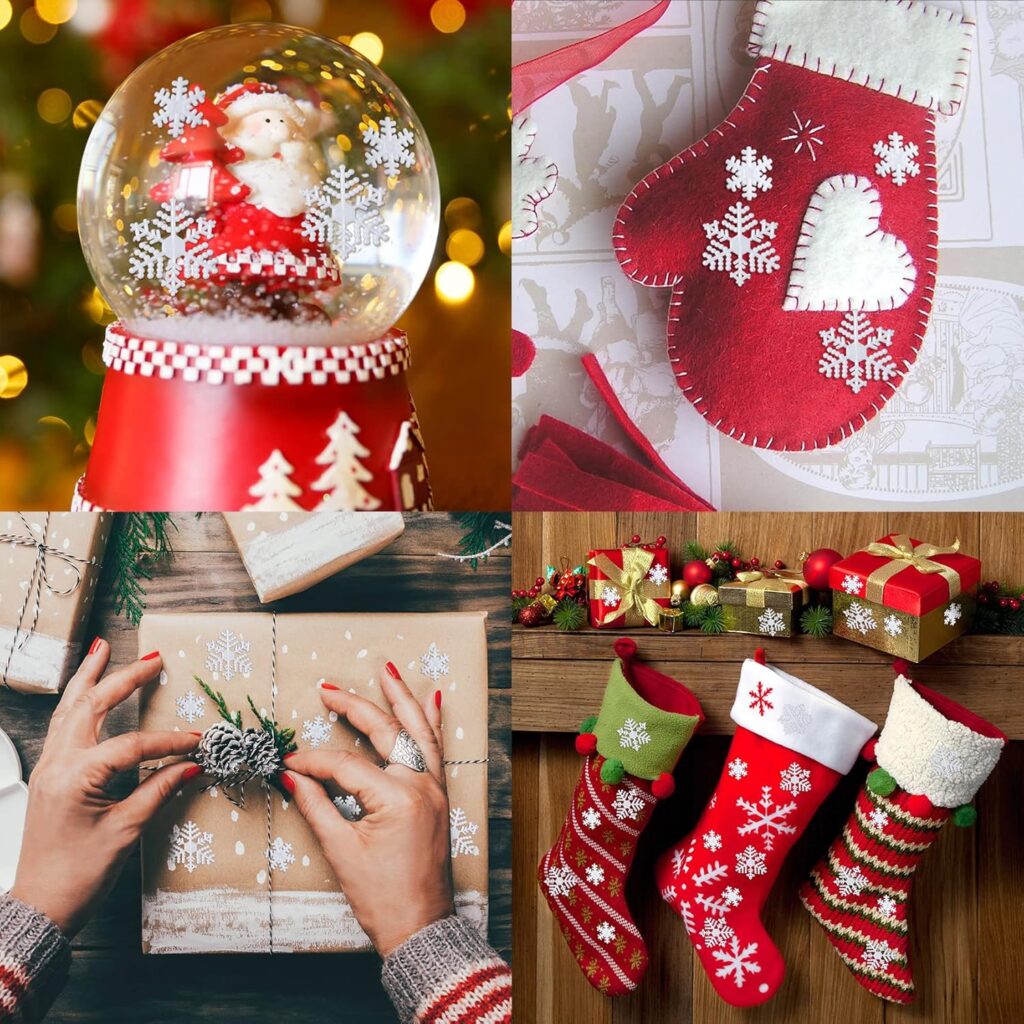
Not all snowflakes have to be large! Create mini versions for table decor, greeting cards, or gift tags. These small snowflakes can add a whimsical touch to any setting and are great for using up leftover materials.
11. Colorful Snowflake

Don’t be afraid to add color to your snowflakes! Use markers or paint to color the snowflakes before cutting them. Bright hues can create a fun and cheerful atmosphere, making your decor pop.
12. Glitter Snowflake
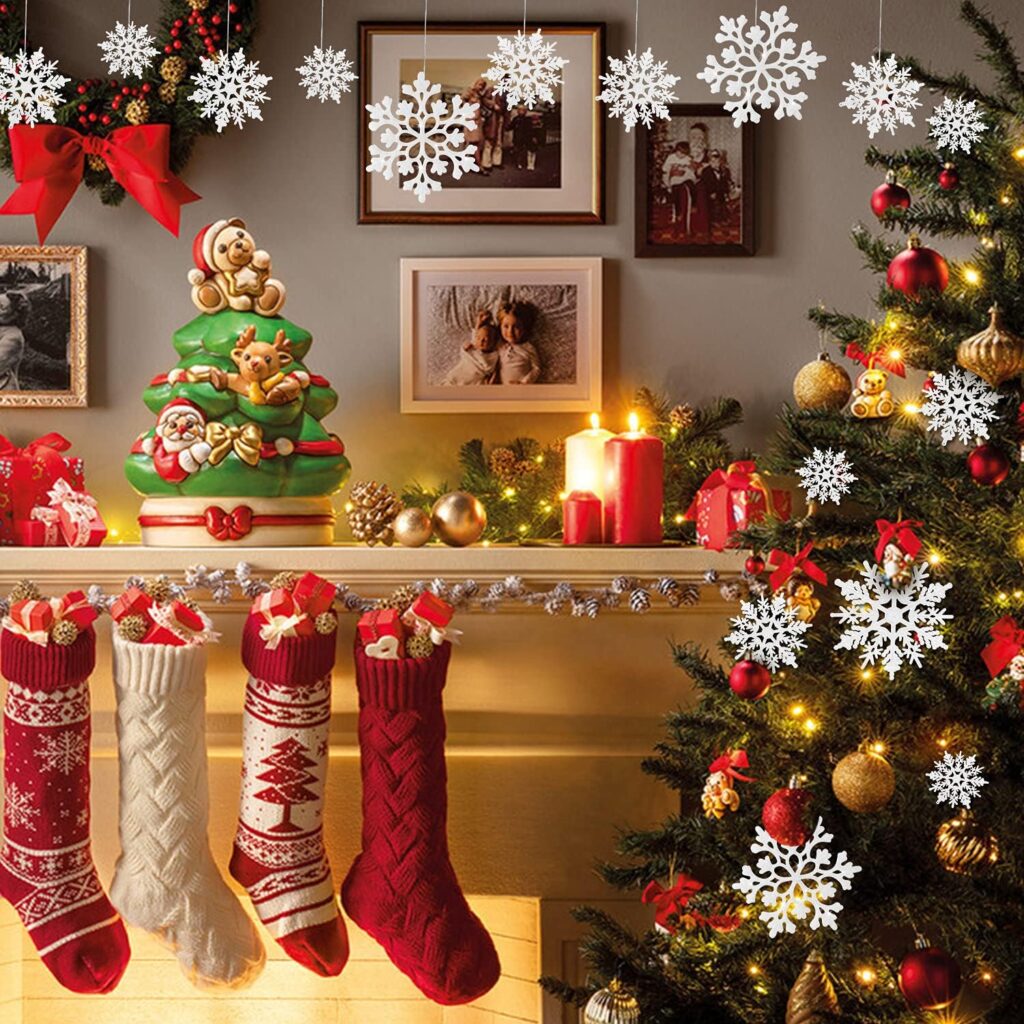
Add a touch of sparkle by applying glitter to your snowflakes. After cutting your design, use glue to apply glitter to certain areas, or cover the entire surface for a shimmering effect.
13. Festive Themed Snowflake
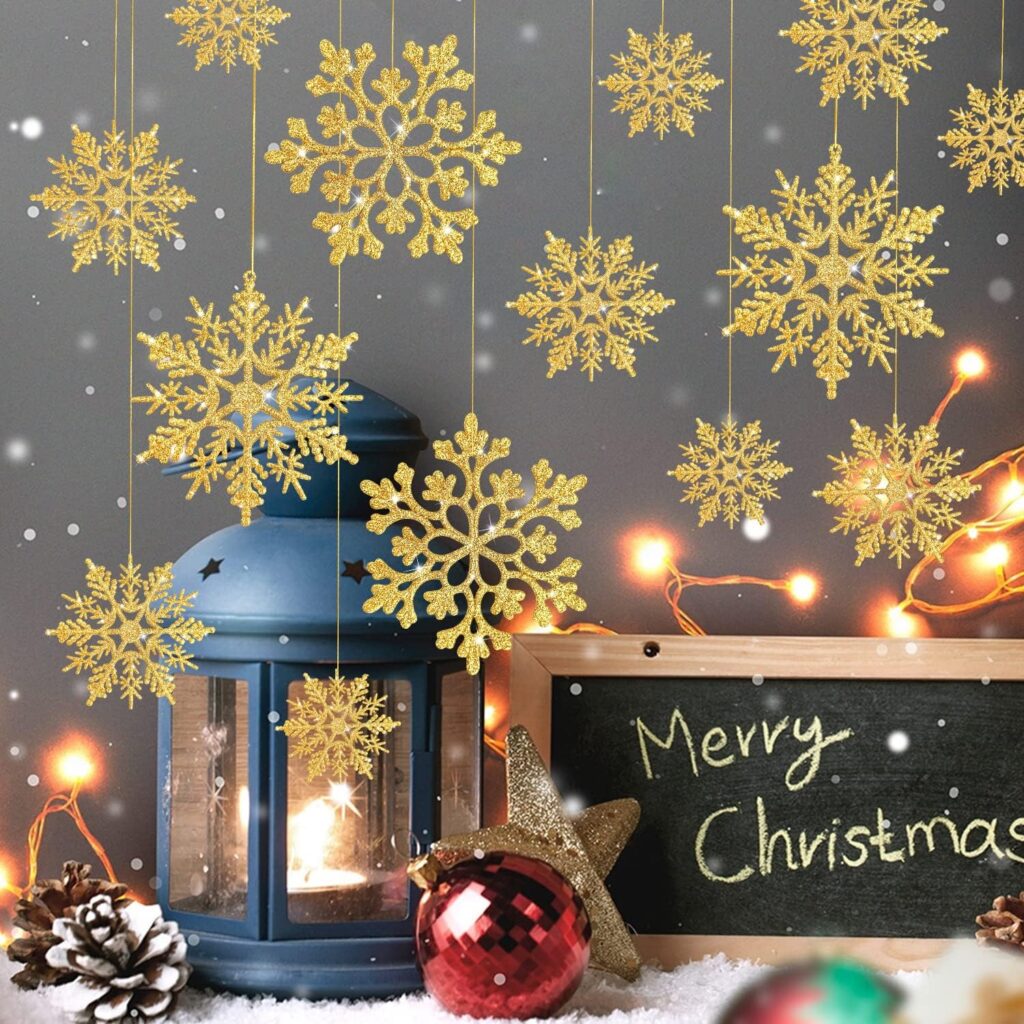
Incorporate holiday symbols into your snowflakes, like stars, bells, or candy canes. These festive motifs can make your decorations uniquely tied to your celebrations, enhancing the holiday spirit.
14. Interactive Snowflake
Create snowflakes that can hold small messages or photos. Cut a pocket in the center of the snowflake to insert a note or picture. This interactive element can make for a fun decoration or heartfelt gift.
15. Collage Snowflake
Use mixed media by combining various materials like fabric scraps or patterned paper with your brown paper bags. Adhere these materials to create a unique, textured snowflake that stands out.
Displaying Your Paper Bag Snowflakes
Once your snowflakes are crafted, the fun doesn’t end there! Consider various ways to display them:
- Windows: Hang them in your windows to catch the light and create beautiful shadows.
- Ceilings: Use string to hang snowflakes from the ceiling, creating a magical winter wonderland effect.
- Walls: Create a snowflake gallery by arranging them on a wall, which can serve as a backdrop for holiday photos.
Eco-Friendly Aspects
One of the beautiful aspects of using paper bags for crafts is their eco-friendliness. By repurposing materials that might otherwise be discarded, you contribute to a more sustainable lifestyle. Plus, crafting with recycled materials allows you to explore creativity without the environmental impact of new materials. Be sure to recycle any leftover scraps responsibly, and consider using biodegradable glues and paints when possible.
Conclusion
Creating paper bag snowflakes is not just a fun crafting activity; it’s a way to express creativity and bring a touch of winter magic into your home. These 15 designs offer a variety of styles, ensuring there’s something for everyone, regardless of crafting skill level. We hope you feel inspired to try these projects and share your creations with friends and family

