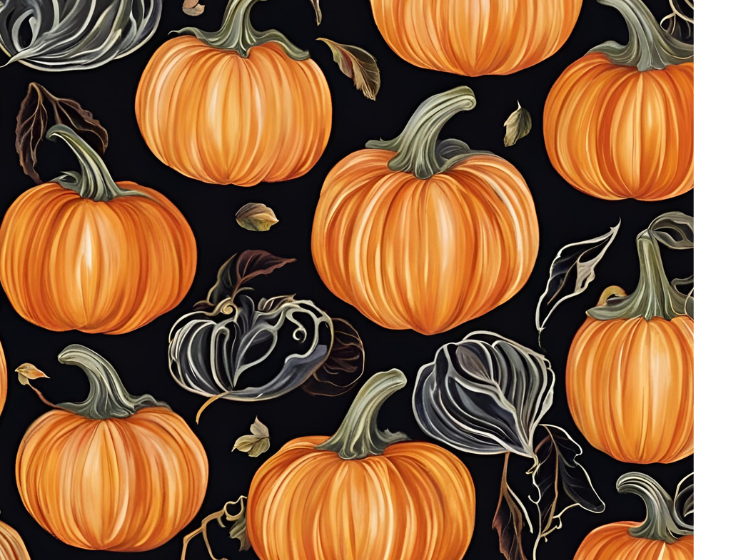
Mini Pumpkin Painting; As autumn descends, the air turns crisp and the leaves transform into vibrant hues of red, orange, and yellow. Among the quintessential symbols of this beautiful season are mini pumpkins, which not only add charm to your decor but also serve as a fantastic canvas for creative expression. Painting mini pumpkins has become a beloved fall activity, offering endless possibilities for both kids and adults. In this article, we’ll explore 17 delightful mini pumpkin painting inspirations, along with tips and techniques to help you get started on your pumpkin artistry journey.
Preparing for Your Pumpkin Painting Project
Choosing the Right Mini Pumpkins
Before you dive into painting, it’s essential to choose the right mini pumpkins. There are various types available, including the classic orange pumpkin, white varieties like the “Baby Boo,” and even striped or mottled ones. When selecting your pumpkins, look for those that are firm, with a smooth surface free from blemishes. Farmer’s markets, pumpkin patches, and craft stores are excellent places to find a diverse selection.
Gathering Supplies
To bring your creative visions to life, gather the necessary materials. Here’s a list of essential supplies:
- Paints: Acrylic paints are ideal for their vibrant colors and durability. You can also use spray paint for a quick, even coat.
- Brushes: A variety of brush sizes (flat, round, and fine-tip) will help you achieve different effects.
- Sealants: A clear acrylic sealer can protect your finished designs from the elements.
- Other Tools: Sponges, stencils, and painter’s tape can enhance your painting experience.
Preparation Tips
Before you start painting, prepare your mini pumpkins. Begin by gently washing them with soap and water to remove any dirt. Dry them thoroughly with a towel. If you’re using lighter colors, consider applying a coat of primer to help the paint adhere better and achieve a more vibrant finish.
Painting Techniques
Basic Techniques for Beginners
If you’re new to pumpkin painting, start with simple techniques. Dot painting is a fun and easy way to create patterns and designs. Use the end of a paintbrush or a cotton swab to apply dots of various colors. Sponging is another beginner-friendly technique that can add texture. Simply use a sponge to dab paint onto the pumpkin’s surface for a soft, blended look.
Advanced Techniques
For those looking to elevate their pumpkin art, try advanced techniques like stenciling. You can create intricate designs by placing a stencil over the pumpkin and applying paint with a sponge or brush. Additionally, the watercolor effect can be achieved by diluting acrylic paint with water, allowing for a dreamy, ethereal finish.
17 Mini Pumpkin Painting Inspirations
1. Classic Jack-o’-Lantern Faces
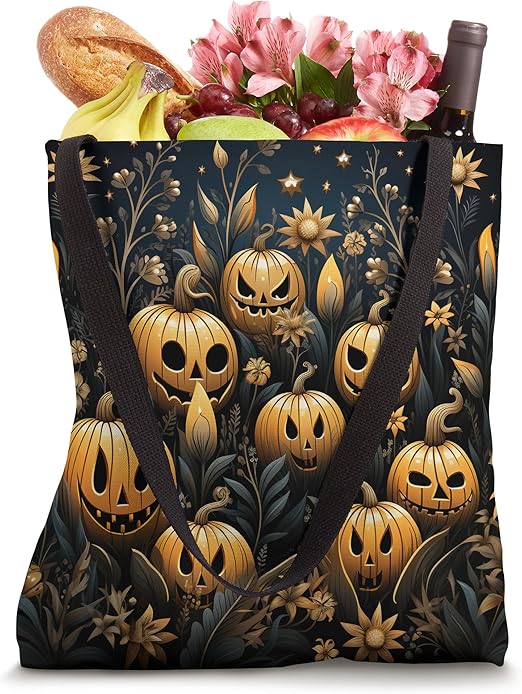
No pumpkin painting project would be complete without the traditional Jack-o’-Lantern face. Use black paint to create various expressions—spooky, silly, or smiling. Feel free to mix and match facial features for a fun twist on this classic design.
2. Floral Designs
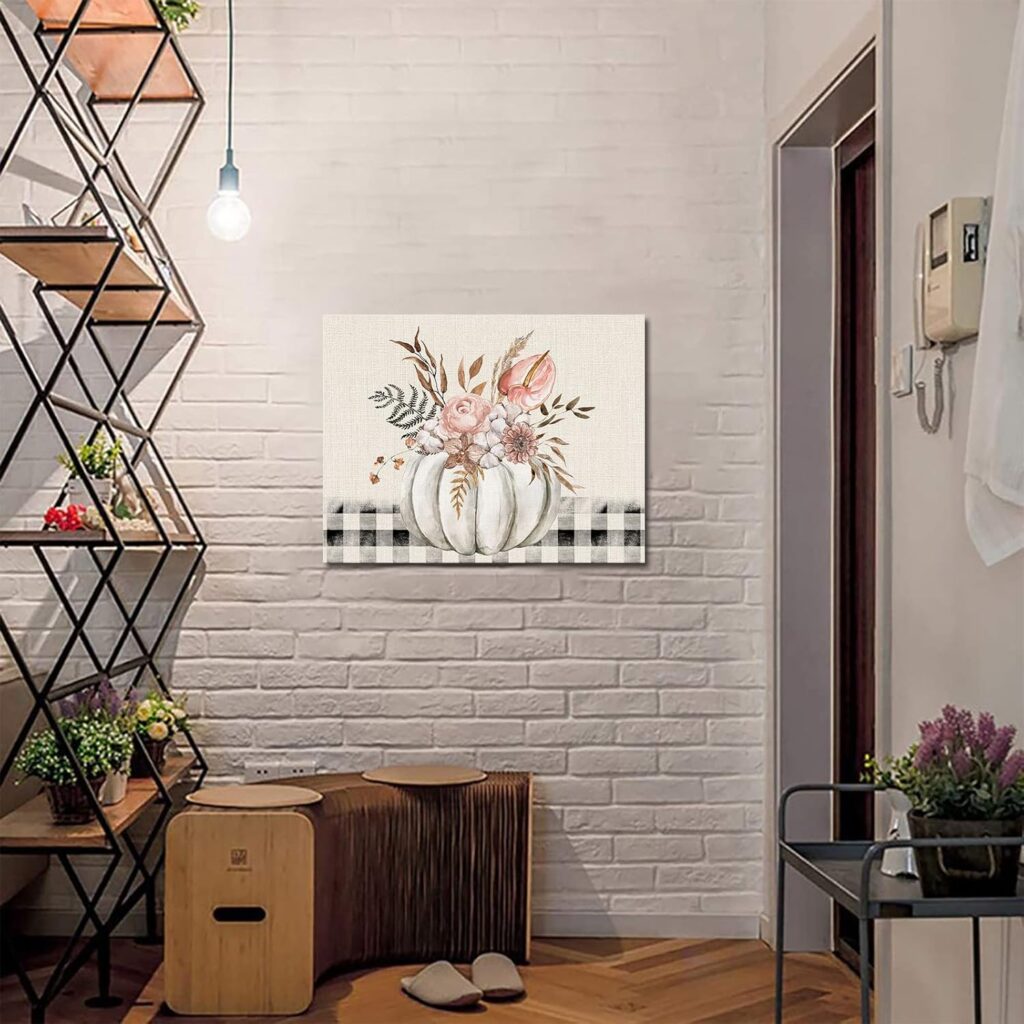
Bring a touch of nature indoors by painting flowers on your mini pumpkins. Sunflowers, daisies, and even roses can add a cheerful vibe. Start with a light base color and layer on different shades for depth. Use fine brushes for detailing the petals and centers.
3. Geometric Patterns
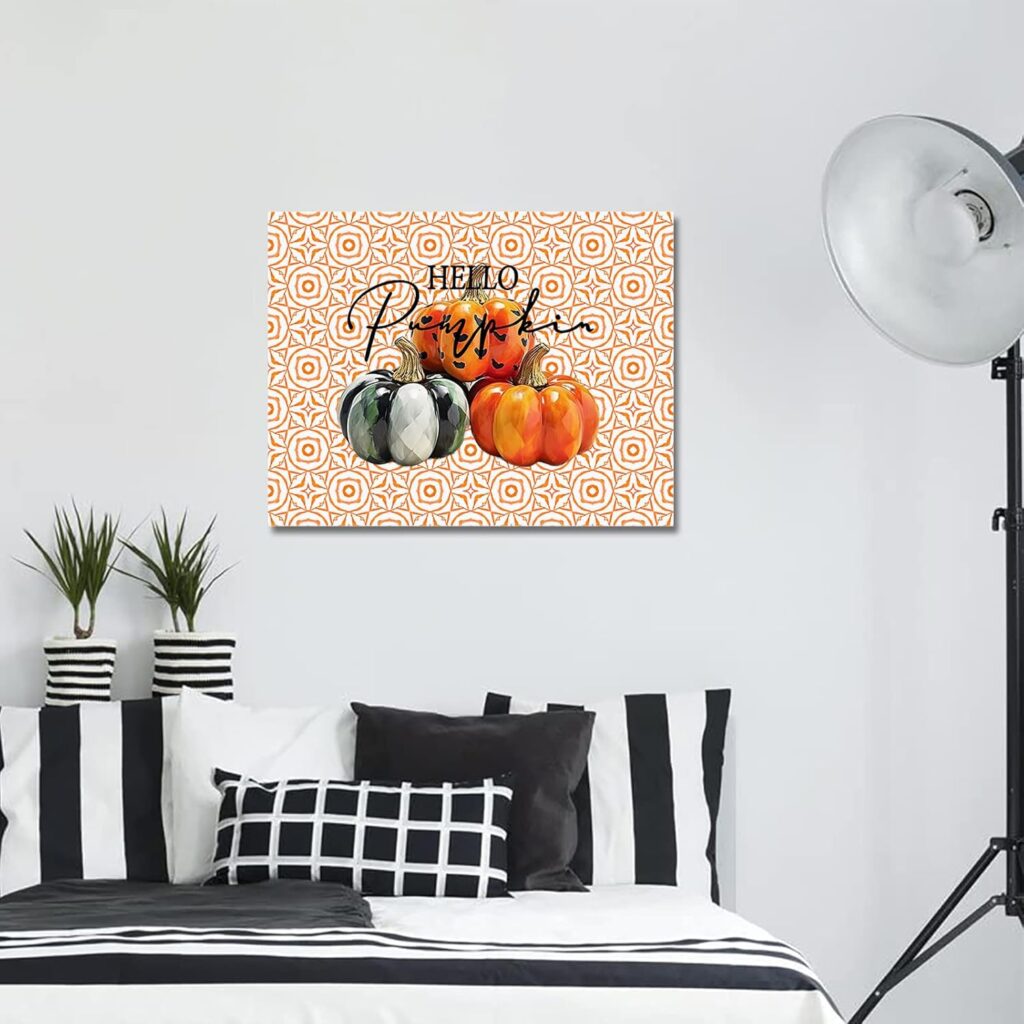
Modern and chic, geometric patterns are a stylish option for mini pumpkins. Use painter’s tape to section off areas and paint them in contrasting colors. This technique creates sharp lines and a contemporary aesthetic that works well with any decor.
4. Monochromatic Looks
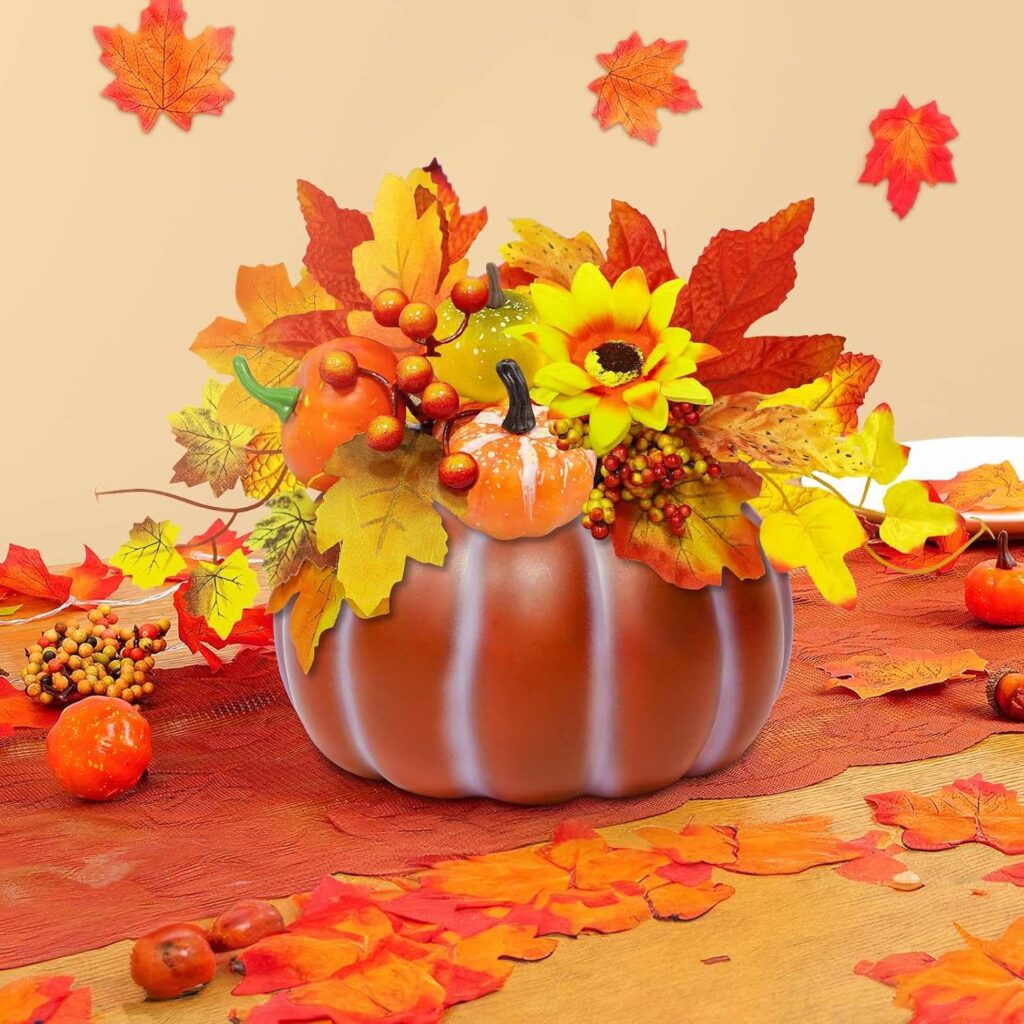
For a sophisticated touch, try painting your pumpkins in a monochromatic scheme. Choose a single color and use various shades to create depth and interest. This approach allows for a clean and cohesive look, perfect for minimalist decor.
5. Nature-Inspired Themes
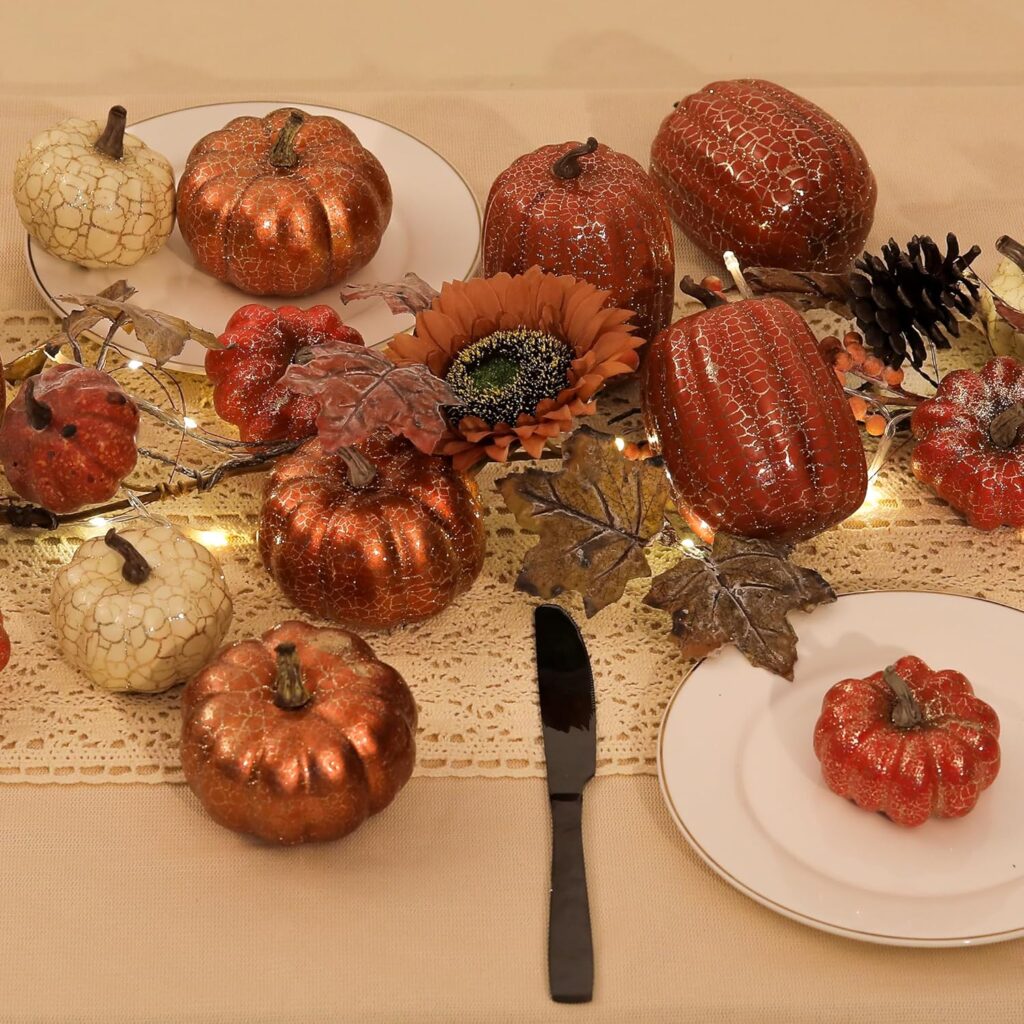
Capture the essence of fall by painting leaves, vines, and woodland creatures. Think acorns, foxes, and owls! Use earthy tones and add details like textures and patterns to make your designs pop.
6. Galaxy or Night Sky
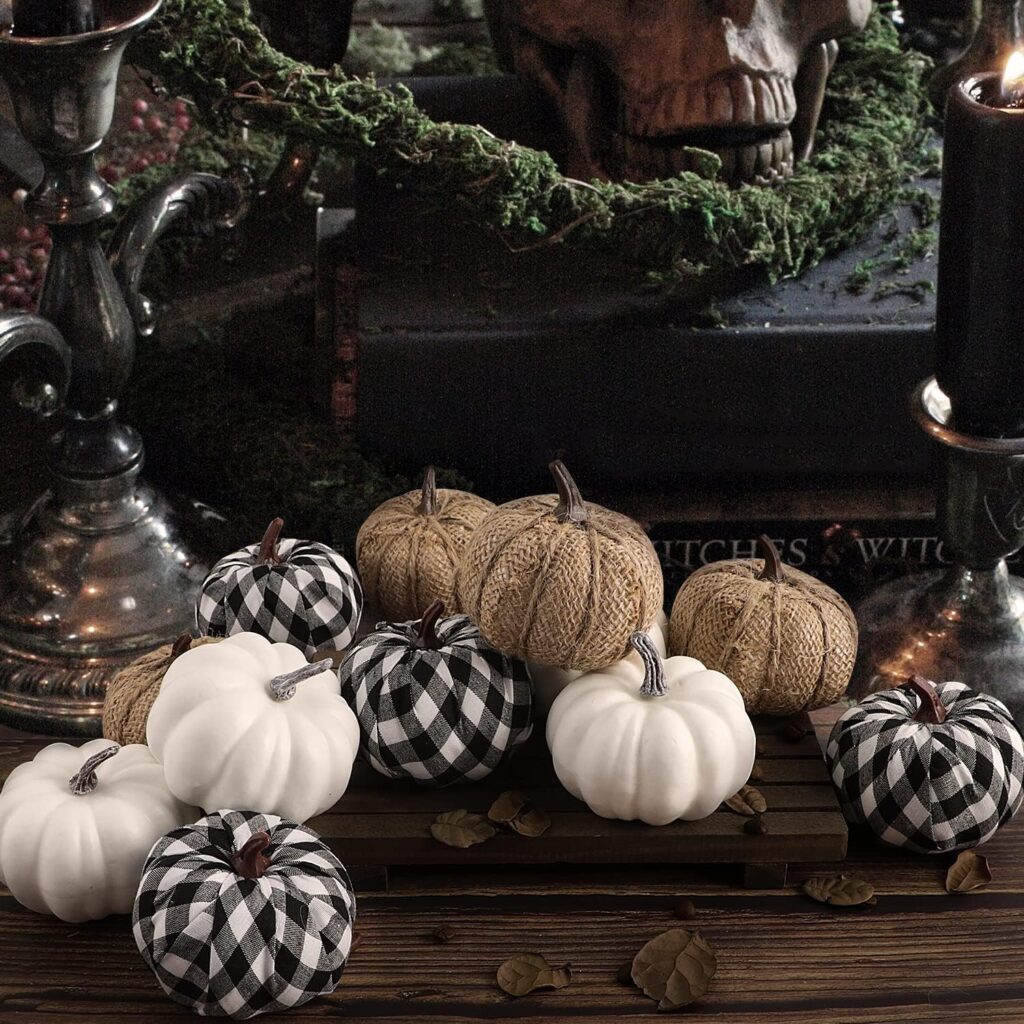
Transform your pumpkin into a beautiful piece of art by painting a galaxy or night sky. Start with a dark blue or black base and layer on lighter shades to create stars and nebulas. Add a sprinkle of glitter for a magical effect!
7. Animal Faces
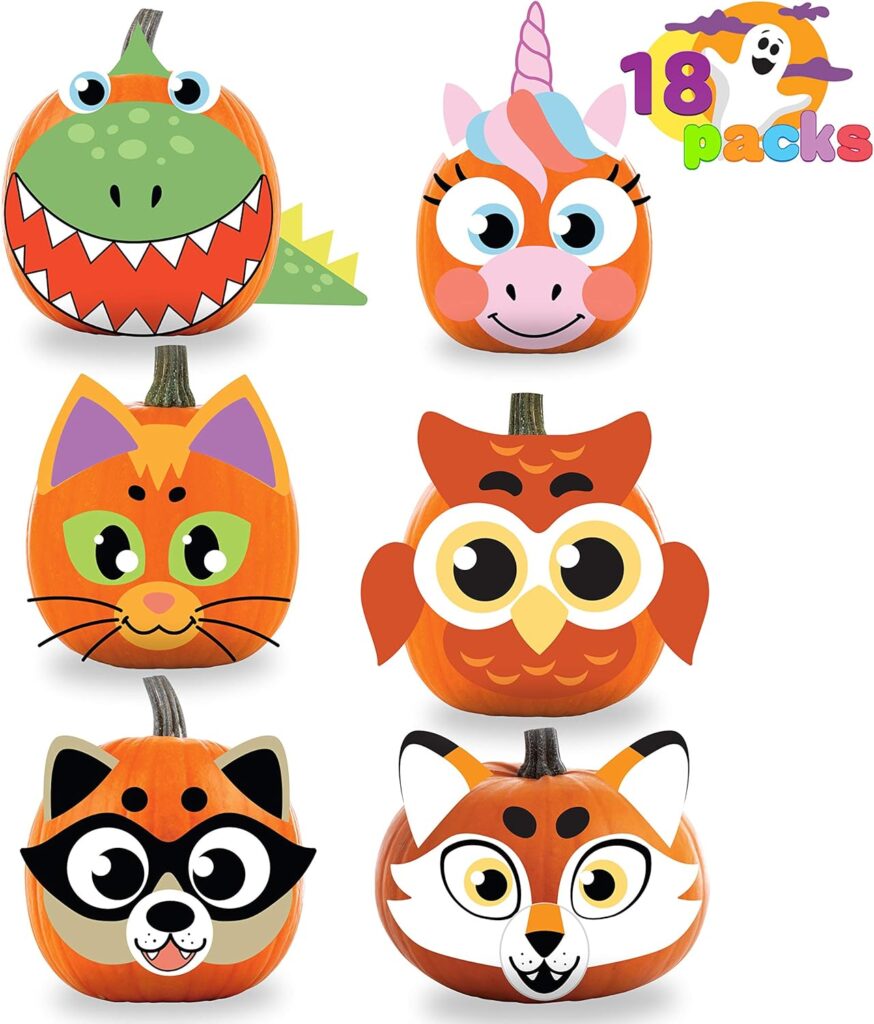
Cute animal faces can add charm to your mini pumpkins. Consider painting owls, foxes, or even your pets! Use simple shapes to create eyes, noses, and mouths, and don’t hesitate to experiment with colors.
8. Quotes and Sayings
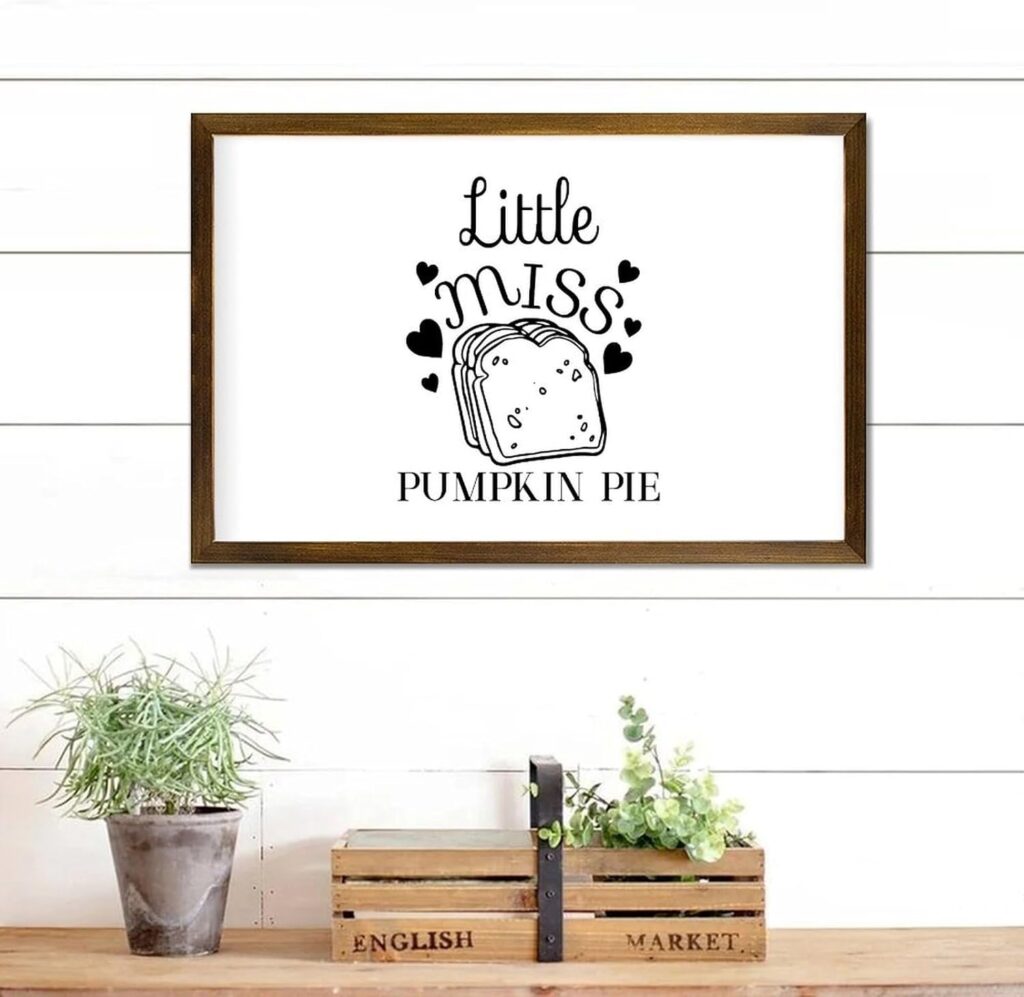
Personalize your pumpkins with inspirational quotes or fun fall phrases. Use a fine brush to carefully paint your message, or use stencils for a more uniform look. This idea makes your pumpkins a delightful conversation starter.
9. Textured Paint Techniques
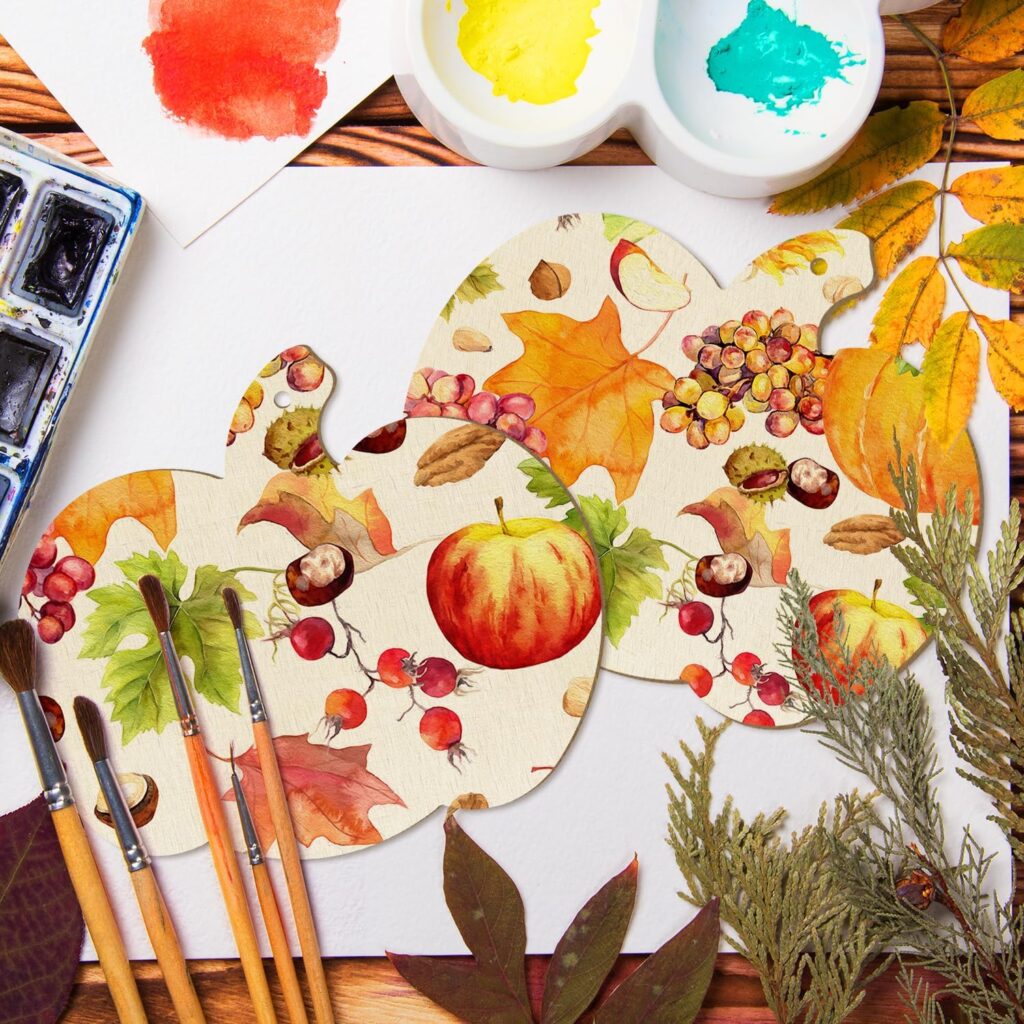
Create stunning textures by using items like lace, fabric, or even bubble wrap. Simply press these materials onto wet paint for unique patterns. This technique can add a tactile element to your pumpkin designs.
10. Metallic and Glitter Accents
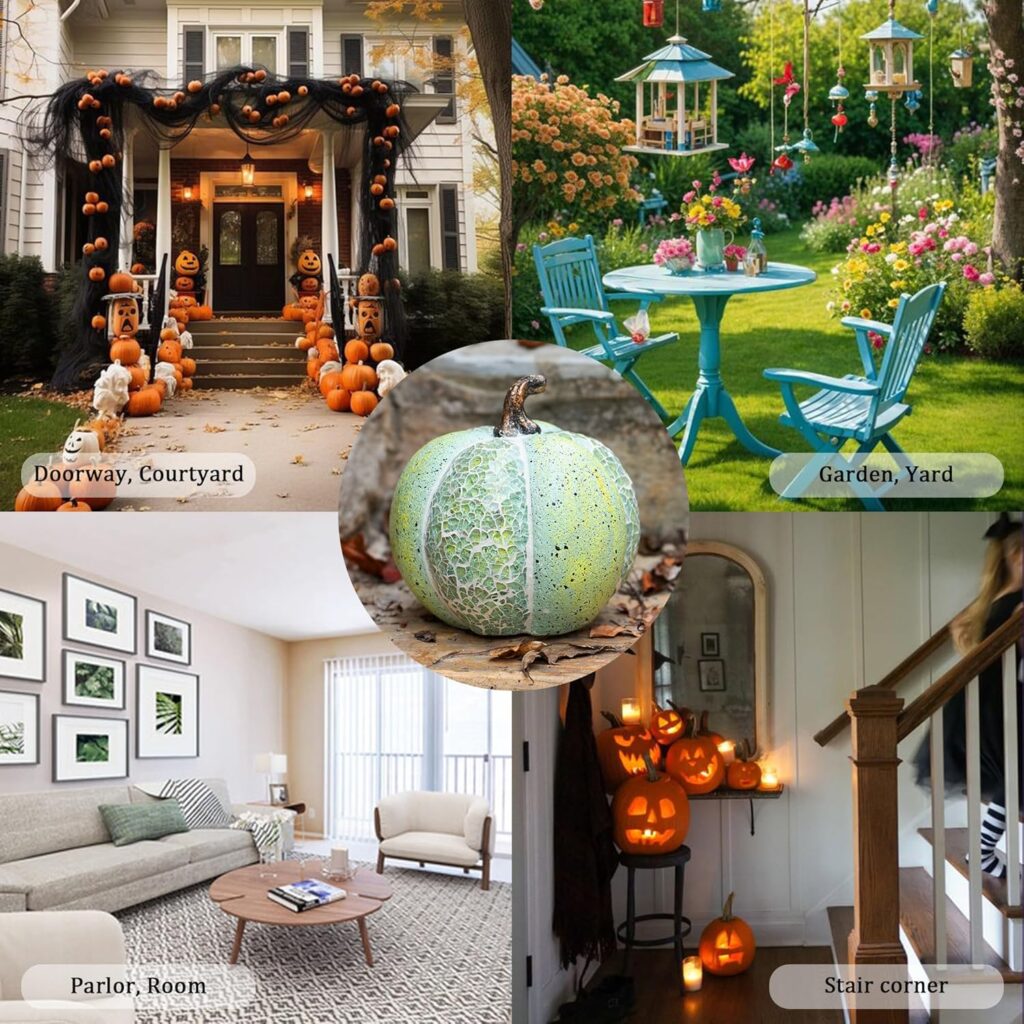
Add a touch of glam by incorporating metallic paints or glitter. Gold, silver, and copper can elevate your pumpkin art. Paint certain sections in metallic hues and sprinkle glitter while the paint is still wet for a sparkling finish.
11. Ombre Effects
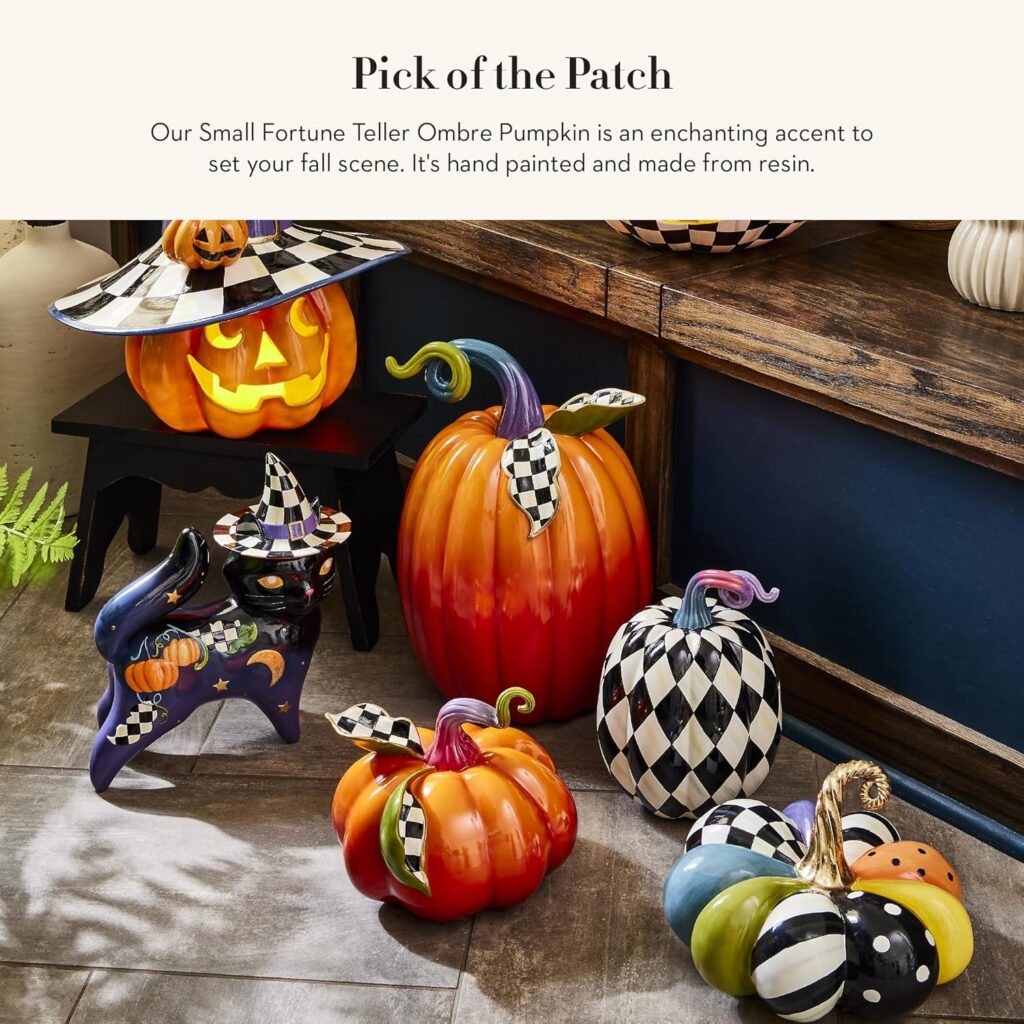
Ombre effects are a beautiful way to blend colors seamlessly. Choose two or three colors and start with the lightest at the top, gradually transitioning to the darkest. This gradient effect adds a modern twist to your pumpkin designs.
12. Seasonal Themes Beyond Halloween
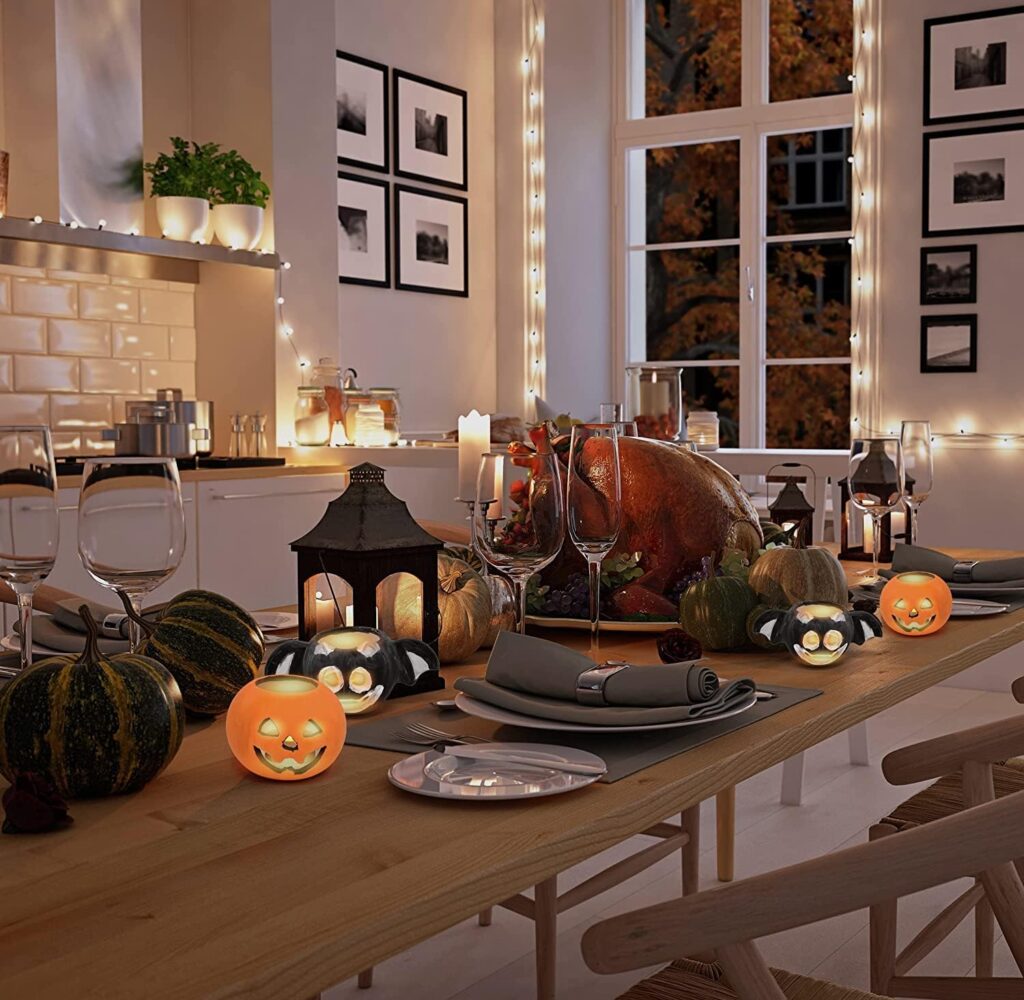
Don’t limit your creativity to Halloween! Consider painting pumpkins with Thanksgiving themes, such as turkeys or autumn leaves, to extend their display time through the fall season.
13. Whimsical Characters
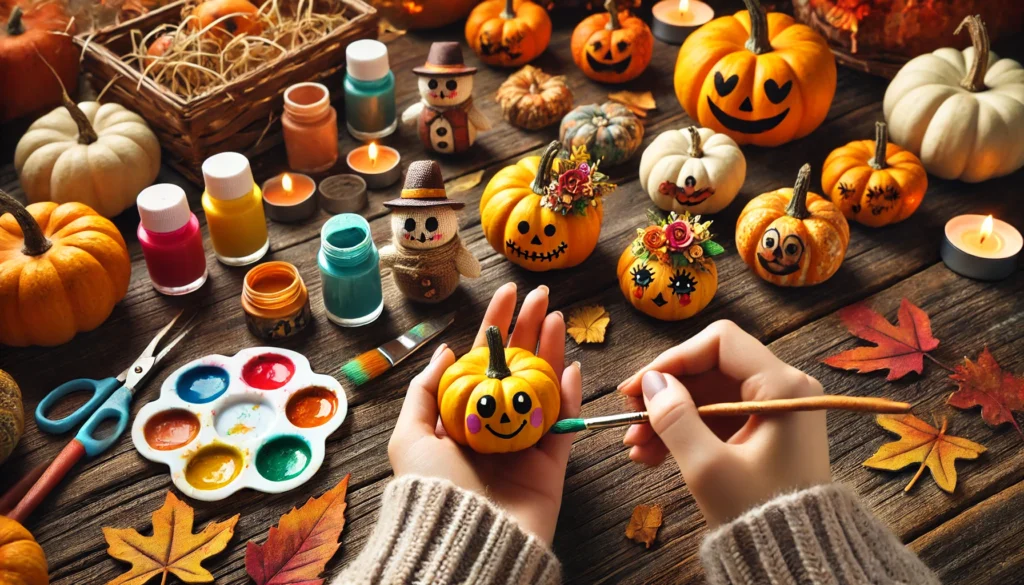
Let your imagination run wild by painting whimsical characters like witches, scarecrows, or even cartoonish monsters. Use bright colors and exaggerated features to bring your characters to life.
14. Cultural Designs
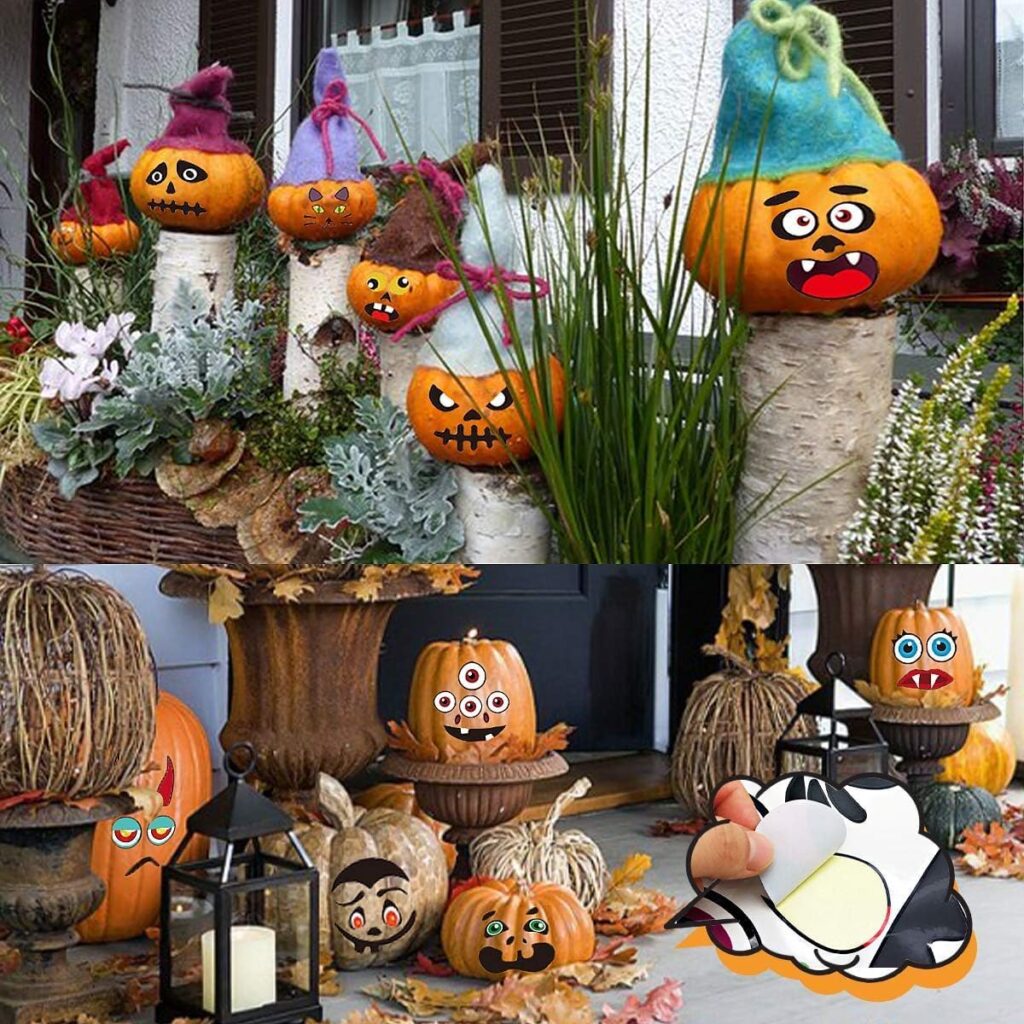
Celebrate diversity by drawing inspiration from different cultures. For example, you could create designs inspired by the Day of the Dead, incorporating skull motifs and vibrant colors to honor the tradition.
15. Nature Scenes
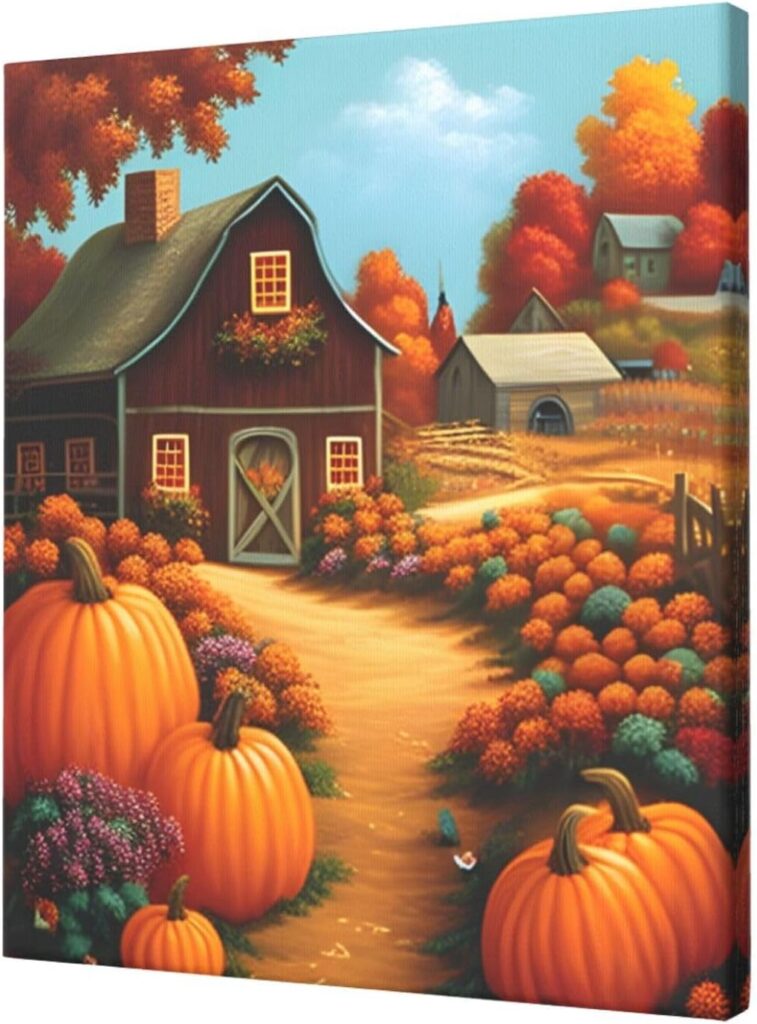
Turn your mini pumpkins into miniature landscapes. Paint serene scenes of mountains, forests, or beaches. This technique allows for a more artistic approach and can be a delightful way to showcase your painting skills.
16. DIY Paint Pour Technique
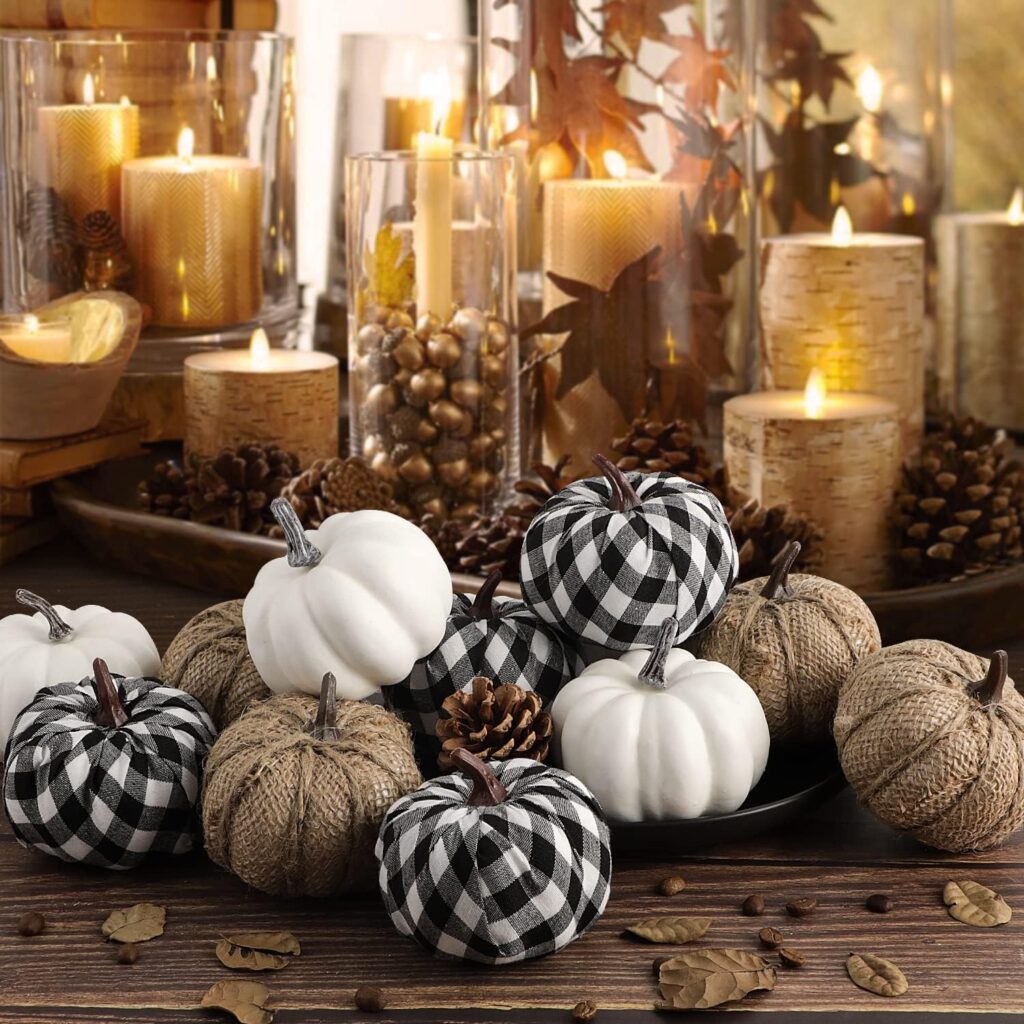
The paint pour technique can create mesmerizing designs on your pumpkins. Mix different colors of paint and pour them over the pumpkin, allowing them to swirl and blend. This method results in a unique, abstract piece every time.
17. Personalized Designs
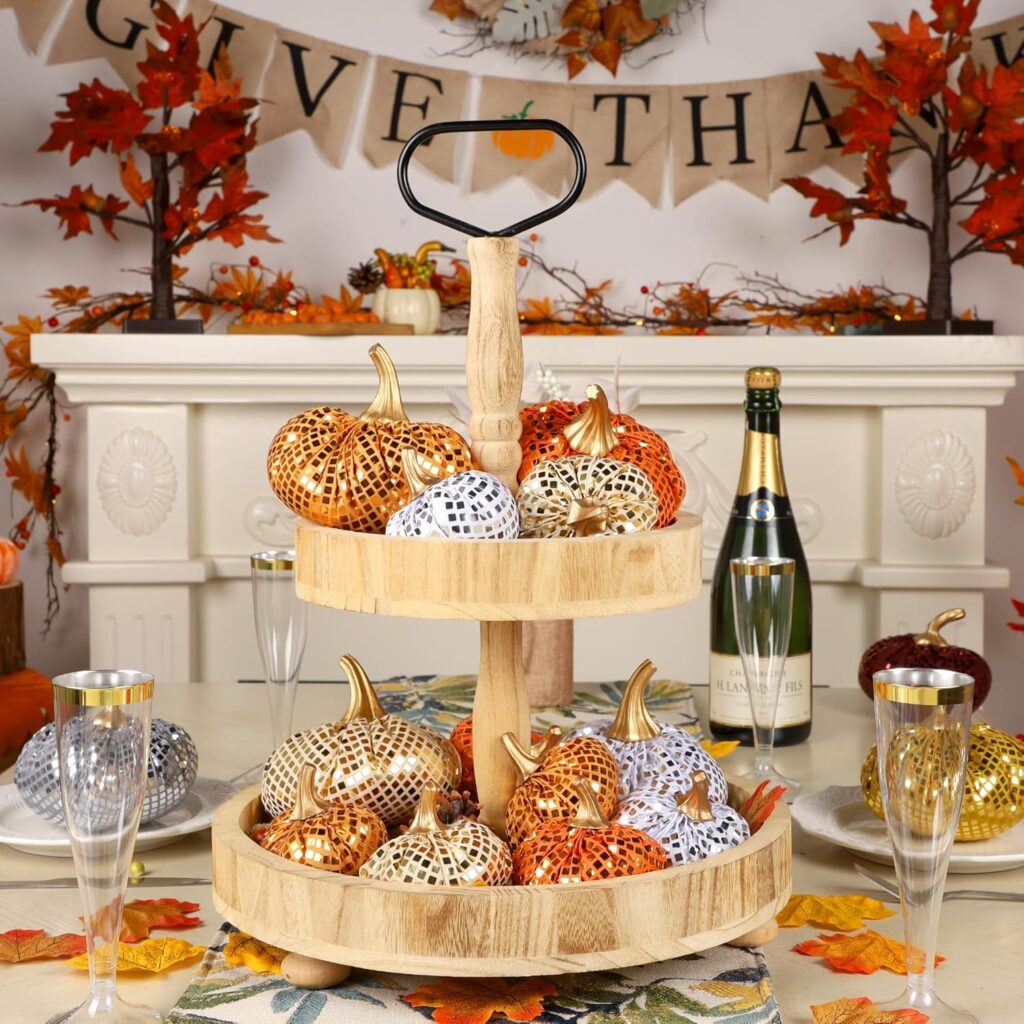
Finally, make your pumpkins truly yours by adding names, initials, or special dates. This personal touch can make your decor feel more meaningful, and it’s a great way to commemorate the season.
Displaying Your Painted Pumpkins
Once your mini pumpkins are painted and dried, it’s time to showcase your creations! Consider using them as table centerpieces, lining them along your porch steps, or creating a fall vignette with other seasonal decor like gourds and hay bales. Mixing painted pumpkins with natural elements adds depth and interest to your displays.
Conclusion
Mini pumpkin painting is a wonderful way to express creativity and celebrate the beauty of fall. Whether you choose to stick with classic designs or venture into more innovative ideas, the process is sure to bring joy and inspiration. Don’t hesitate to experiment with different techniques and make your pumpkins uniquely yours.
As you embark on your pumpkin painting adventure, we encourage you to share your creations on social media and connect with fellow pumpkin enthusiasts. Happy painting, and may your autumn be filled with color and creativity!
Call to Action
If you enjoyed these ideas and want more seasonal DIY projects, consider subscribing to our blog for the latest updates. We’d love to see your painted pumpkins, so leave a comment below with your favorite designs or tips!

