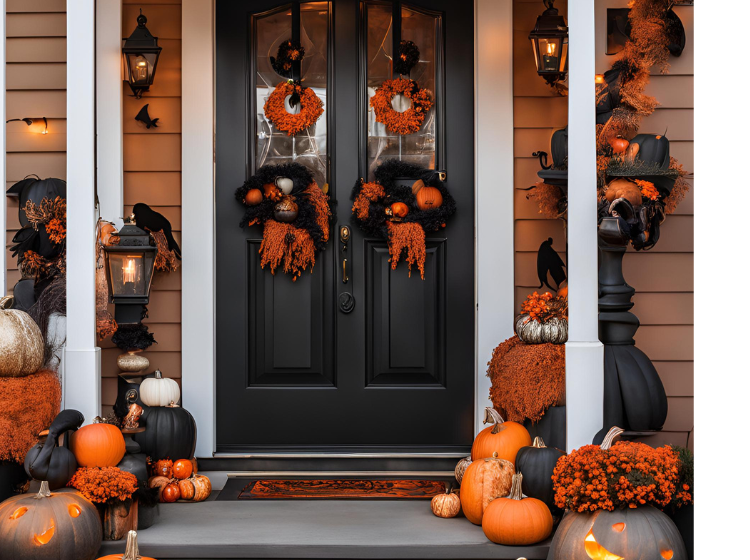
Halloween Door Decor; As the leaves change color and the air turns crisp, Halloween beckons with its charm and mystery. One of the most delightful ways to embrace the spirit of the season is through door decor. Your front door is the gateway to your home, and dressing it up for Halloween not only sets the tone for the holiday but also brings joy to neighbors and visitors alike. In this article, we’ll explore 18 creative and festive ideas for decorating your door, ensuring that it stands out this Halloween.
Day 1: Classic Spooky
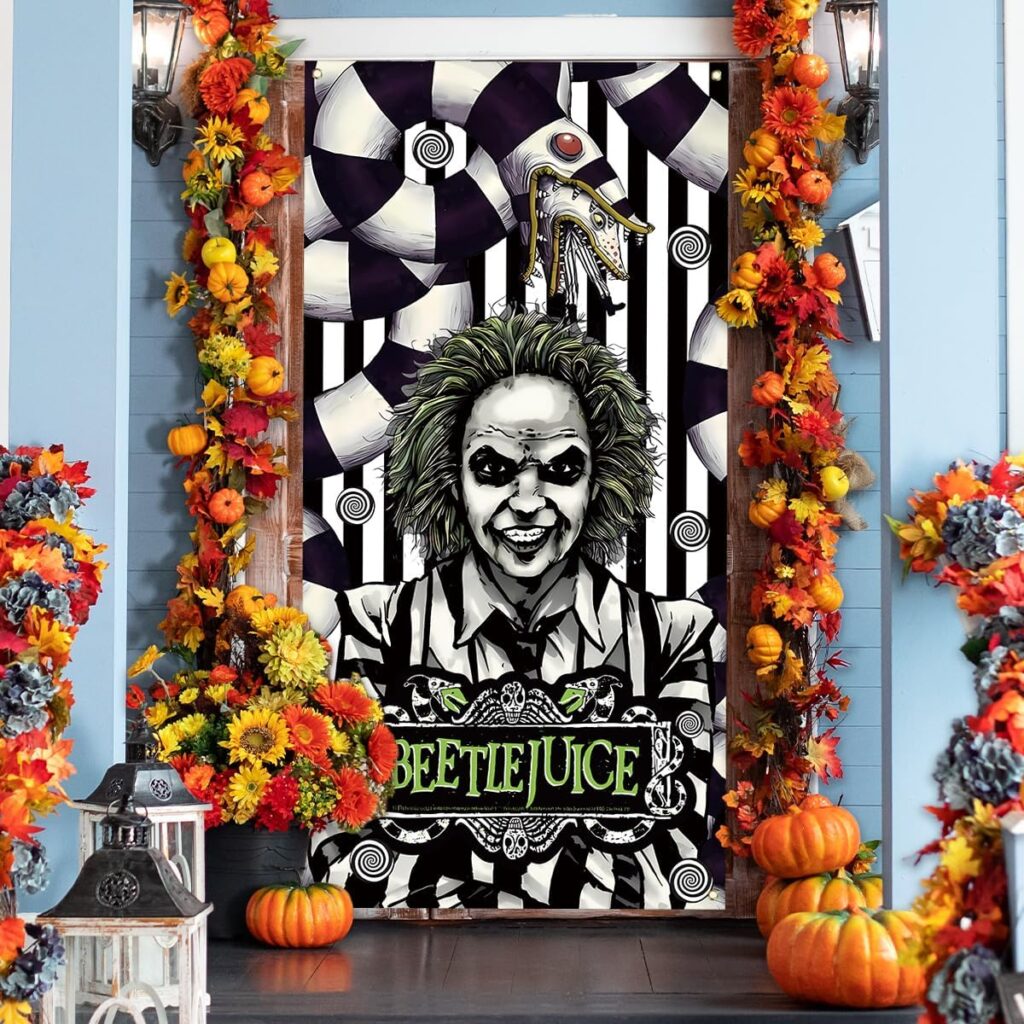
Kick off your Halloween decor with a classic spooky theme. Think black and orange as your primary colors. A black wreath adorned with orange ribbons can serve as a striking centerpiece. To create this look:
- Materials Needed: A black wreath, orange ribbon, faux spiders, and glittery accents.
- Instructions: Start by wrapping the orange ribbon around the wreath, securing it with glue. Add faux spiders for that quintessential spooky touch. If you want to add some sparkle, sprinkle glitter on the ribbons or incorporate glittery ornaments.
Day 2: Ghostly Greetings
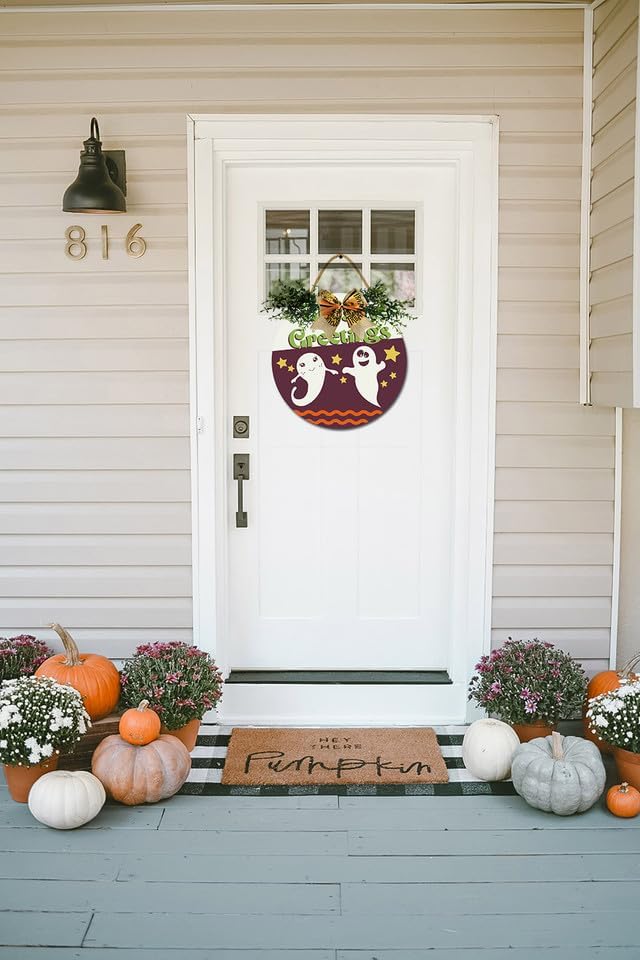
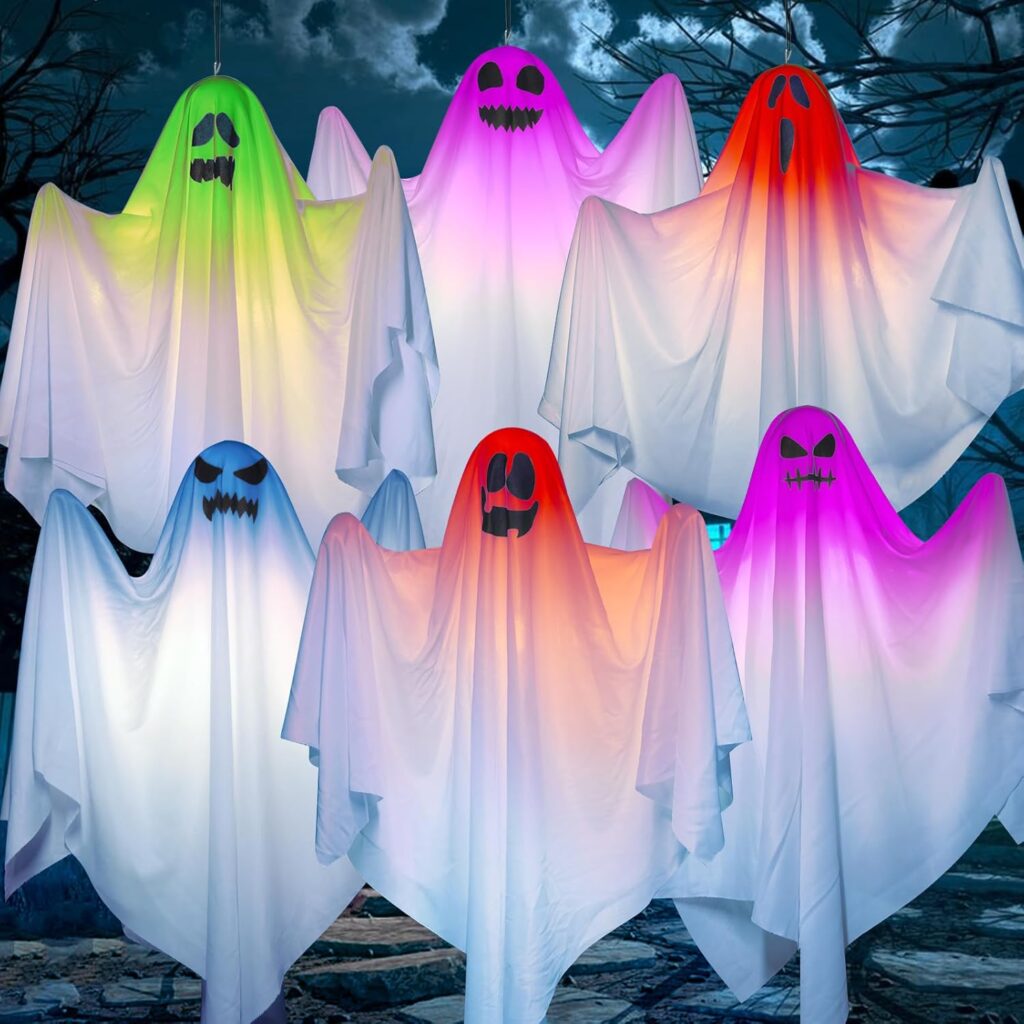
Nothing says Halloween like ghosts! Create an ethereal vibe with ghost decorations that float and sway in the breeze.
- Materials Needed: White sheets, black markers, string, and a hanger.
- Instructions: Cut the sheets into ghost shapes, then use black markers to draw eyes and mouths. Hang them from your door using string, ensuring they move gently in the wind for an eerie effect.
Day 3: Pumpkin Paradise
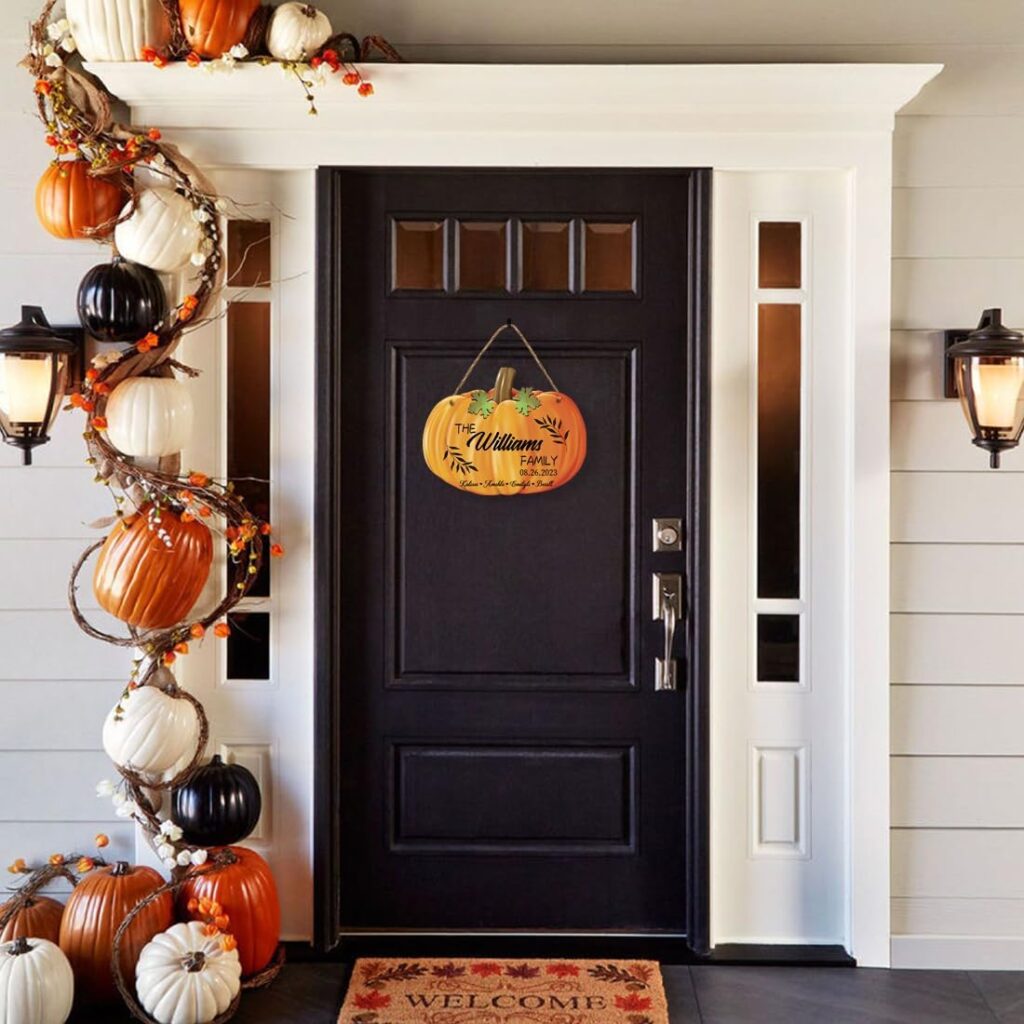
Pumpkins are synonymous with Halloween. Whether you carve them or leave them whole, they can transform your door into a vibrant autumn display.
- Materials Needed: Real or faux pumpkins, paint, and decorations.
- Instructions: Arrange the pumpkins in various sizes on your doorstep. Consider painting them in fun colors or carving spooky faces. For added flair, you can also surround them with autumn leaves or hay bales.
Day 4: Witch’s Welcome
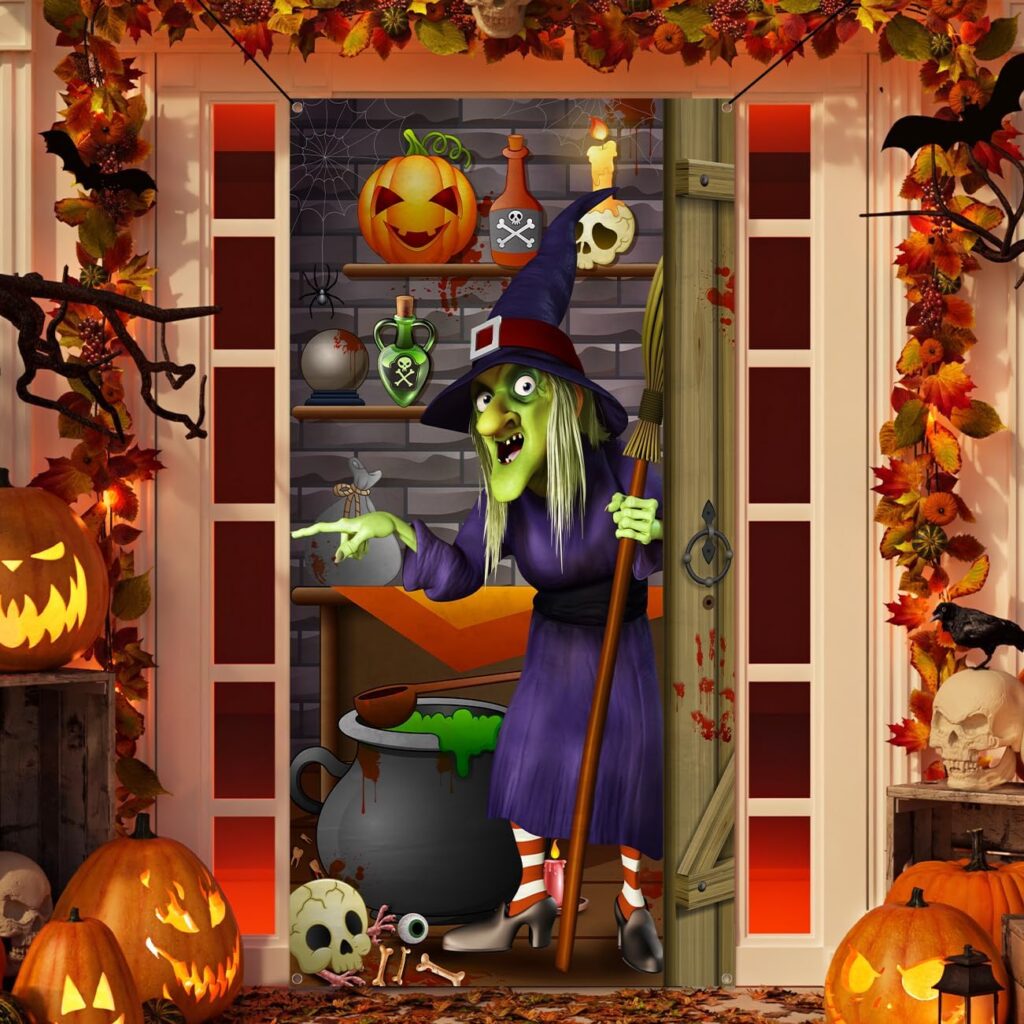
Invite visitors into your home with a whimsical witch theme. A witch hat, broom, and cauldron can create a delightful, enchanting atmosphere.
- Materials Needed: A witch hat, broom, cauldron (real or fake), and faux potion bottles.
- Instructions: Place the broom against the door, hang the witch hat atop the doorframe, and arrange the cauldron on the ground. Fill it with faux potion bottles or spooky treats for added charm.
Day 5: Monster Mash
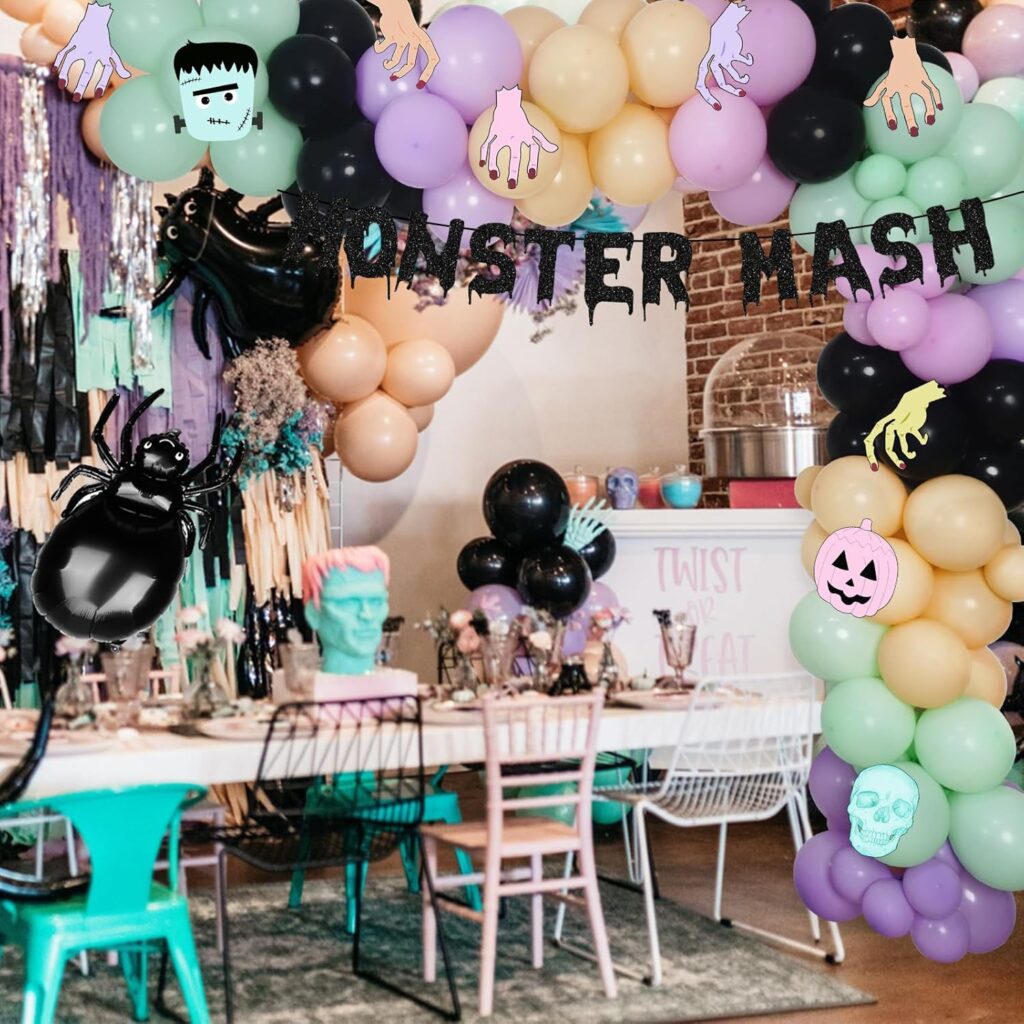
Bring some fun to your door with a friendly monster theme that’s perfect for kids and adults alike.
- Materials Needed: Colored paper, googly eyes, and tape.
- Instructions: Create a large monster face using colored paper for the mouth and eyes. Attach googly eyes to give it a lively expression. Use tape to affix the face to your door, and consider adding fun monster hands or feet to complete the look.
Day 6: Haunted House Entrance
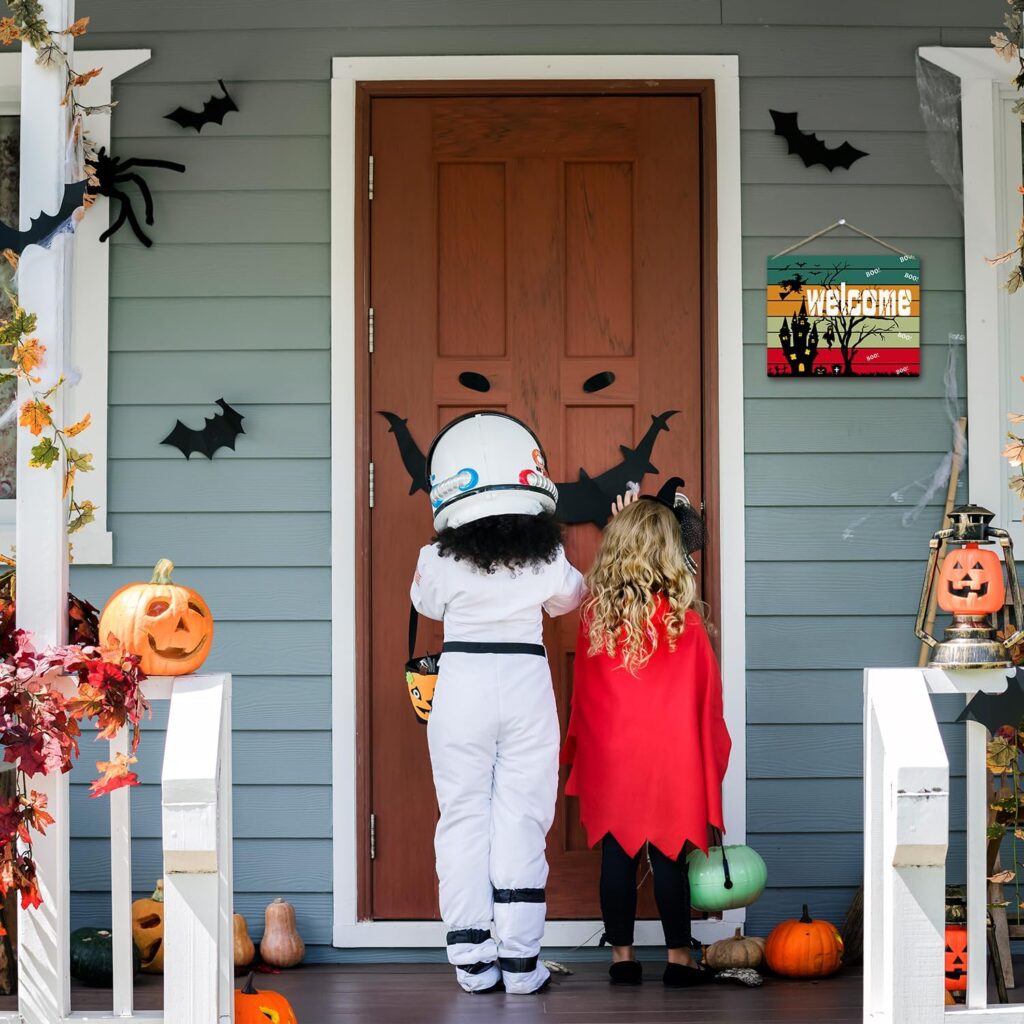
Transform your door into a mini haunted house with a few spooky decorations.
- Materials Needed: Mini tombstones, fake cobwebs, and small skeletons.
- Instructions: Arrange mini tombstones leading up to your door and drape fake cobwebs across the entrance. Position skeletons strategically to create a frightful welcome that’ll send chills down spines.
Day 7: Creepy Crawly
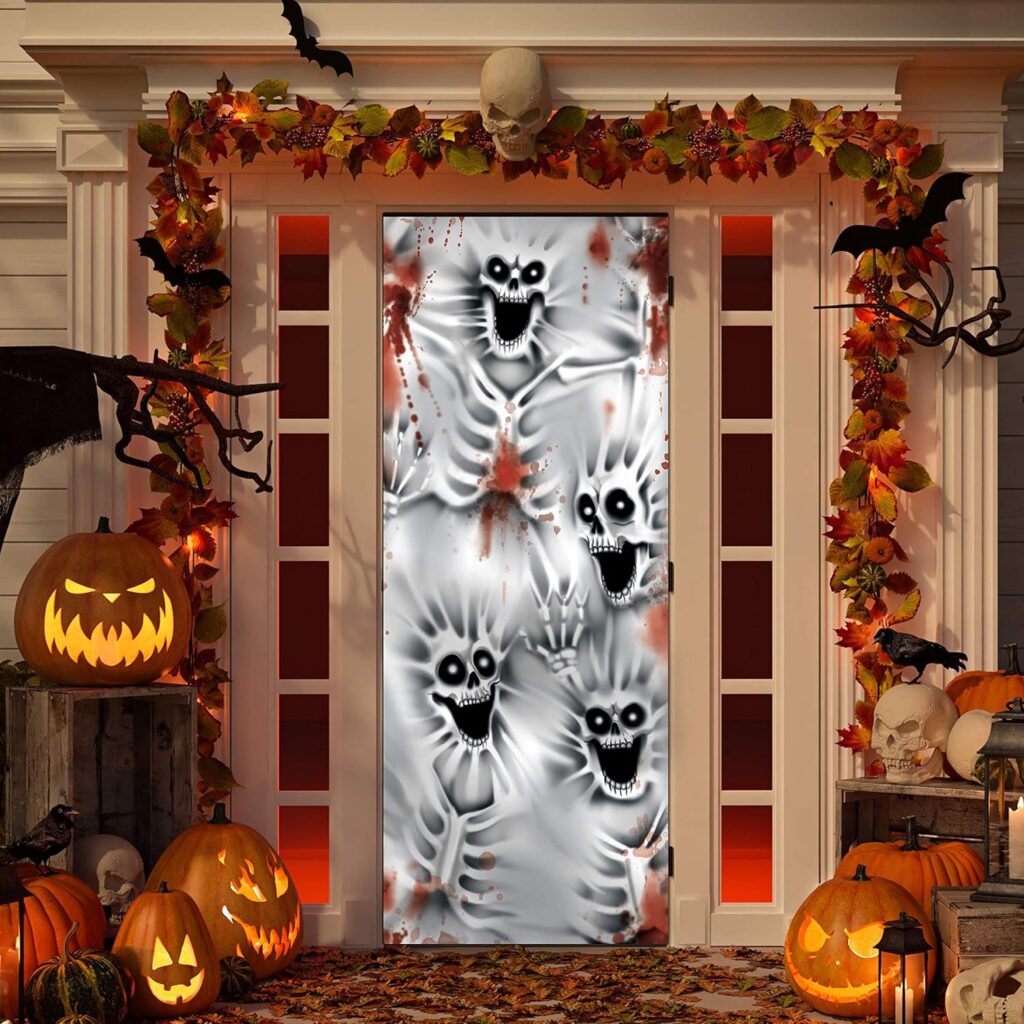
Embrace the creepy-crawly side of Halloween with spider-themed decor.
- Materials Needed: Plastic spiders, spider webs, and a black door mat.
- Instructions: Drape spider webs across your door and add plastic spiders for a truly creepy effect. A black door mat with spider motifs can complete the look, creating a unified theme.
Day 8: Enchanted Forest

Create a mystical ambiance by turning your door into an enchanted forest.
- Materials Needed: Moss, fairy lights, and small woodland decorations.
- Instructions: Attach moss around the door frame and hang fairy lights to create a soft glow. Add small woodland creatures or decorative mushrooms for a magical touch.
Day 9: Skeleton Showdown
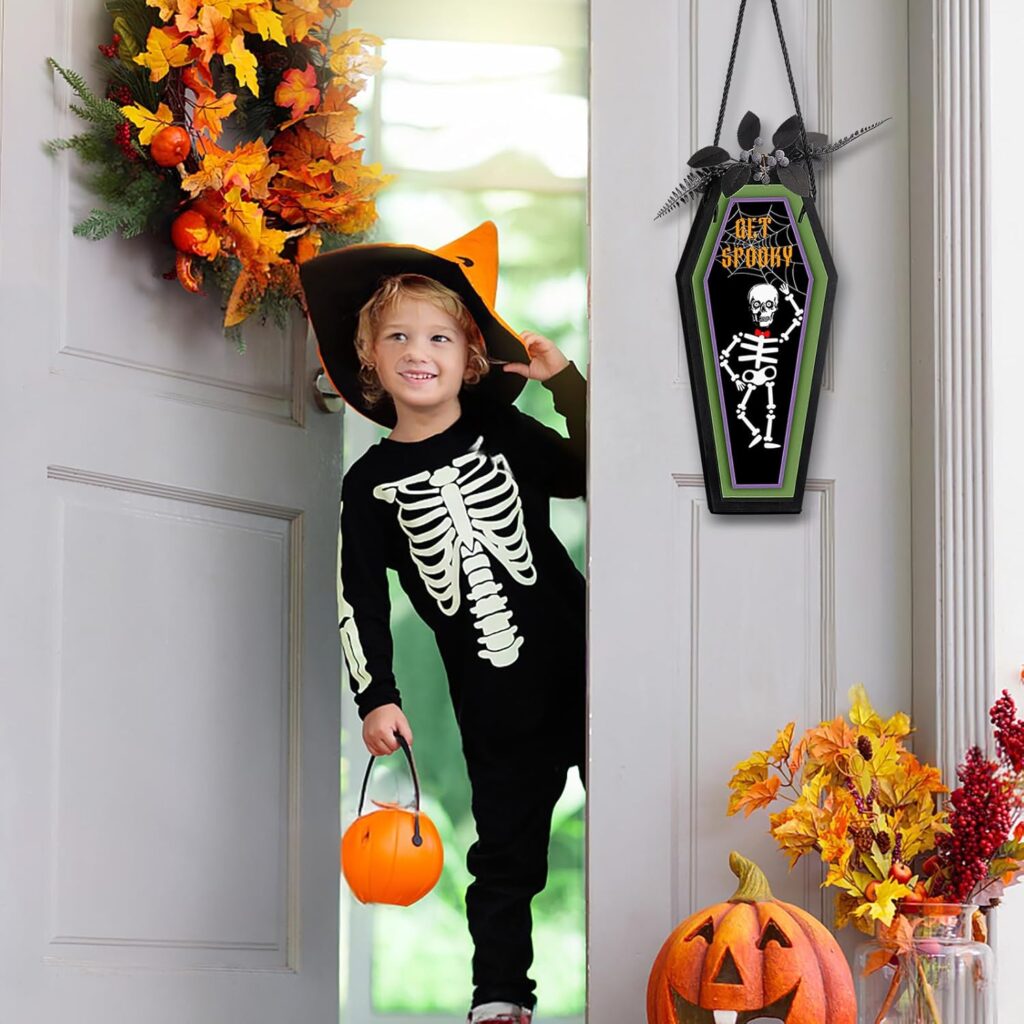
Skeletons are a Halloween classic. Use them to create a striking entrance.
- Materials Needed: Skeleton props, string lights, and dark fabric.
- Instructions: Hang skeleton props from your door and wrap string lights around the frame. Use dark fabric to create a mysterious backdrop, enhancing the spooky vibes.
Day 10: Day of the Dead
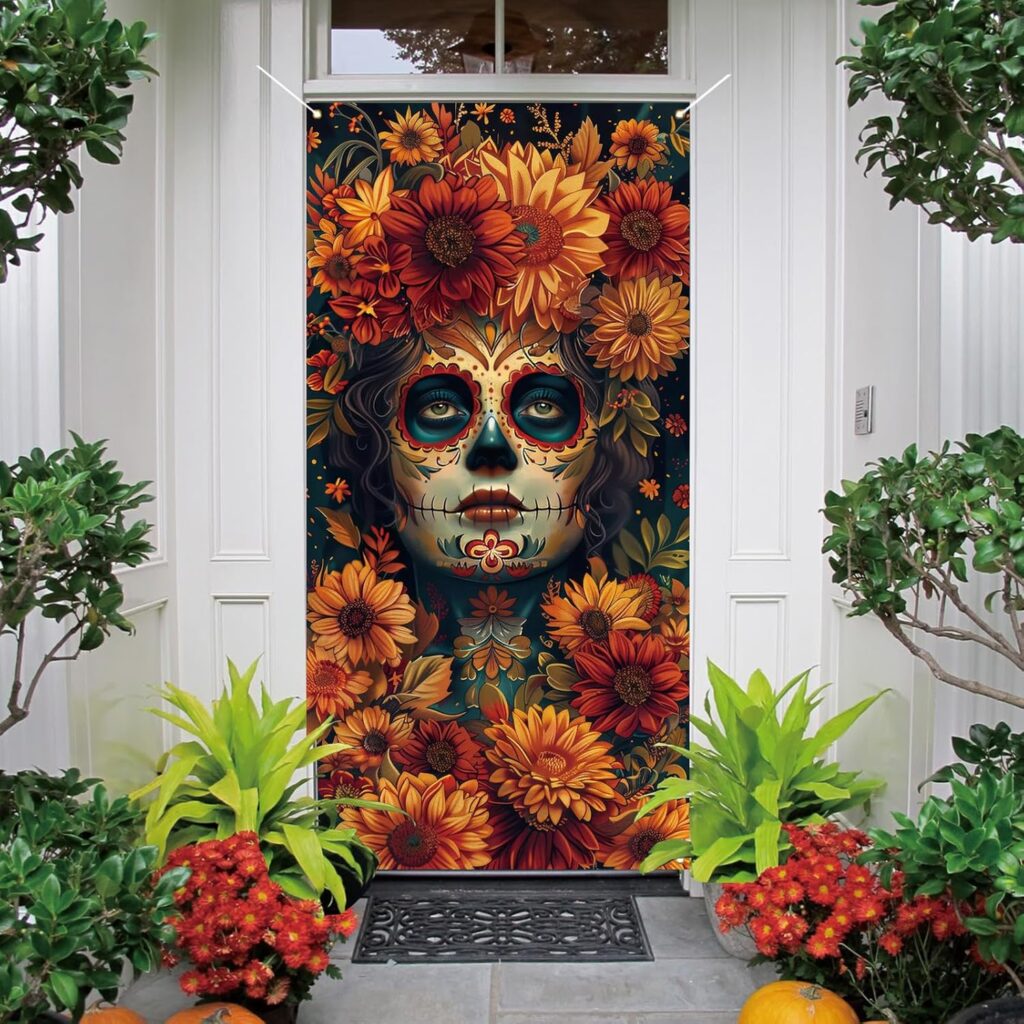
Celebrate Día de los Muertos with vibrant and colorful decorations.
- Materials Needed: Skulls, marigolds, and papel picado (perforated paper).
- Instructions: Create a vibrant display with colorful skulls and marigolds. Hang papel picado across your door for a festive touch, and remember to honor the cultural significance behind the decorations.
Day 11: Vintage Halloween
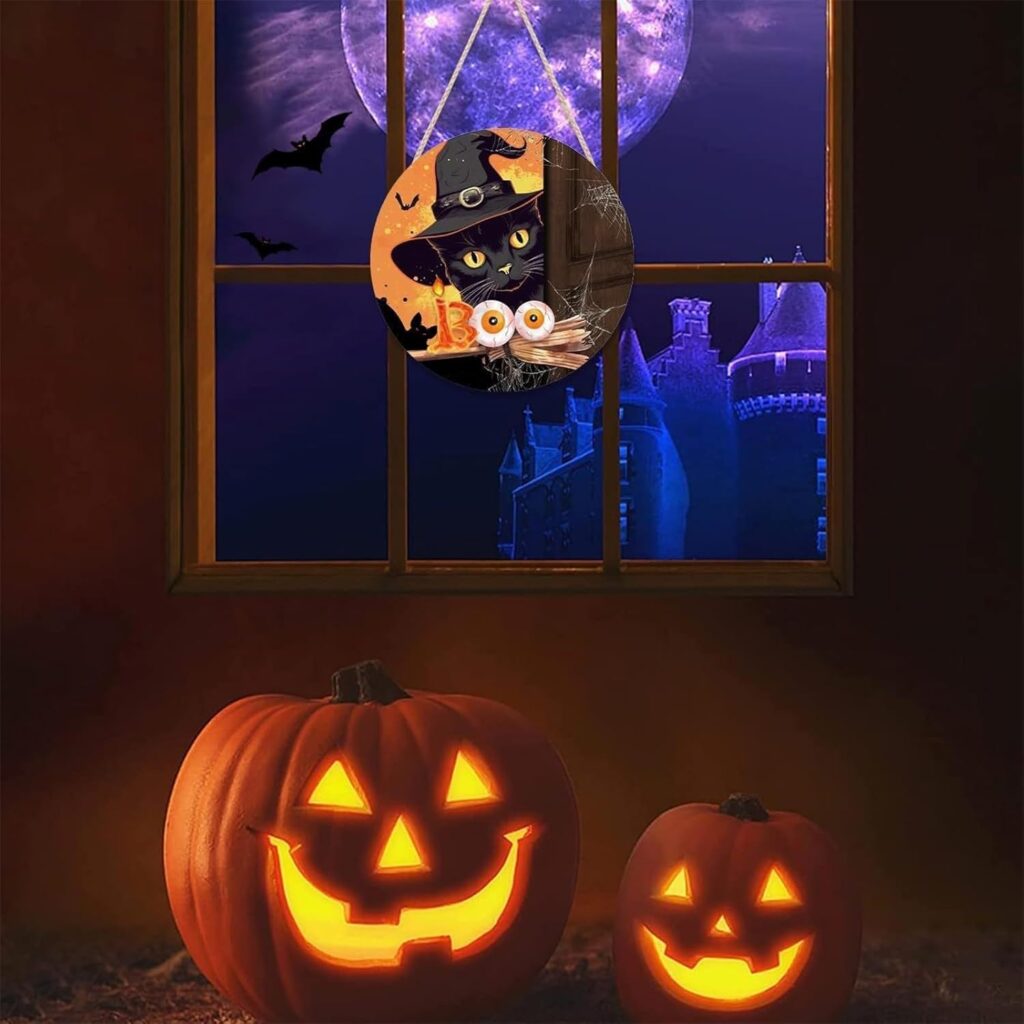
Take a trip down memory lane with a vintage Halloween theme.
- Materials Needed: Old costumes, vintage postcards, and classic decorations.
- Instructions: Display old costumes or hats on your door, alongside vintage Halloween postcards. Incorporate classic decorations like black cats and jack-o’-lanterns to evoke nostalgia.
Day 12: Cartoon Halloween
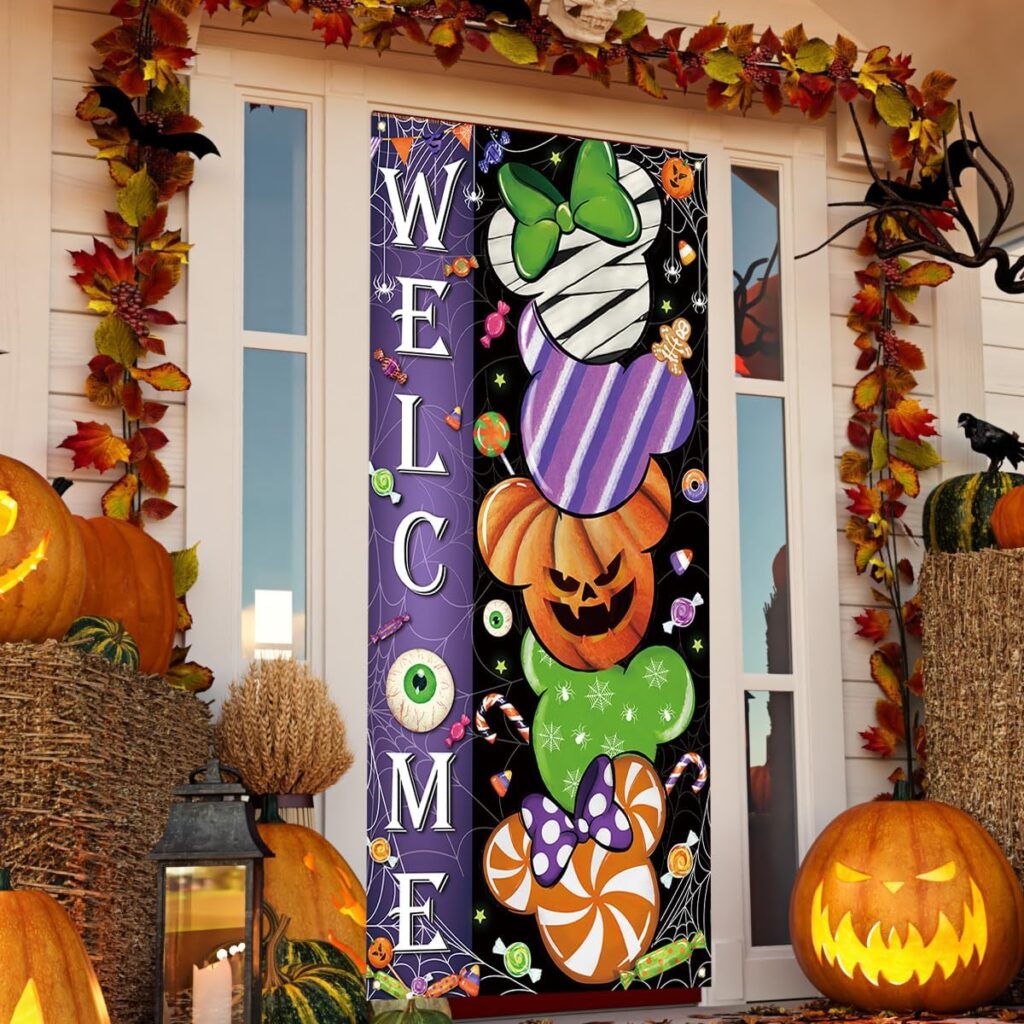
Create a fun and whimsical atmosphere with cartoon-inspired door decor.
- Materials Needed: Cartoon character cutouts, colorful paper, and string.
- Instructions: Choose beloved Halloween characters and create cutouts to hang from your door. Bright colors and playful designs will appeal to kids and adults alike.
Day 13: Scary Silhouettes
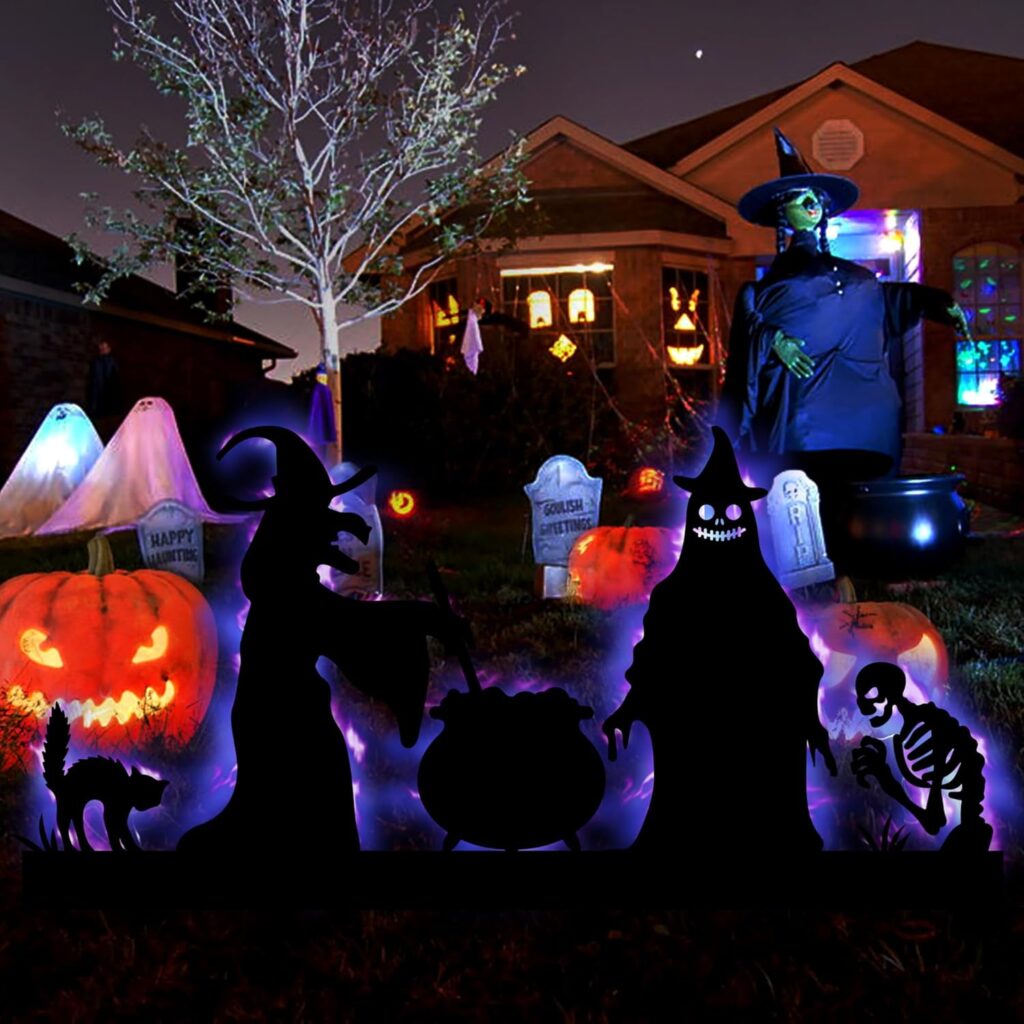
Make a dramatic statement with scary silhouettes.
- Materials Needed: Black cardboard, scissors, and adhesive.
- Instructions: Cut out shapes of ghosts, witches, or bats from black cardboard. Attach them to your door, using the light from inside to cast eerie shadows on the outside.
Day 14: Spooky Stories
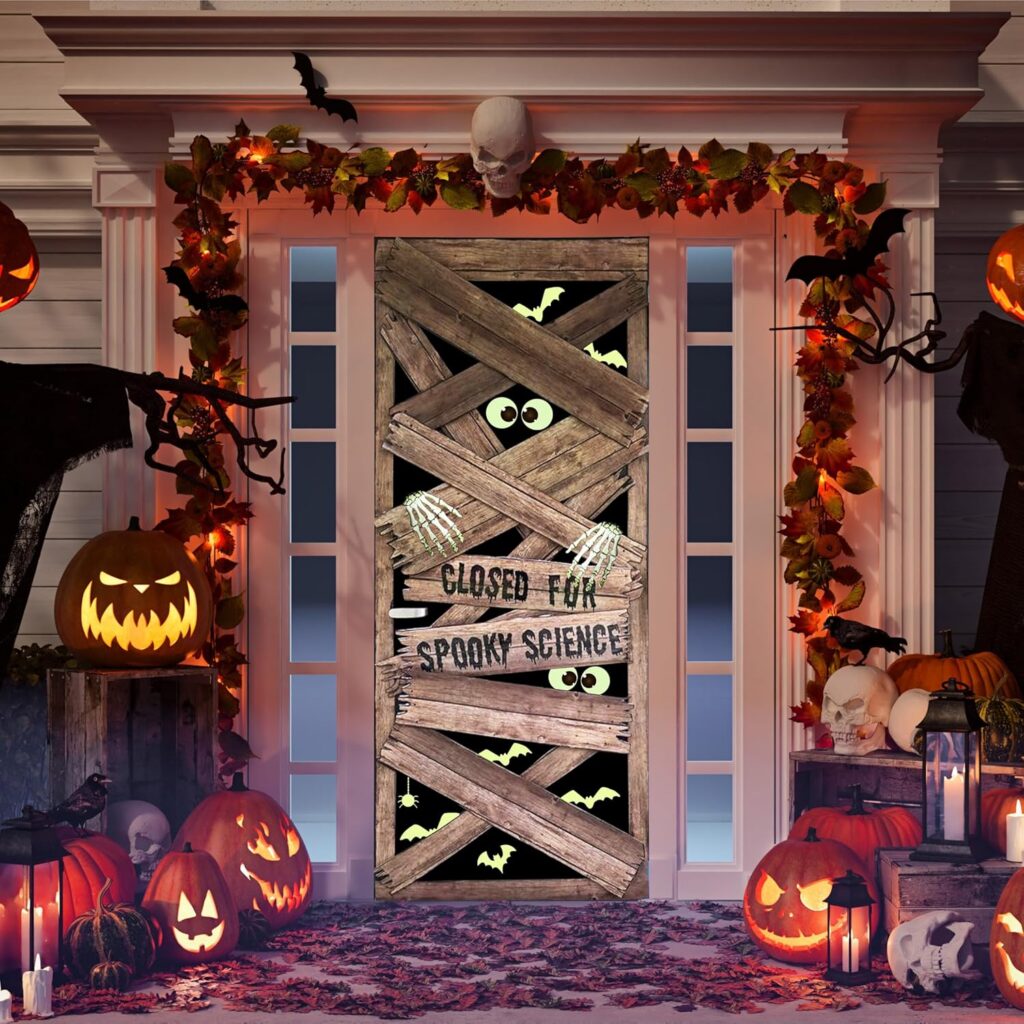
Incorporate a literary twist into your decor by featuring Halloween-themed stories.
- Materials Needed: Miniature book stacks, themed quotes, and decorative stands.
- Instructions: Display a stack of Halloween-themed books or poems near your door, and use decorative stands for added flair. Add themed quotes around the display to invite visitors to explore spooky tales.
Day 15: Festive Banners
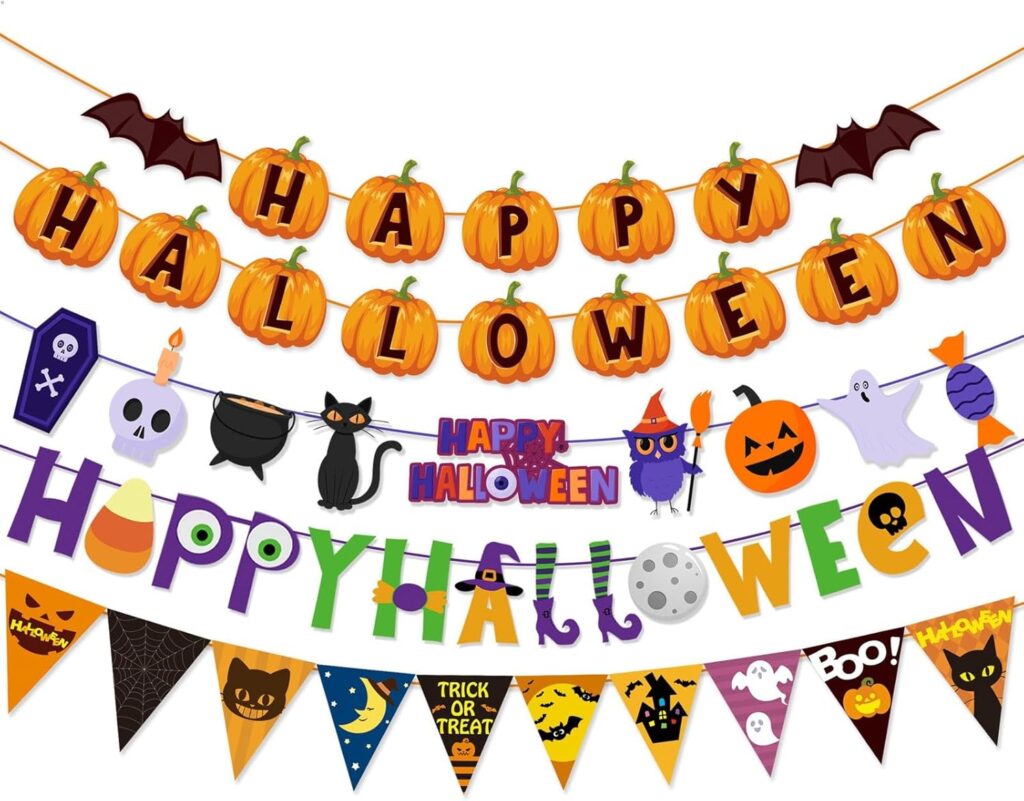
Add a personal touch with DIY Halloween banners.
- Materials Needed: Fabric, paint, and string.
- Instructions: Cut fabric into flag shapes and paint Halloween phrases or images on them. String them together and hang them across your door for a festive welcome.
Day 16: Trick-or-Treat Trail
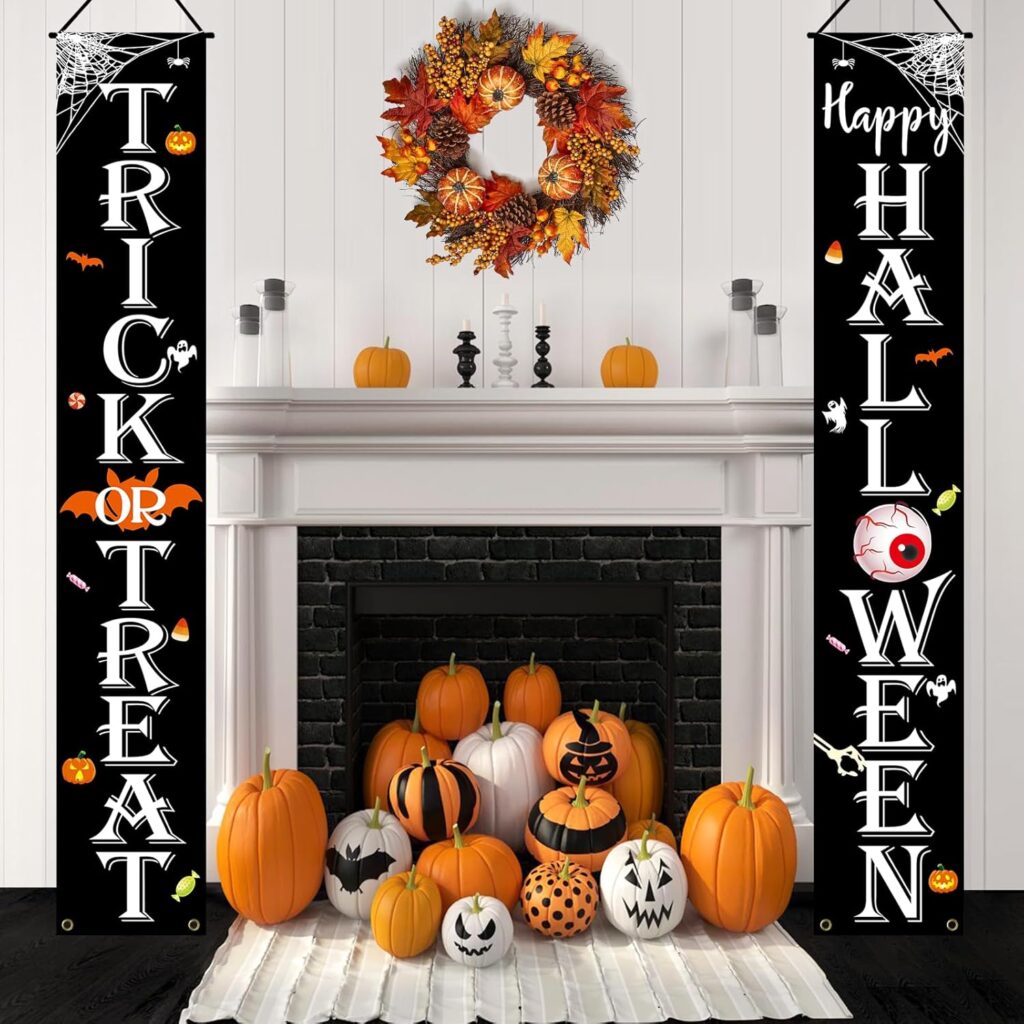
Set up a candy display to engage neighborhood kids.
- Materials Needed: Treat bags, baskets, and decorative signage.
- Instructions: Fill treat bags with candy and hang them from your door. Create a sign that invites trick-or-treaters to take a treat, ensuring everyone feels welcomed.
Day 17: Light Up the Night
Lighting can transform your door into a magical entrance.
- Materials Needed: String lights, lanterns, and candles.
- Instructions: Hang string lights around the door and place lanterns on the ground. Consider using battery-operated candles for safety. The warm glow will create an inviting atmosphere.
Day 18: Grand Finale
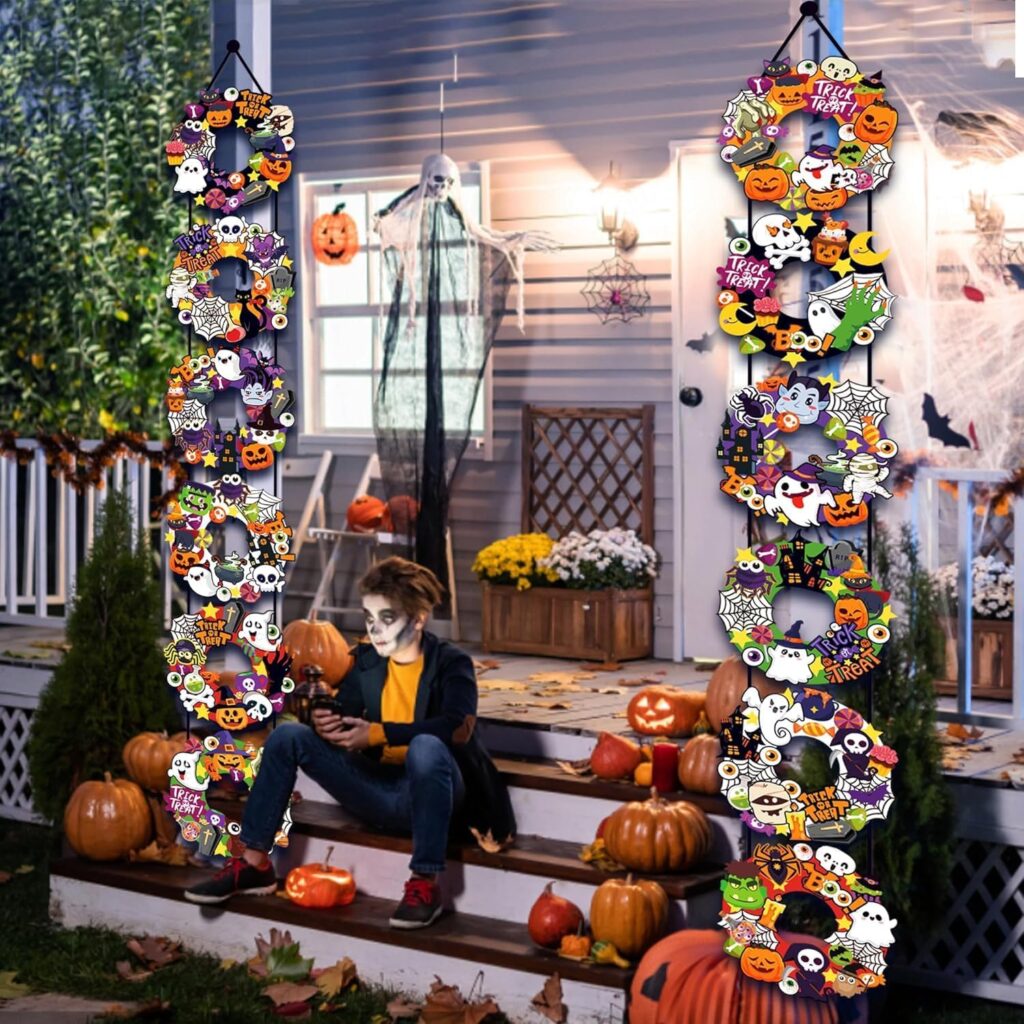
For the ultimate Halloween display, combine elements from previous days.
- Instructions: Use a mix of decorations that represent your favorite themes, layering them for depth. Encourage creativity and personalization, and don’t forget to involve the family in the decorating process!
Conclusion
As we wrap up our 18 Days of Halloween Door Decor, it’s clear that the possibilities are endless. Whether you prefer classic spooky themes or whimsical designs, there’s something for everyone. By decorating your door, you not only welcome the Halloween spirit into your home but also create a joyful experience for everyone who passes by.
Feel free to mix and match these ideas, or even come up with your own unique concepts. We encourage you to share your creations on social media or in the comments below—let’s inspire each other to make this Halloween the best one yet!
Call to Action
If you enjoyed these ideas, consider subscribing to our blog for more seasonal decor tips and crafts. Let’s continue to celebrate creativity and the joys of home decorating all year round! Happy Halloween!

