Summer Camp Crafts; Summer camp is a magical time for kids to explore new activities, build friendships, and create lasting memories. One of the highlights of any summer camp experience is the opportunity to engage in fun and creative craft projects. Crafts not only provide a great way for campers to express their creativity but also offer a chance to develop fine motor skills, learn new techniques, and take home a tangible reminder of their summer adventures. In this guide, we’ll introduce you to the 15 best summer camp crafts that are sure to unleash creativity and make lasting memories. From nature-inspired projects to colorful keepsakes, these craft ideas are perfect for campers of all ages and skill levels.
1. Tie-Dye Fun: A Rainbow Explosion
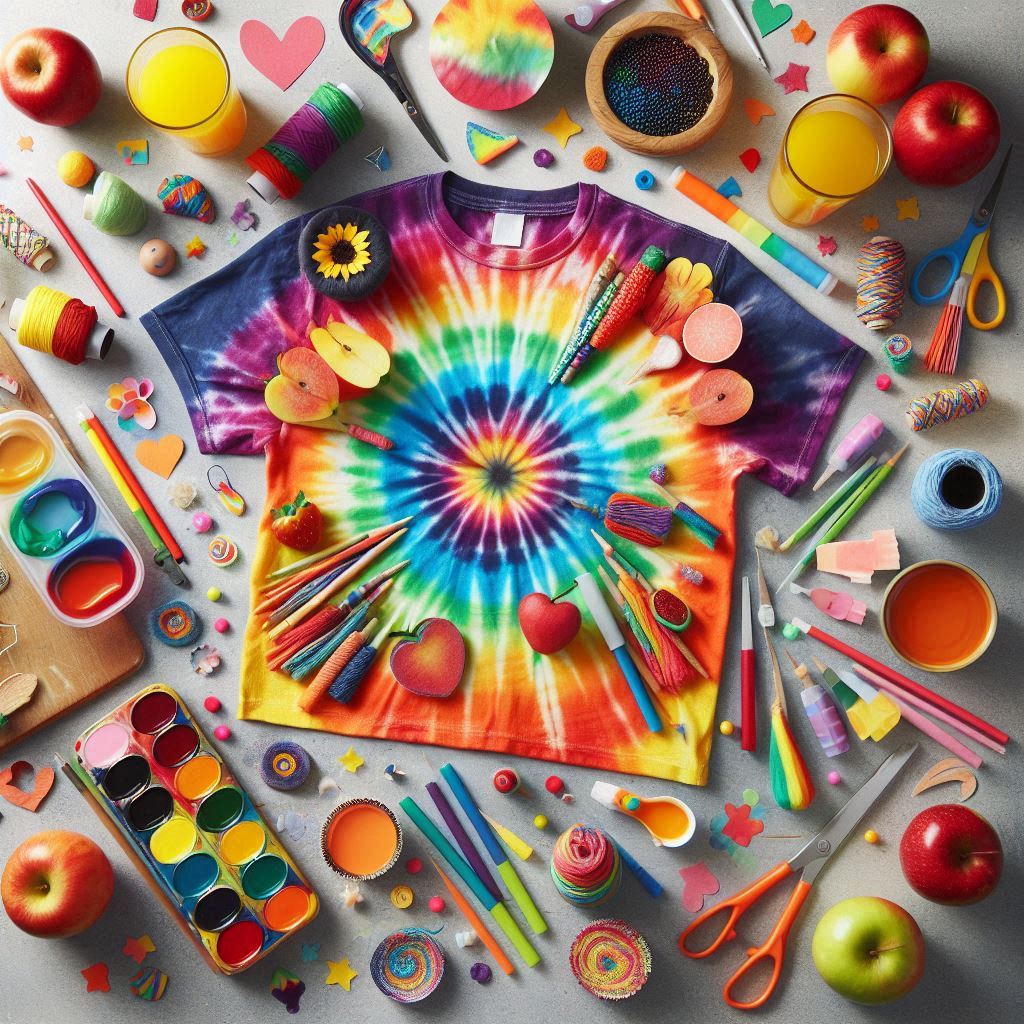
Tie-dye is a classic summer camp craft that never goes out of style. It’s a fantastic way for campers to personalize white shirts, socks, or even tote bags with vibrant colors and unique patterns.
Materials:
- White cotton shirts, socks, or tote bags (one per camper)
- Rubber bands in various sizes
- Assorted dye packs (choose colorfast dyes specifically for tie-dye)
- Plastic gloves (optional)
- Large plastic bins or buckets for dyeing
- Table covers or plastic sheeting (to protect surfaces)
Instructions:
- Prep the workspace: Cover the work area with plastic sheeting or table covers. Encourage campers to wear gloves to protect their hands from dye (optional).
- Get creative with rubber bands: There are endless ways to tie and dye! Here are some popular techniques:
- Spiral: Lay the shirt flat. Pinch the center and twist the fabric in a circular motion, creating a spiral shape. Secure the spiral tightly with rubber bands going outwards from the center.
- Bullseye: Pinch the center of the fabric and fold it in half to create a wedge shape. Repeat with the other half, creating a quartered design. Secure the folds with rubber bands going outwards from the center.
- Crinkle: Crumple the fabric randomly and secure it tightly with rubber bands in various places.
- Dye Time! Following the instructions on the dye packs, prepare the dye solutions in separate bins. Have campers dip different sections of the tied fabric into the dye baths, ensuring even saturation.
- Let the colors rest: Once dyed, place the tied fabric in sealed plastic bags and let them sit for the recommended time as per the dye instructions (usually several hours).
- Untie and reveal! After the resting period, have campers carefully remove the rubber bands and rinse the dyed fabric thoroughly in cool water until the water runs clear. Wash the dyed items according to the dye instructions and let them dry flat.
Tips:
- Use a variety of rubber band sizes to create different sized dye patterns.
- Experiment with mixing different dye colors for a more vibrant effect.
- For younger campers, pre-tie the fabric into simple patterns to make the process easier.
2. Nature’s Canvas: Painted Rocks
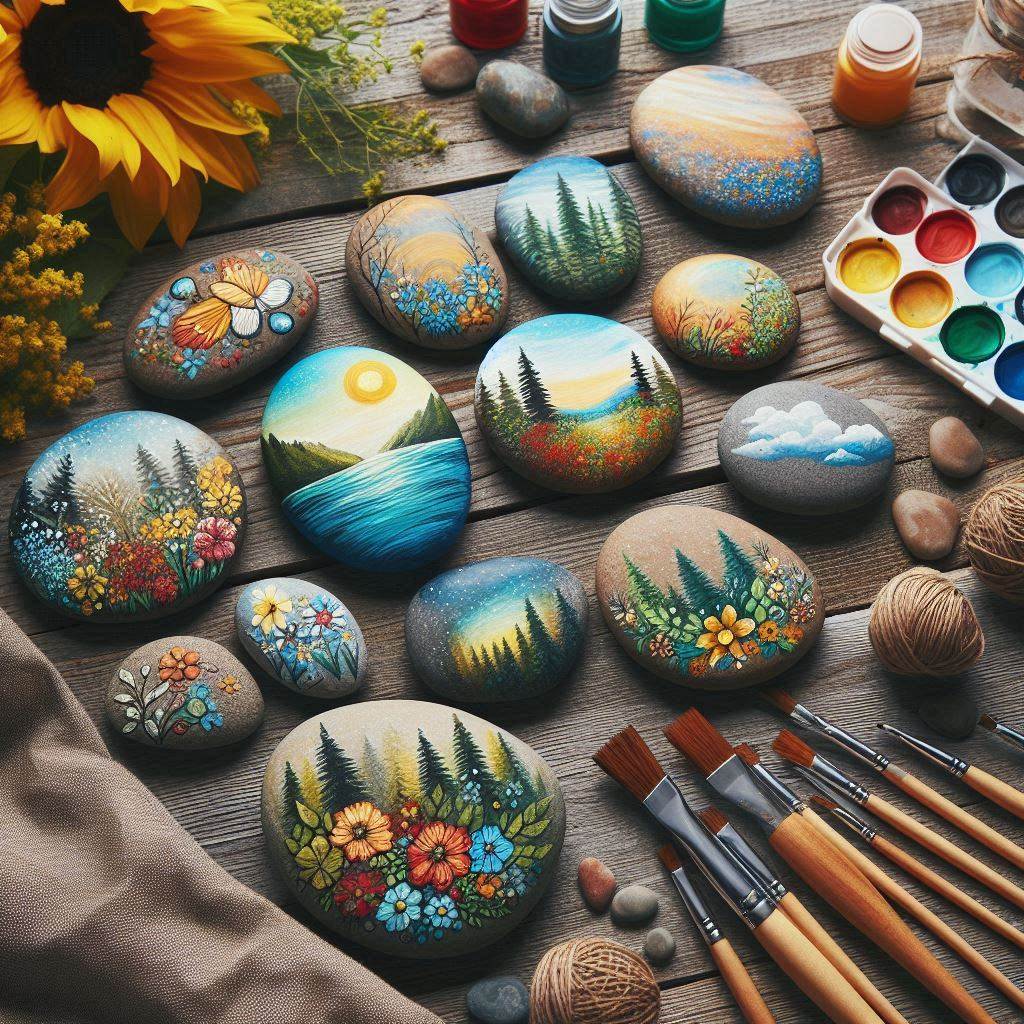
Summer camps are often surrounded by beautiful natural landscapes. Transform these natural wonders into mini works of art with a fun and vibrant rock painting activity!
Materials:
- Smooth, flat rocks (collected with permission)
- Acrylic paints in various colors
- Paintbrushes in different sizes
- Clear acrylic sealant (optional)
- Markers (optional)
Instructions:
- Rock Selection: Choose smooth, flat rocks that are easy to paint on. Wash the rocks thoroughly and let them dry completely before painting.
- Prime Time (Optional): For a smoother painting surface, apply a thin layer of white acrylic paint to the rocks and let it dry.
- Let Creativity Flow: Now comes the fun part! Encourage campers to unleash their creativity and paint designs on the rocks. Some ideas include:
- Animals: Ladybugs, butterflies, owls, or their favorite camp mascot.
- Insects: Beetles, spiders, or colorful caterpillars.
- Landscapes: Tiny mountains, sunsets, or starry night skies.
- Inspirational Messages: Words like “friendship,” “adventure,” or “camp love.”
- Adding Details: After the base coat dries, campers can use smaller brushes and markers to add details like eyes, spots, or stripes.
- Seal the Deal (Optional): To protect the artwork and make the rocks weather-resistant, apply a coat of clear acrylic sealant once the paint is completely dry.
Tips:
- Look for rocks in interesting shapes for a more unique artistic touch.
- Help younger campers by providing stencils or pre-drawn shapes on the rocks.
- Use glitter glue or puffy paint for added texture and dimension.
- Write the camper’s name or the year on the back of the painted rock.
3. Leafy Impressions: Leaf Rubbings
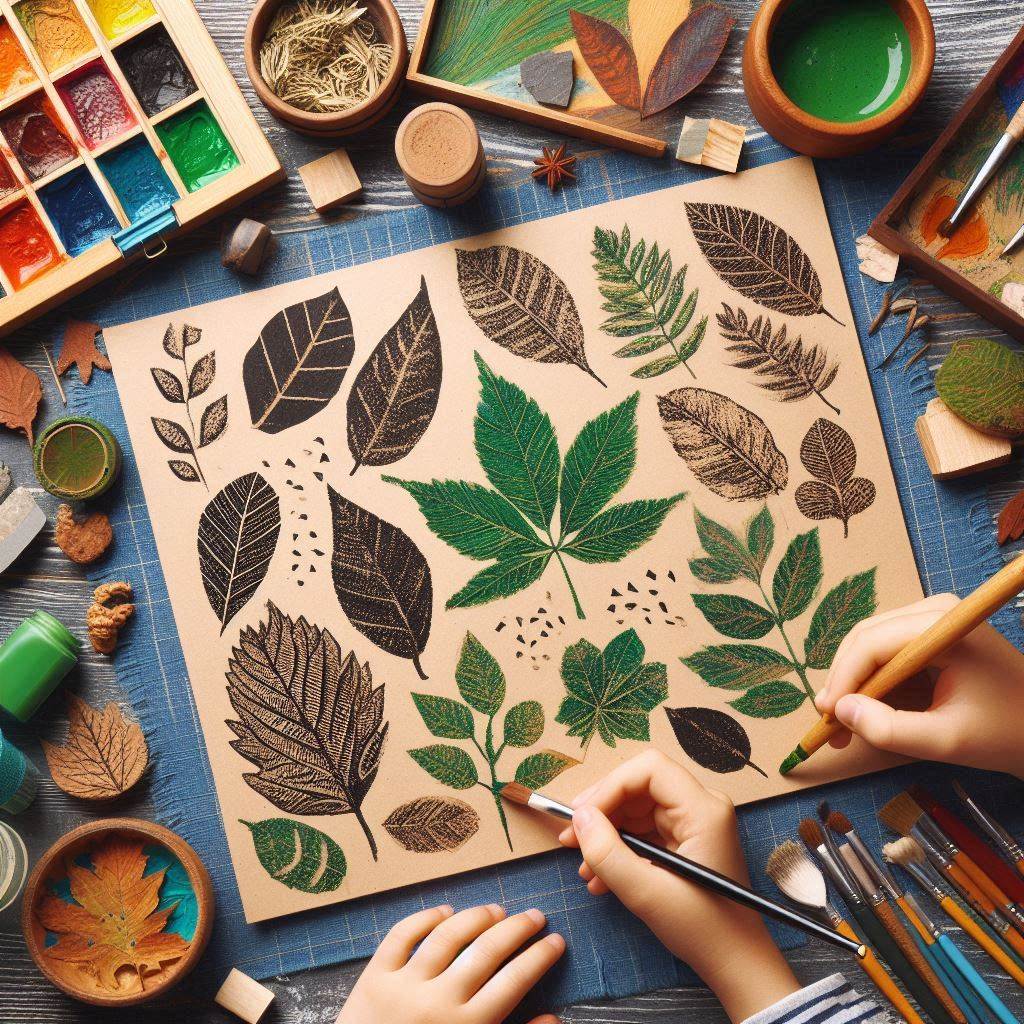
This simple yet captivating craft allows campers to appreciate the intricate details of leaves and translate them into beautiful artwork.
Materials:
- Cardboard cutouts (various sizes)
- Crayons in different colors
- Leaves with interesting textures (collected with permission)
Instructions:
- Leaf Selection: Take a walk around the campsite and collect leaves with interesting veins and textures. Some good choices include oak leaves, maple leaves, or ferns.
- Prep the Cardboard: Cut cardboard pieces in different sizes for each leaf rubbing.
- Leaf Placement: Place the chosen leaf face down on the cardboard.
- Rubbing Magic: Hold the leaf securely in place and have campers gently rub the side of the crayon back and forth across the leaf. Experiment with different colors and pressure to create variations in the imprint.
- Leaf Reveal: Carefully lift the leaf to reveal the beautiful leaf impression on the cardboard.
Tips:
- Use a variety of leaf shapes and sizes for a more interesting collection of rubbings.
- Layer different colored crayons for a more vibrant effect.
- Once the leaf rubbing is complete, campers can decorate the cardboard frame with markers or paint.
4. String Art Spectacle: Weaving a Yarn Wonderland
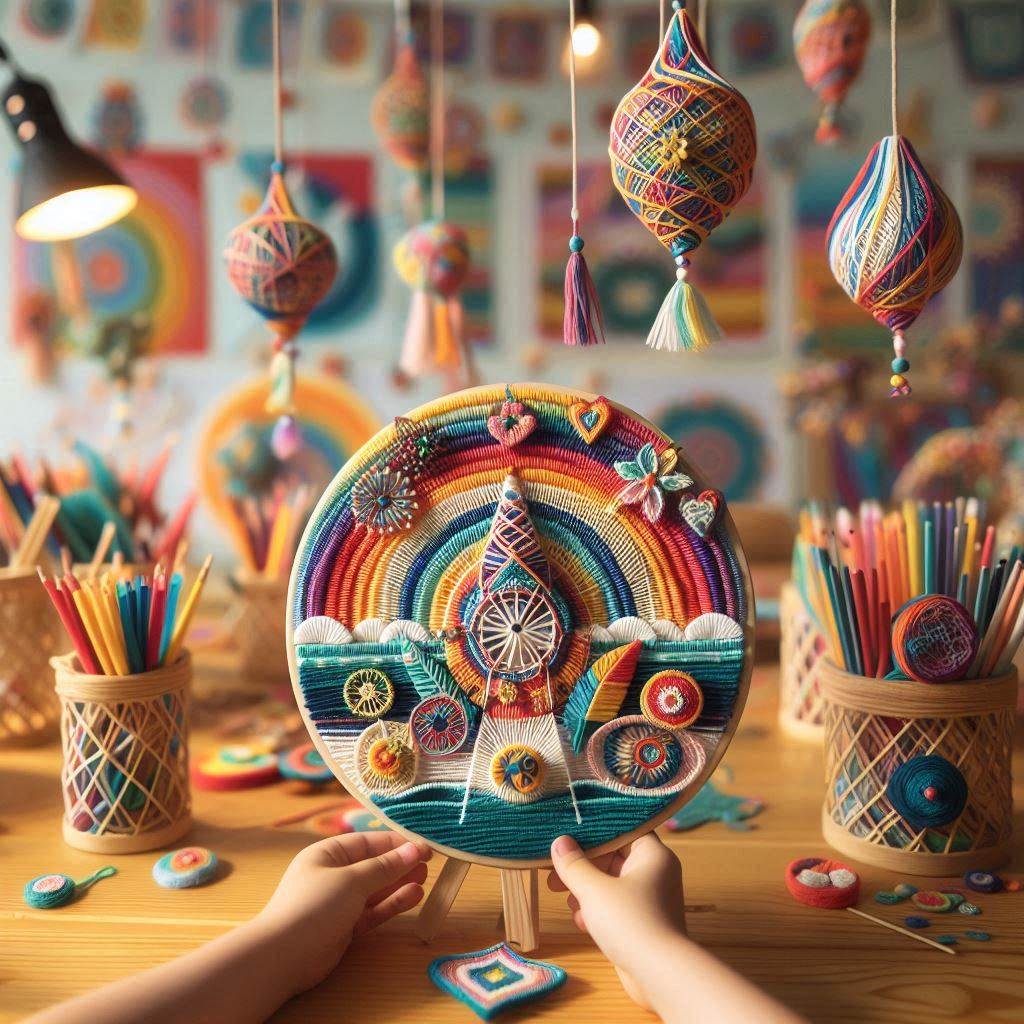
String art is a visually appealing craft that combines geometric patterns with vibrant yarn colors. It’s a fantastic activity for campers to develop their fine motor skills and create stunning wall hangings or keychains.
Materials:
- Wooden boards with pre-hammered nail designs (different patterns for each camper)
- Yarn in various colors
- Scissors
- Optional: Templates for creating your own nail designs on wooden boards
Instructions:
- Nail Design Selection: Choose pre-hammered wooden boards with interesting nail patterns, or create your own using a hammer and nails on a wooden board following a pre-drawn template.
- Yarn Choice: Pick out vibrant yarn colors that complement each other.
- Weaving Magic: Begin by tying the end of the yarn to one of the nails. Then, wrap the yarn around different nails in a continuous pattern, following the pre-made design or creating your own as you go. Experiment with different weaving techniques like diagonal lines, zigzags, or filling in sections completely.
- Securing the Yarn: Once the design is complete, tie the end of the yarn securely to another nail to prevent unraveling.
Tips:
- Use masking tape to secure the end of the yarn to the starting nail, making it easier for younger campers to begin weaving.
- Combine different yarn textures like wool and embroidery floss for added visual interest.
- Create smaller string art designs on wooden clothespins for unique keychains.
5. Paper Fish Frenzy: Swimming into Creativity
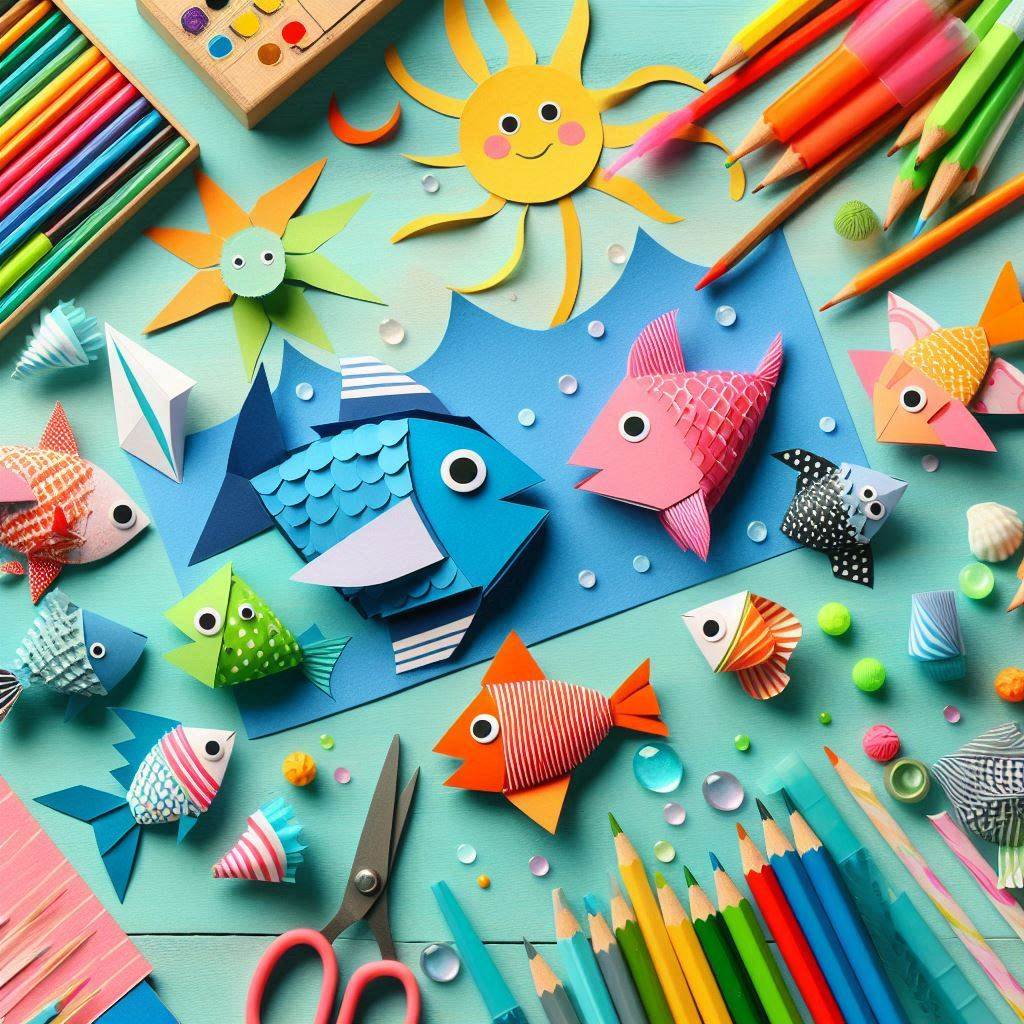
This adorable craft lets campers create a school of colorful paper fish to decorate classrooms, cabins, or even mobiles.
Materials:
- Construction paper in various colors
- Scissors
- Glue stick
- Googly eyes
- Optional: Markers or crayons for additional details
Instructions:
- Fishy Shapes: Choose construction paper colors that resemble different fish species like orange for clownfish, yellow for goldfish, or blue for a tropical fish. Trace or draw fish shapes on the construction paper and cut them out.
- Fin-tastic Fun: Cut out separate triangles for fins and glue them onto the fish bodies.
- Scaly Details (Optional): Use markers or crayons to add details like scales, stripes, or spots to the fish.
- Googly Eye Power! Attach googly eyes to the fish for a playful and expressive look.
- Mobile Magic (Optional): Punch a small hole at the top of each fish and thread them onto string or fishing line to create a beautiful hanging mobile.
Tips:
- Use stencils or pre-cut fish shapes to make the craft easier for younger campers.
- Create a vibrant coral reef scene by gluing the paper fish onto a decorated piece of cardboard.
- Experiment with different sizes and shapes for a more diverse school of fish.
6. Friendship Bracelet Bonanza: Weaving Threads of Connection
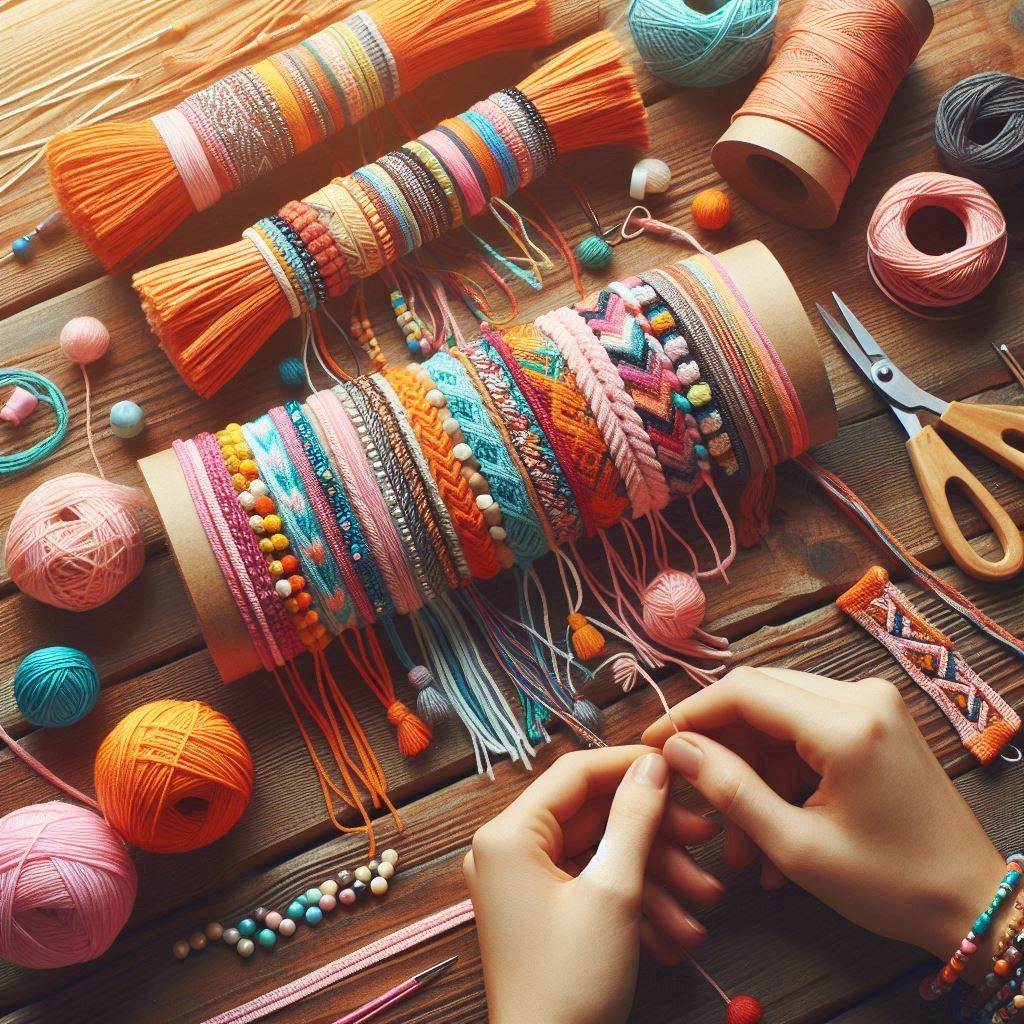
Friendship bracelets are a timeless summer camp craft that allows campers to create personalized tokens of friendship and express their creativity.
Materials:
- Embroidery floss in various colors
- Cardboard loom (optional)
- Scissors
- Tape (optional)
Instructions:
- Loom or No Loom? For a more structured approach, use a pre-made cardboard loom with multiple slots. Alternatively, campers can create their own loom by wrapping embroidery floss around a sturdy piece of cardboard several times, creating an even number of loops (typically 6 or 8). Secure the loops with tape to prevent them from unraveling.
- Choosing Colors: Select two or more contrasting colors of embroidery floss for a visually appealing design. Cut a long piece of each chosen color, leaving enough length to comfortably weave.
- Knot Basics: Begin by tying a square knot at the end of one of the floss colors. Attach this knot to the first loop on the loom (or the first two loops if using your own cardboard loom).
- Weaving Magic: Friendship bracelets use a basic weaving technique called a forward pass and a backward pass. Here’s how it works:
- Forward Pass: Take one strand of floss and pass it under one loop on the loom, then over the next loop. Continue this pattern until you’ve reached the end of the loom.
- Backward Pass: Take the same strand of floss and do the opposite of the forward pass. Go over the first loop, then under the next loop, and so on, until you reach the end of the loom.
- Color Change: To change colors, simply tie the new floss to the end of the previous color strand using a square knot. Weave the new color strand into the pattern as described above.
- Repeat and Secure: Continue alternating forward and backward passes, changing colors as desired, until the bracelet reaches the desired length. Tie a square knot at the end of all the floss strands and carefully cut them off, leaving a small tail.
- Finishing Touches: Melt the ends of the floss strands slightly with a lighter (adult supervision required) to prevent fraying.
Tips:
- Younger campers can start with simpler patterns using just two colors.
- As campers gain experience, they can explore more intricate designs with multiple colors and braiding techniques.
- Use masking tape to secure the floss ends to the cardboard loom if needed, making it easier for younger campers to manage the weaving process.
7. Natural Jewelry Making: Earth-Toned Elegance
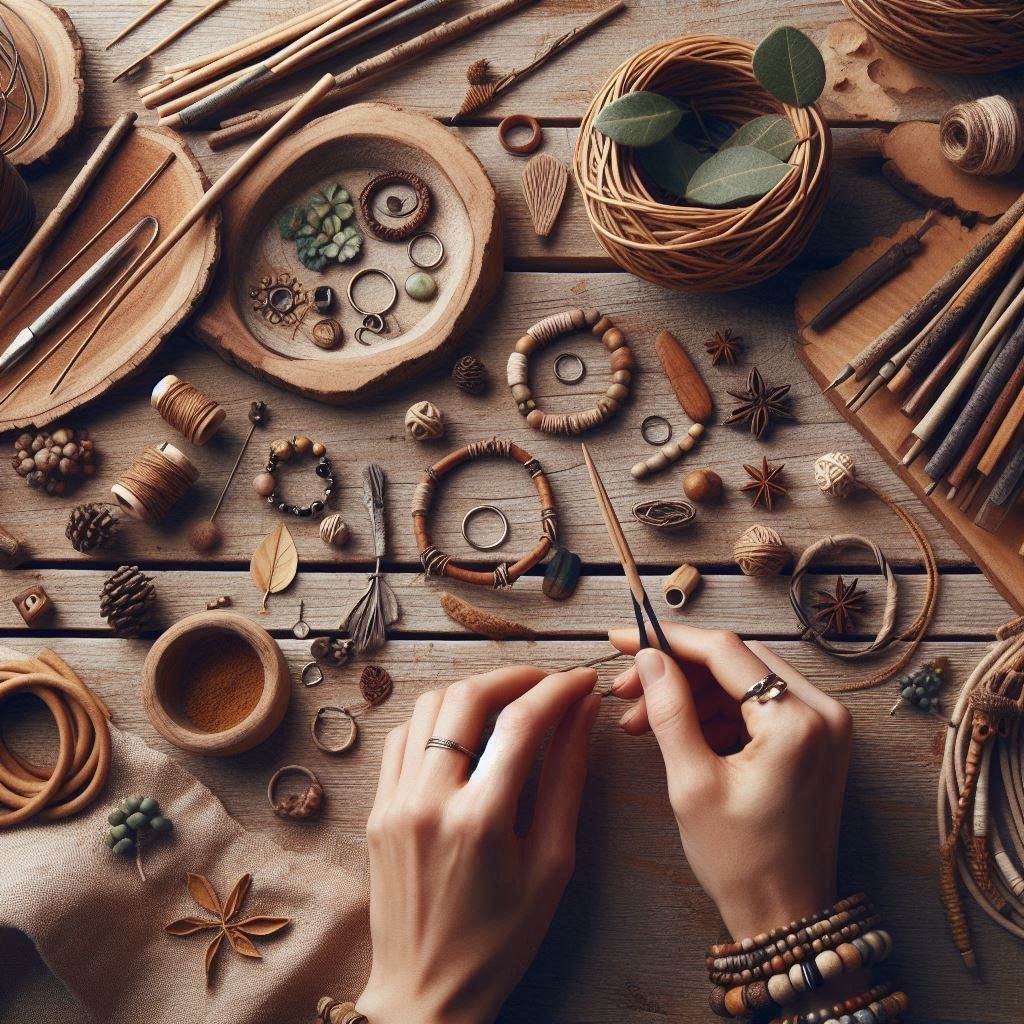
This eco-friendly craft allows campers to create unique and personalized jewelry pieces using natural materials found around the campsite.
Materials:
- Air-dry clay (optional)
- Craft sticks
- Natural materials like seashells, colorful pebbles, small pinecones, or interesting seed pods (collected with permission)
- Beads in various shapes and sizes
- String or twine
- Scissors
Instructions:
- Clay Creations (Optional): If using air-dry clay, campers can mold it into beads or pendants with interesting shapes like leaves, flowers, or animals. Let the clay dry completely according to the package instructions.
- Nature’s Treasure Trove: Go on a nature scavenger hunt around the campsite and collect interesting natural materials like seashells, colorful pebbles, or small pinecones. Ensure these materials are clean and dry before using them in the jewelry.
- Stringing it Together: Cut a length of string or twine and thread it through the hole of a bead. Then, add a natural element like a seashell or a pinecone, followed by another bead. Continue adding beads and natural materials in a desired pattern until the bracelet or necklace reaches the desired length.
- Tying the Knot: Once the desired length is reached, tie a secure knot at the end of the string and trim off any excess.
Tips:
- Pre-drill small holes in natural materials like seashells or pebbles if they don’t have natural openings for threading. Adult supervision is recommended for this step.
- Use a variety of textures and colors in the natural materials for a more visually interesting piece.
- Experiment with different stringing techniques like braiding or knotting for a unique look.
8. Tie-Dye Coasters: Sprucing Up Camp Dinners
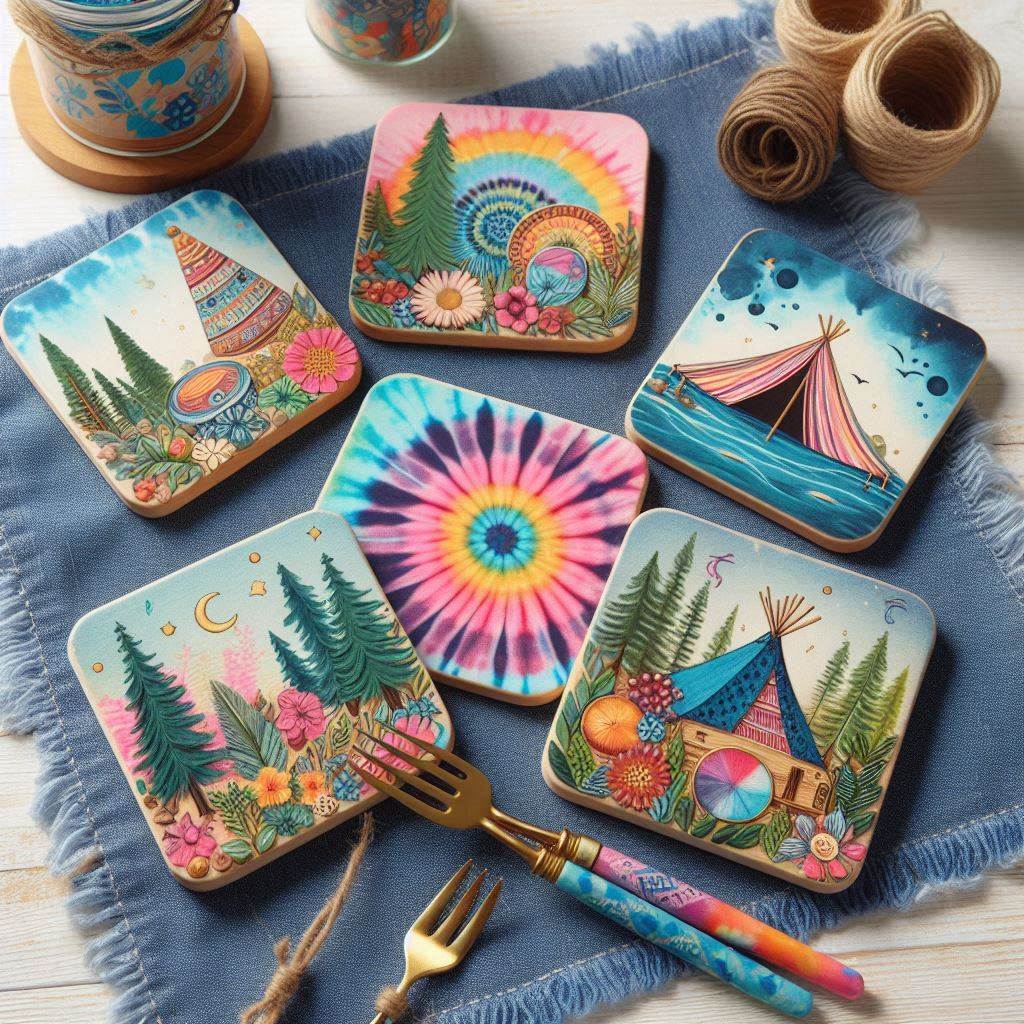
Building on the tie-dye fun, this craft lets campers personalize absorbent coasters for their camp mugs or water bottles.
Materials:
- White cotton fabric squares (cut to desired coaster size)
- Rubber bands in various sizes
- Assorted dye packs suitable for fabric
- Plastic gloves (optional)
- Shallow plastic bins or baking trays
- Table covers or plastic sheeting
Instructions:
- Prep the Workspace: Just like with tie-dye shirts, cover the work area with plastic sheeting and encourage campers to wear gloves for protection (optional).
- Rubber Band Magic: Similar to tie-dye shirts, use rubber bands to create different dye patterns on the fabric squares. Popular techniques include spirals, bullseyes, or crinkled designs.
- Dyeing Time! Follow the instructions on the dye packs and prepare the dye solutions in separate bins or trays. Have campers dip different sections of the fabric squares into the dye baths for even saturation.
- Let the Colors Rest: Once dyed, place the fabric squares in sealed plastic bags and let them sit for the recommended time according to the dye instructions.
- Untie and Rinse: After the resting period, have campers carefully remove the rubber bands and rinse the dyed fabric squares thoroughly in cool water until the water runs clear. Wash the fabric squares following the dye instructions and let them dry flat.
- Optional Finishing Touches: Once dry, campers can personalize their coasters with fabric markers or add a layer of fabric stiffener (following package instructions) for a more rigid structure.
Tips:
- Use pre-cut fabric squares to save time and ensure uniform coaster sizes.
- Experiment with different dye application techniques like spraying or pouring for unique patterns.
- Let younger campers choose a single color for a simpler dyeing process.
9. Bug Buddies: Feathery Friends Take Flight
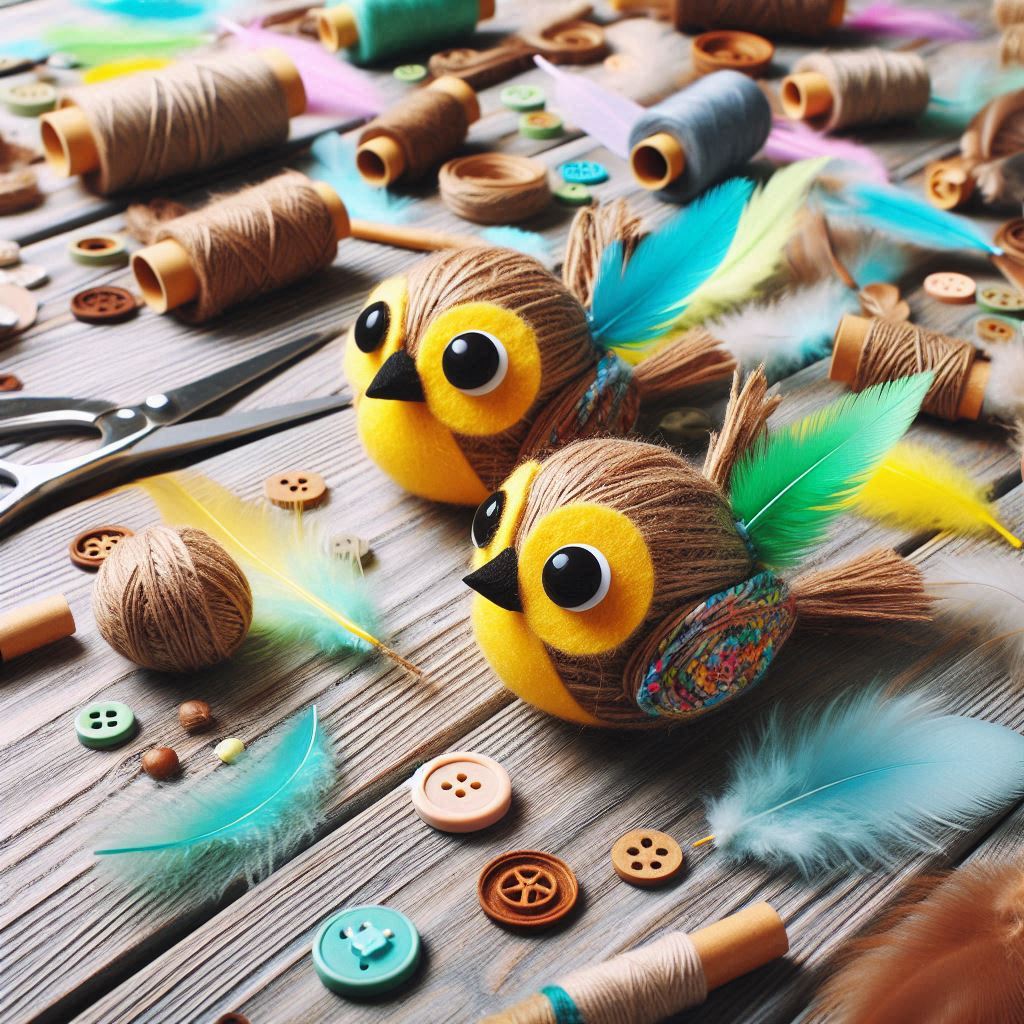
This adorable craft allows campers to create their own feathered friends using simple materials.
Materials:
- Pipe cleaners in various colors
- Googly eyes
- Feathers (collected with permission or purchased from a craft store)
- Craft foam sheets (optional)
- Markers (optional)
- Scissors
- Glue
Instructions:
- Pipe Cleaner Twists: Bend a pipe cleaner in half to create the body of the bug. Twist the two ends together to secure the body shape.
- Feathery Wings: Cut two to three feathers to a similar size and glue them onto the back of the pipe cleaner body for wings.
- Googly Eye Power! Attach googly eyes to the front of the pipe cleaner body to bring the bug to life.
- Optional Details: For additional features, cut shapes like antennae or legs from craft foam sheets and glue them onto the pipe cleaner body. Campers can use markers to draw details on the wings or body.
Tips:
- Use different pipe cleaner colors and feather types to create a variety of bug buddies.
- Experiment with pipe cleaner shapes for different types of bugs like ladybugs, butterflies, or even dragonflies.
- Create a miniature garden scene by gluing the bug buddies onto cardboard decorated with construction paper grass and flowers.
10. Nature Mandalas: A Circle of Tranquility
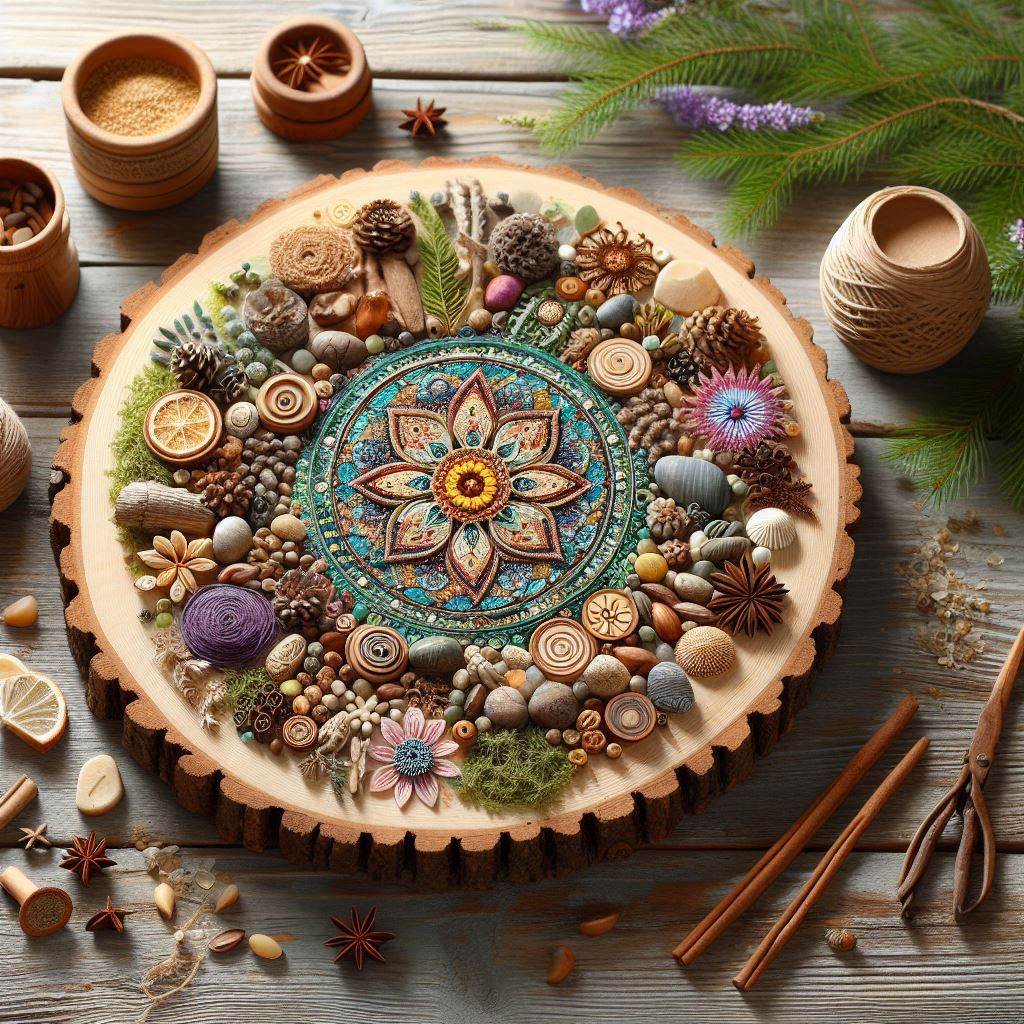
This calming activity allows campers to connect with nature and create beautiful mandalas using natural materials found around the camp.
Materials:
- Cardboard cutouts in various sizes (circle or square)
- Natural materials like leaves, seeds, pebbles, small twigs, or flower petals (collected with permission)
- Glue stick
Instructions:
- Natural Treasure Hunt: Take campers on a nature walk around the campsite and collect a variety of interesting natural materials. Ensure the materials are clean and dry before using them in the mandala.
- Mandalas Take Shape: Place the cardboard cutout on a flat surface. Encourage campers to arrange the collected natural materials in a symmetrical pattern on the cardboard, creating a circular or mandala-like design.
- Gluing it Together: Once satisfied with the design, have campers carefully glue the natural materials onto the cardboard cutout.
Tips:
- Use a variety of colors, textures, and sizes in the natural materials for a more visually appealing mandala.
- Pre-draw a simple circular outline on the cardboard to guide younger campers in their mandala creation.
- For a more permanent display, consider spraying the finished mandala with a light coat of clear sealant (adult supervision recommended).
11. Campsite Critter Critters: Sock Puppet Shenanigans
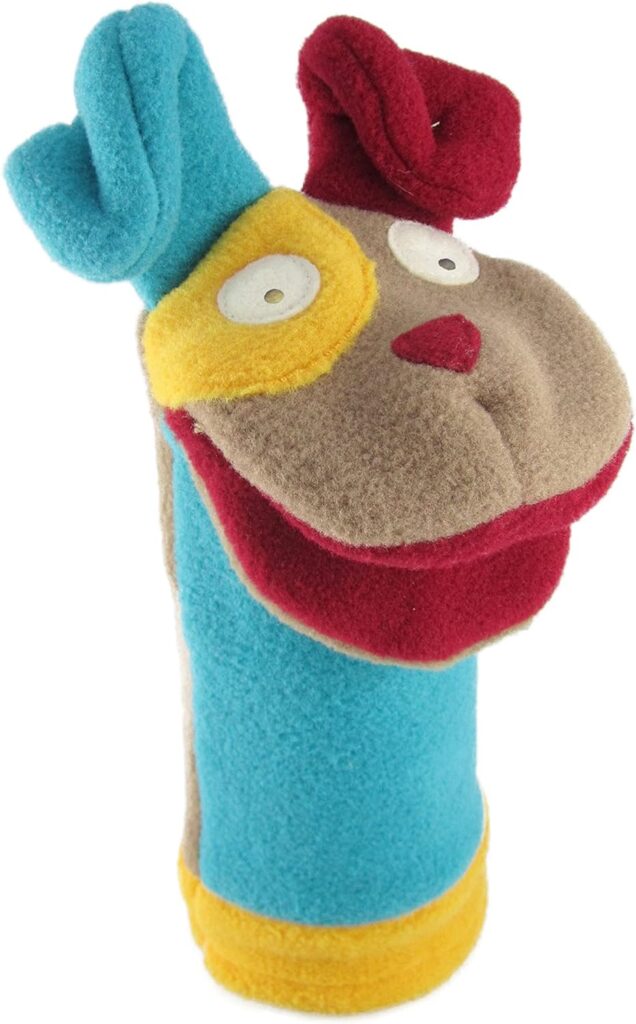
This playful craft transforms ordinary socks into adorable and expressive camp critter puppets for imaginative storytelling and skits.
Materials:
- Clean, mismatched socks (one per puppet)
- Buttons or googly eyes
- Fabric scraps in various colors (felt works well)
- Yarn or embroidery floss in different colors
- Scissors
- Craft glue
- Permanent markers (optional)
Instructions:
- Sock Selection: Choose clean, mismatched socks that are large enough to fit a child’s hand.
- Sock Puppet Anatomy: Decide on the type of critter the puppet will be. For example, a brown sock could become a bear, a striped sock could be a raccoon, and so on. Use scissors to carefully cut out details like ears or a tail from the sock cuff, depending on the chosen critter.
- Bringing Critters to Life: Cut shapes like eyes, noses, and mouths from fabric scraps and glue them onto the sock puppet face. Alternatively, use buttons or googly eyes for a simpler approach. Permanent markers can be used to add details like whiskers or fur patterns.
- Let’s Get Talking!: Cut a small slit at the bottom of the sock, just above the heel. This will be the puppet’s mouth.
- Optional: Adding Strings: For added control during puppet shows, cut small slits on the sides of the sock near the cuff and tie short pieces of yarn or embroidery floss to create strings for puppeteering.
Tips:
- Use different sock textures and colors to create a variety of critter puppets.
- Get creative with the details! Pipe cleaners can be used for whiskers, and yarn scraps can be glued on for hair or fur.
- Encourage campers to write and perform short puppet skits around the campfire.
12. Friendship Bracelets with a Twist: Beaded Bonanza
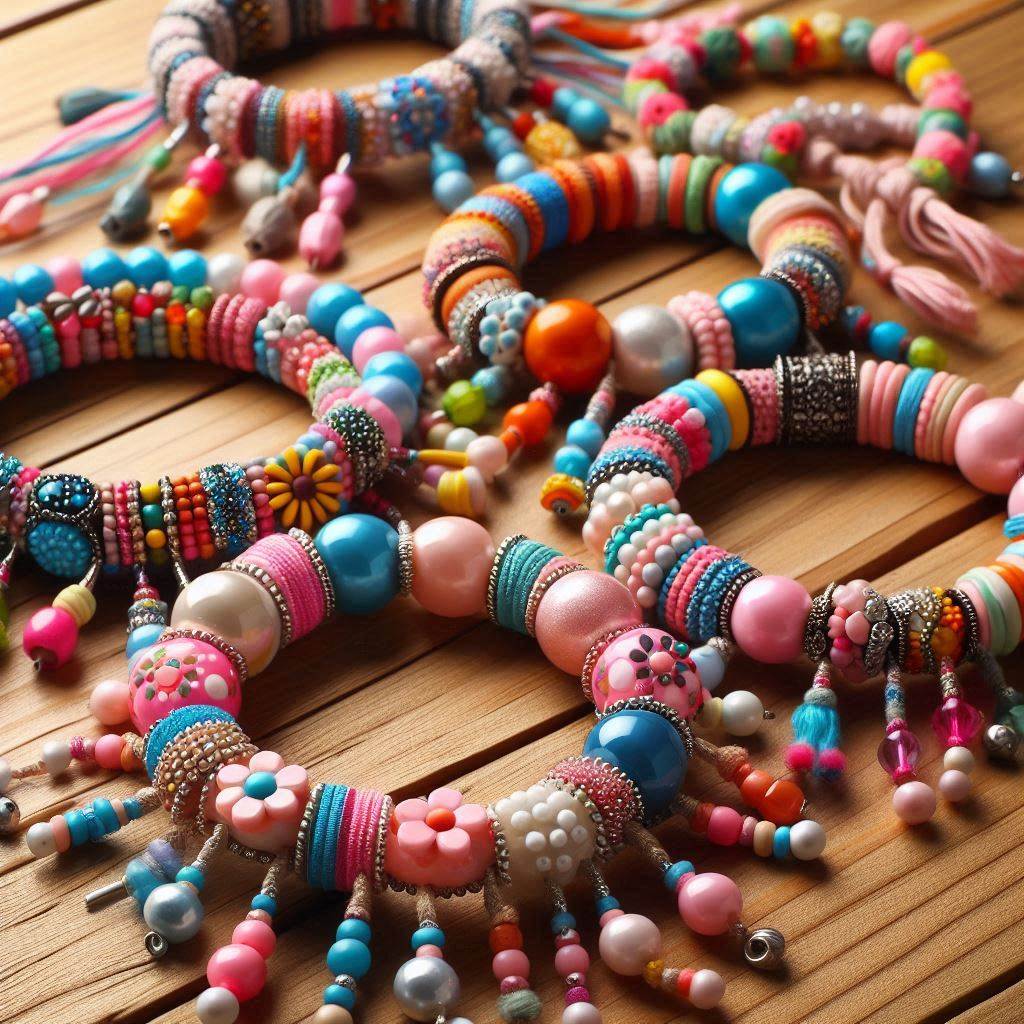
Friendship bracelets are a classic summer camp craft, but this version adds a touch of elegance with colorful beads.
Materials:
- Embroidery floss in various colors
- Craft scissors
- Pony beads in a variety of colors and sizes
- Jump rings (optional)
- Clasps (optional)
Instructions:
- Color Coordination: Choose a combination of embroidery floss and pony beads that complement each other visually.
- Threading the Floss: Cut a long piece of embroidery floss and thread it through a large pony bead. Tie a knot at the end of the floss to secure the bead.
- Weaving Magic: Similar to classic friendship bracelets, use a forward pass and backward pass technique to weave the embroidery floss through a series of pony beads. Experiment with different beading patterns for a unique look.
- Finishing Touches: Once the bracelet reaches the desired length, tie a secure knot at the end and cut off the excess floss. For a finished look with a clasp, attach a jump ring to each end of the bracelet and connect them with a clasp.
Tips:
- Use a beading needle (adult supervision recommended) to thread the floss through smaller pony beads if desired.
- Create patterned sections by alternating bead colors or using specific bead sizes in a sequence.
- This craft can also be adapted to create beaded necklaces by using a longer length of embroidery floss.
13. Campfire Lanterns: Glowing with Camp Spirit
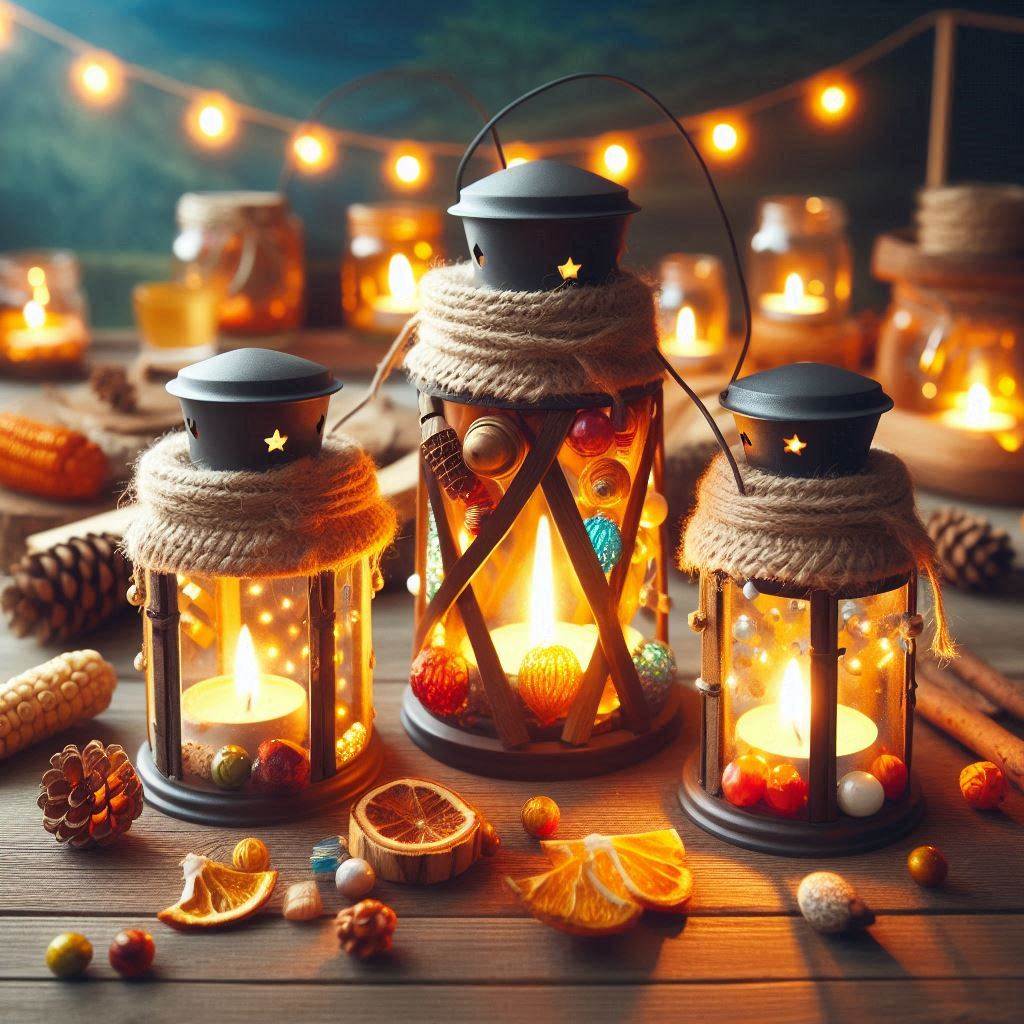
This craft allows campers to create their own personalized lanterns to illuminate their cabins or add a touch of magic to evening campfires.
Materials:
- Clean, empty glass jars in various sizes
- Tissue paper in vibrant colors
- Craft glue (water-based works well)
- Paint brushes (optional)
- Scissors
- Battery-operated tea lights or fairy lights
Instructions:
- Jar Preparation: Ensure the glass jars are clean and dry. Remove any labels or stickers.
- Tissue Paper Magic: Cut the tissue paper into small squares. Water down the craft glue slightly in a small container. Using a paintbrush (optional) or their fingers, campers can spread a thin layer of glue onto the outside surface of the jar.
- Layering the Light: Carefully place the tissue paper squares onto the glued areas of the jar, overlapping them slightly. Continue adding layers of tissue paper and glue until the entire jar is covered, creating a stained-glass effect. Leave some space at the top of the jar opening for ventilation. Allow the glue to dry completely (drying time may vary depending on the amount of glue used).
- Let There Be Light: Once dry, carefully place a battery-operated tea light or a string of fairy lights inside the jar. These lanterns can be used to decorate cabins or hung outdoors for a magical campfire ambiance (ensure proper hanging methods and adult supervision around open flames).
Tips:
- Use a variety of tissue paper colors to create vibrant and colorful lantern designs.
- Experiment with different techniques like crumpling the tissue paper squares before applying them to the jar for a more textured look.
- For younger campers, pre-cut the tissue paper squares for easier handling.
14. Nature Mobiles: A Symphony of the Wind
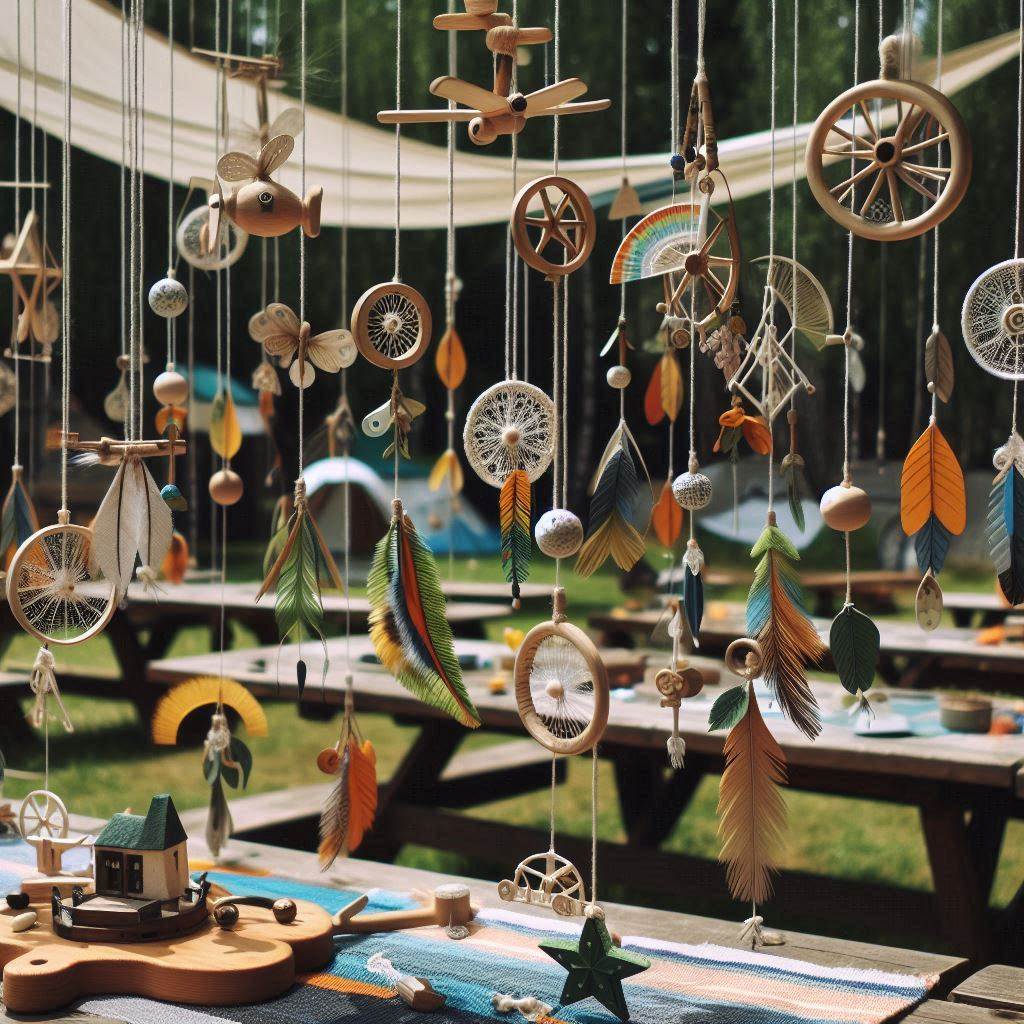
This enchanting craft allows campers to capture the beauty of nature in a mesmerizing mobile.
Materials:
- Thin branches (collected with permission)
- Twine or string
- Scissors
- Natural materials like pine cones, acorns, colorful leaves, or dried seed pods (collected with permission)
- Craft paint (optional)
- Paint brushes (optional)
- Hole punch (optional, adult supervision recommended)
Instructions:
- Branch Selection: Find thin branches that are lightweight and relatively straight. Ensure they are dry and free of insects.
- Mobile Base: Cut the twine or string to a desired length, depending on the size of the mobile. Tie the ends of the string together to create a loop for hanging.
- Natural Treasures: Select a variety of interesting natural materials like pine cones, acorns, leaves, or seed pods. If using paint, have campers decorate the natural materials with colorful designs (optional).
- Creating Movement: Adult supervision is recommended for this step. Carefully punch small holes in the natural materials (using a hole punch) or tie the twine directly around them, creating hanging loops.
- Balancing Act: Tie the prepared natural materials with hanging loops to different sections of the main twine or string, ensuring the mobile hangs evenly. Experiment with the placement of different materials for a balanced and visually appealing design.
Tips:
- Use different branch lengths and twine lengths to create a tiered mobile structure.
- Include lightweight natural materials like feathers or dried flowers for a more whimsical touch.
- Hang the completed mobile in the cabin or a sheltered outdoor area where it can gently sway in the breeze.
15. Friendship Seed Bombs: Spreading Kindness and Greenery
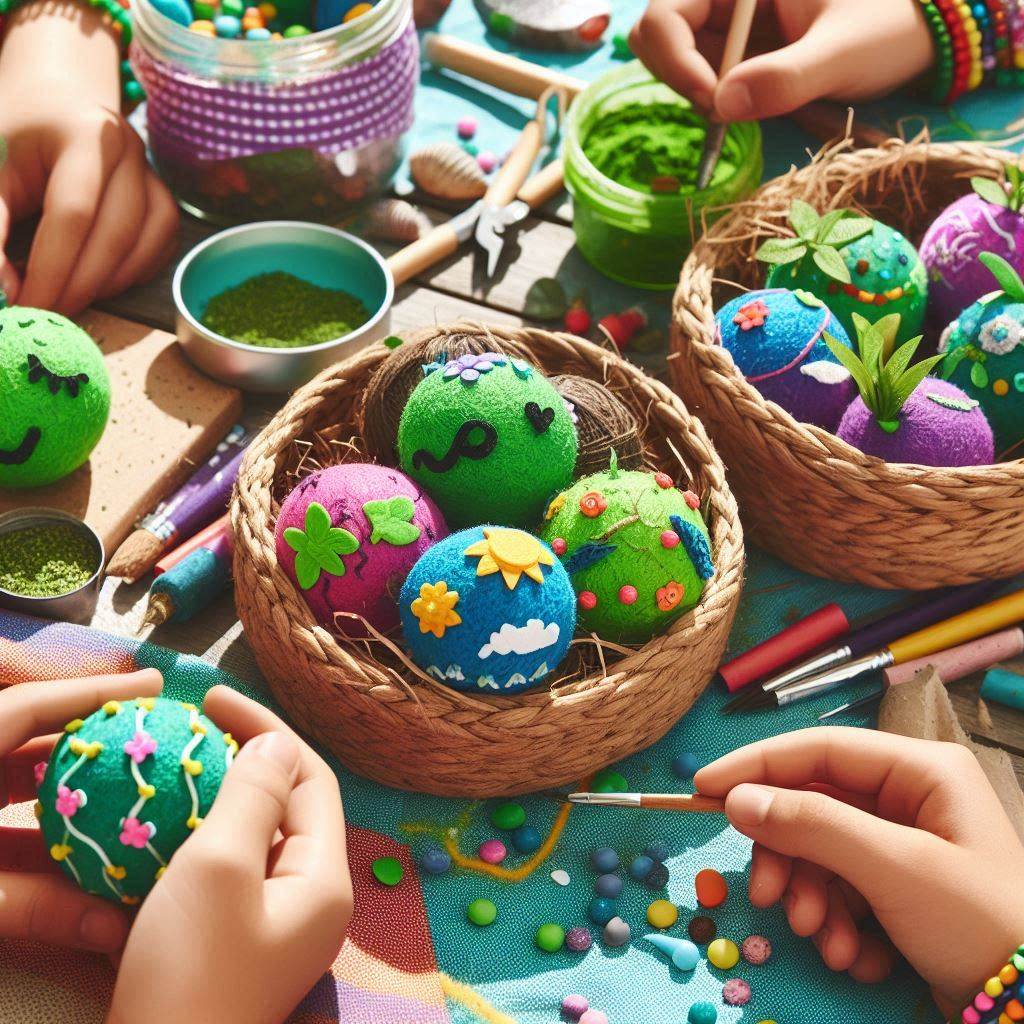
This eco-friendly craft combines creativity with environmental consciousness. Campers can create seed bombs filled with wildflower seeds to spread beauty and life around the campsite (with adult permission).
Materials:
- Air-dry clay (seed bomb safe, check the label)
- Wildflower seeds (native to the local area)
- Water in a small container
- Optional: Food coloring (natural food coloring works best)
- Craft sticks or spoons for mixing
- Gloves (optional)
Instructions:
- Clay Prep: Break the air-dry clay into small pieces and place them in a bowl. Add a small amount of water and mix it together with a craft stick or spoon until a moldable consistency is achieved. (Optional) Add a few drops of natural food coloring to the clay mixture for a decorative touch.
- Seeding the Future: Once the clay is well mixed, add a small amount of wildflower seeds to the mixture and knead it gently to incorporate the seeds evenly throughout the clay.
- Shaping the Seed Bombs: With gloved hands (optional), roll the clay mixture into small balls, about the size of a marble.
- Drying Time: Place the seed bombs on a clean, flat surface lined with newspaper or parchment paper. Allow them to dry completely according to the air-dry clay package instructions (drying time may vary).
- Spreading the Love: Once dry, the seed bombs can be scattered around the campsite in designated areas (with adult permission) where wildflowers can thrive. Rainwater will help the clay dissolve, releasing the seeds to grow into beautiful wildflowers.
Tips:
- Use a variety of wildflower seed mixes to create a diverse and colorful display.
- Involve local experts or park rangers to ensure the chosen wildflowers are native to the area and won’t disrupt the local ecosystem.
- This craft is a great reminder of the importance of environmental stewardship and the beauty of nature.
Conclusion
Crafting at summer camp is more than just a fun activity; it’s a way to foster creativity, build confidence, and create cherished memories. The 15 best summer camp crafts highlighted in this guide offer a variety of engaging and imaginative projects that will keep campers entertained and inspired. Whether your campers are creating tie-dye shirts, painting rocks, or making friendship bracelets, these crafts are sure to bring joy and a sense of accomplishment. Encourage your campers to try out these projects and watch their creativity blossom as they make unique and meaningful keepsakes. With these craft ideas, every camper will leave with a piece of summer magic to remember.

