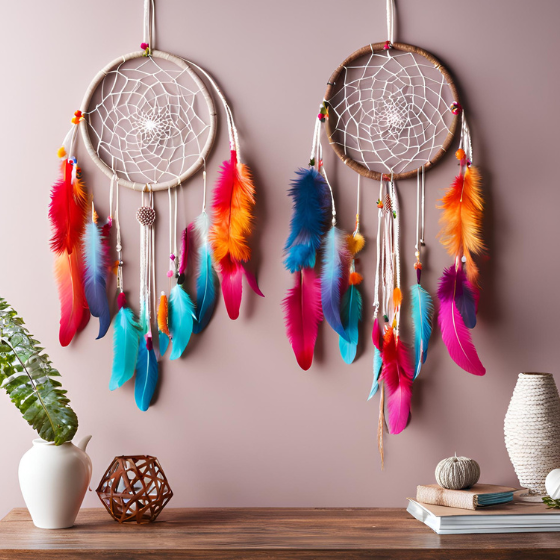
Homemade Room Décor Ideas; Creating a personal and inviting living space doesn’t have to come with a hefty price tag. While store-bought décor can be convenient, it often lacks the unique touch that truly makes a room your own. Enter homemade room décor—a budget-friendly and creative solution to transform your space into a reflection of your style and personality. In this article, we’ll explore nine inventive homemade décor ideas that you can easily create with materials you probably already have at home. Let’s dive into these inspiring projects that promise to add charm and character to any room.
1. DIY Photo Wall Display
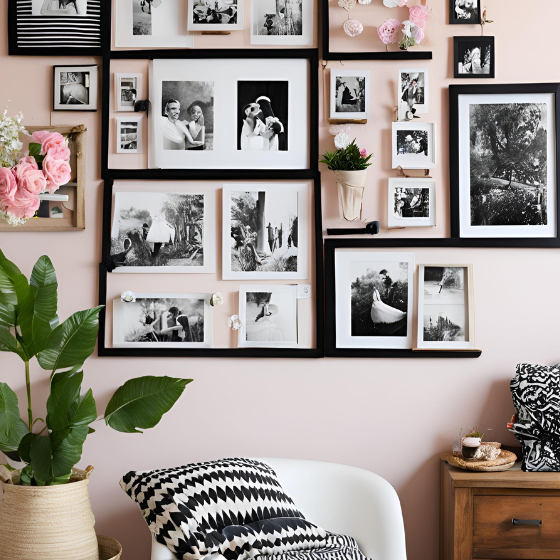
A photo wall display is a wonderful way to showcase cherished memories and bring a personal touch to your room. This project is not only simple but also highly customizable, allowing you to curate a display that truly resonates with you.
Materials Needed:
- Twine or string
- Clothespins or mini clips
- Printed photos
- Picture frames (optional)
- Washi tape (optional)
Instructions:
- Plan Your Layout: Decide on the wall space where you want your photo display. You can create a straight line, a grid, or a more whimsical arrangement.
- Prepare the Twine: Cut lengths of twine that are slightly longer than the width of the space you’re decorating. Secure the ends of each twine using nails, hooks, or adhesive strips.
- Add Photos: Attach your printed photos to the twine using clothespins or mini clips. For added creativity, use washi tape to mount photos directly on the wall or in frames.
- Adjust and Arrange: Step back and adjust the photos as needed to ensure a balanced and visually pleasing arrangement.
Style Tip: For a cohesive look, choose photos in a consistent color scheme or go for a mix of black-and-white and color photos. You can also add decorative elements like string lights or small framed prints to enhance the display.
2. Painted Mason Jar Vases
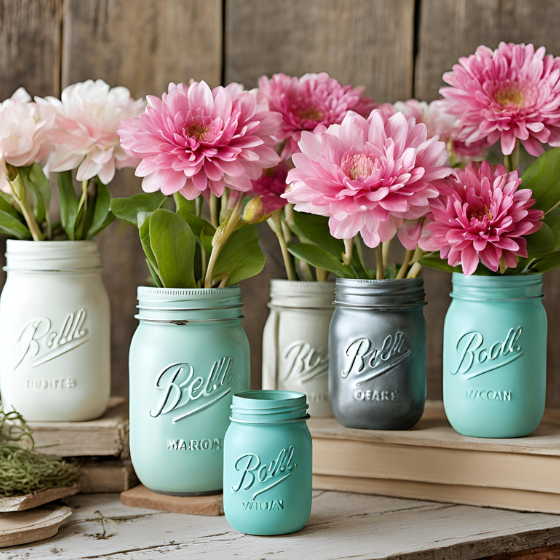
Mason jars are versatile and can be transformed into eye-catching vases or storage containers with just a bit of paint and creativity. This project is perfect for adding a splash of color and personality to your room.
Materials Needed:
- Mason jars
- Acrylic paint
- Paintbrushes
- Sealant (optional)
Instructions:
- Clean and Prep Jars: Wash and thoroughly dry your mason jars. Remove any labels or residue.
- Apply Paint: Use a paintbrush to apply acrylic paint to the outside of the jars. You can opt for a solid color or experiment with patterns and designs.
- Dry and Seal: Allow the paint to dry completely. If desired, apply a clear sealant to protect the paint and give the jars a glossy finish.
- Add Décor: Once dry, use the jars as vases for fresh flowers, or fill them with candles, pebbles, or small decorative items.
Style Tip: Coordinate the colors of your painted mason jars with the room’s color palette. For a more modern look, use metallic paints or matte finishes.
3. Fabric-Covered Bulletin Boards
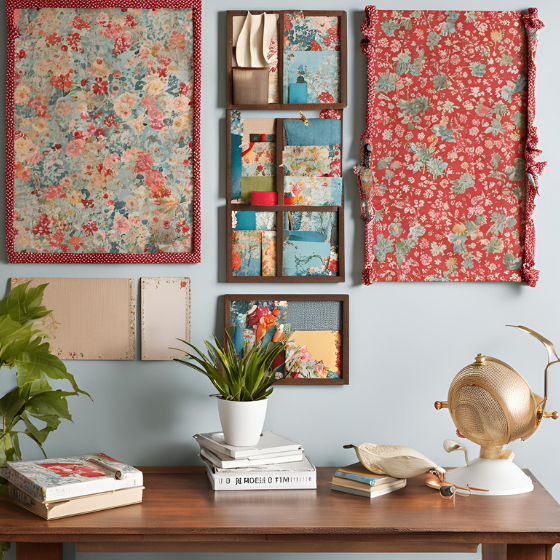
Bulletin boards are practical for organizing notes and reminders, but they can also be customized to complement your room’s décor. By covering a basic bulletin board with fabric, you can turn it into a stylish statement piece.
Materials Needed:
- Fabric of your choice
- Corkboard or bulletin board
- Glue or fabric adhesive
- Scissors
- Tacks or pushpins
Instructions:
- Cut Fabric: Measure and cut the fabric to fit over the bulletin board, leaving a little extra on the edges to wrap around.
- Attach Fabric: Apply glue or fabric adhesive to the surface of the bulletin board. Smooth the fabric over the board, pressing out any wrinkles.
- Secure Edges: Fold the edges of the fabric over the back of the board and glue them in place. Allow to dry.
- Add Pins: Once the fabric is securely attached, use tacks or pushpins to pin notes and photos to the board.
Style Tip: Choose a fabric with a pattern that complements other elements in your room, such as curtains, cushions, or rugs. For a more polished look, use coordinating trim or fabric accents.
4. DIY Dreamcatchers

Dreamcatchers are not only beautiful but also carry a sense of tradition and mystique. Making your own allows you to personalize them with colors and materials that fit your décor.
Materials Needed:
- Embroidery hoop
- Yarn or thread
- Feathers
- Beads
- Lace or fabric scraps
Instructions:
- Prepare the Hoop: Wrap yarn around the embroidery hoop, securing it with a knot.
- Create the Web: Weave more yarn in a circular pattern within the hoop to form a web. You can add beads to the web for extra detail.
- Add Feathers: Attach feathers and lace to the bottom of the hoop using additional yarn or thread.
- Hang Your Dreamcatcher: Use a piece of yarn to create a loop at the top for hanging.
Style Tip: Choose feathers and beads in colors that match your room’s palette. Hang your dreamcatcher near a window or above your bed for a serene touch.
5. Homemade Wall Art with Canvas and Stencils
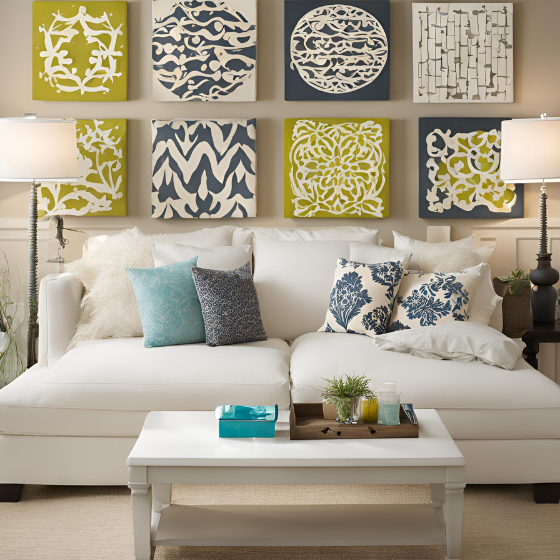
Creating your own wall art is a great way to add a unique and artistic touch to your room. Using stencils and acrylic paint, you can craft custom pieces that reflect your personal style.
Materials Needed:
- Blank canvases
- Stencils
- Acrylic paint
- Painter’s tape
- Paintbrushes
Instructions:
- Prepare the Canvas: Set up your blank canvas on a flat surface and use painter’s tape to create clean edges or sections.
- Apply Stencils: Position the stencils on the canvas and use a brush to apply paint over them. Carefully remove the stencils while the paint is still wet.
- Add Details: Once the paint is dry, add any additional details or accents to complete the design.
Style Tip: Consider creating a gallery wall with multiple pieces of homemade art. Choose colors and designs that tie in with your room’s existing décor for a cohesive look.
6. Repurposed Wooden Pallet Shelves
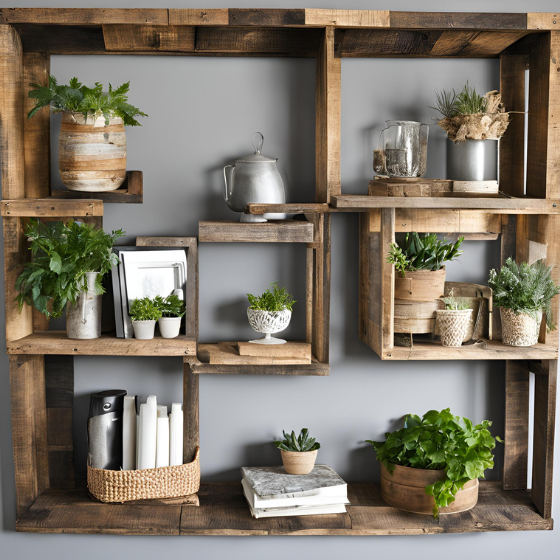
Wooden pallets can be upcycled into stylish and functional shelves that add a rustic or industrial touch to your room. This project is great for displaying books, plants, or decorative items.
Materials Needed:
- Wooden pallets
- Nails or screws
- Hammer or drill
- Sandpaper
- Paint or wood stain
Instructions:
- Prepare the Pallets: Disassemble the pallets if needed, sand down rough edges, and clean the wood.
- Assemble Shelves: Reassemble the pallets into shelf configurations and secure with nails or screws.
- Finish the Wood: Apply paint or wood stain to achieve the desired look. Allow to dry.
- Mount the Shelves: Attach the shelves to the wall using appropriate hardware.
Style Tip: Style the shelves with a mix of books, plants, and decorative items. For a modern twist, paint the pallets in bold colors or metallic finishes.
7. No-Sew Throw Pillows
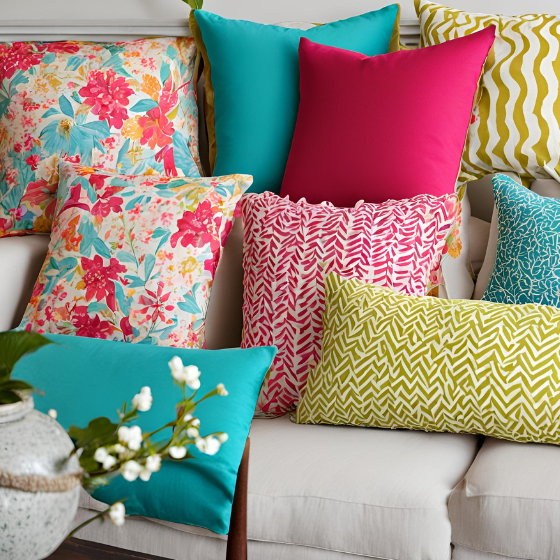
Throw pillows are a simple way to update your room’s décor, and making them without sewing is incredibly easy. This project is perfect for experimenting with different fabrics and patterns.
Materials Needed:
- Fabric
- Fabric glue
- Pillow stuffing or an old pillow
- Scissors
Instructions:
- Cut Fabric: Cut fabric into squares or rectangles, depending on the size of the pillow you want.
- Glue Edges: Fold the fabric to create a pillow cover and use fabric glue to secure the edges, leaving one side open.
- Stuff the Pillow: Insert pillow stuffing or an old pillow into the cover. Glue the remaining open side closed.
- Allow to Dry: Let the glue dry completely before using the pillow.
Style Tip: Experiment with different fabric textures and patterns to create a variety of pillows that complement your room’s theme.
8. Handmade Rope Baskets

Rope baskets are both stylish and practical. They’re perfect for organizing items or as decorative accents. The natural texture of the rope adds a cozy, rustic feel to any room.
Materials Needed:
- Rope (cotton or jute)
- Hot glue gun and glue sticks
- Fabric lining (optional)
Instructions:
- Shape the Basket: Start by coiling the rope and securing it with hot glue. Continue coiling and gluing until you reach the desired size.
- Add Lining: For a finished look, line the inside of the basket with fabric.
- Allow to Set: Let the glue cool and set completely before using the basket.
Style Tip: Use rope baskets for storing items like blankets, toys, or magazines. Customize with different rope colors or patterns to match your room’s décor.
9. Decorative Hanging Terrariums

Hanging terrariums bring a touch of nature indoors and can be a stunning focal point in any room. They’re ideal for displaying air plants, succulents, or other small plants.
Materials Needed:
- Glass terrariums
- Succulents or air plants
- Pebbles or sand
- Moss
- Twine or wire for hanging
Instructions:
- Prepare Terrariums: Layer pebbles or sand at the bottom of the terrarium for drainage.
- Add Plants: Place the succulents or air plants inside the terrarium. Add moss or decorative stones for extra detail.
- Hang: Use twine or wire to create a hanging loop and secure it to the terrarium.
Style Tip: Hang terrariums at varying heights for visual interest. Choose plants that complement the room’s lighting and style.
Conclusion
Homemade décor projects offer a delightful way to infuse your room with personal touches while staying within budget. From photo displays and painted mason jars to custom wall art and terrariums, each of these ideas allows you to create a space that reflects your unique taste. We hope these projects inspire you to get creative and add a personalized flair to your home.
Encouragement: Don’t hesitate to experiment with different materials and techniques. Your personal touch will make all the difference.
Call to Action: Share your homemade décor creations with us! Post your photos on social media and tag us, or leave a comment below to showcase your projects.
Bonus Tips: For an added touch of customization, incorporate items you already have at home, like vintage frames or leftover fabric. Mixing and matching materials can lead to truly unique and unexpected results.
This article aims to guide readers through the process of creating unique and personalized décor items for their homes, offering clear instructions, style tips, and encouragement for DIY enthusiastic

