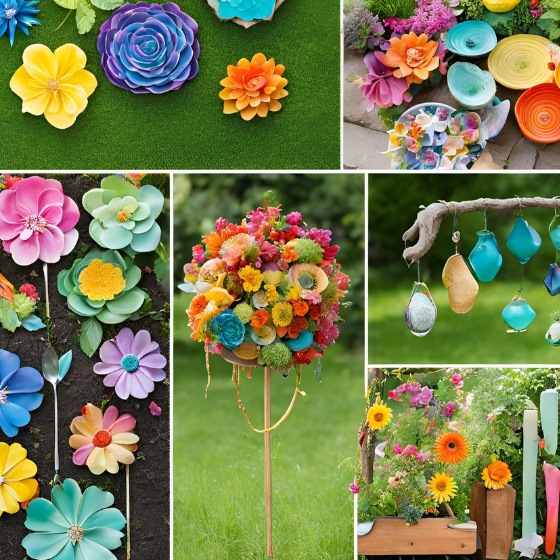
DIY Yard Art Ideas; Transforming your yard into a personalized outdoor haven is a rewarding way to express your creativity and enhance your living space. DIY yard art not only adds charm and character to your garden but also allows you to customize your outdoor area with unique and personal touches. In this comprehensive guide, we’ll explore 13 unique DIY yard art ideas that cater to various tastes and skill levels. Whether you’re an experienced crafter or a weekend hobbyist, you’ll find plenty of inspiration to get started.
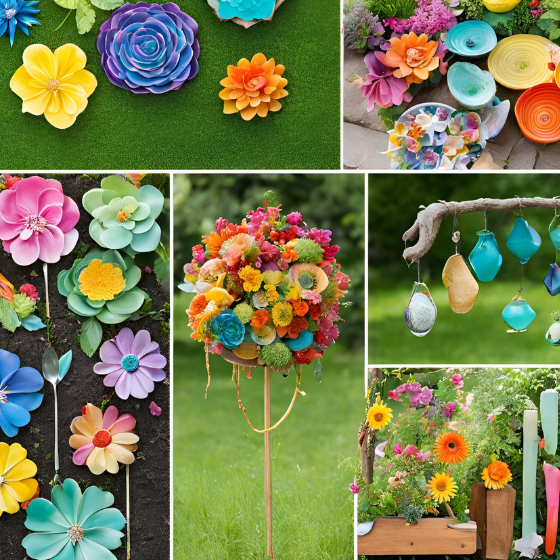
1. Mosaic Garden Stepping Stones
Description
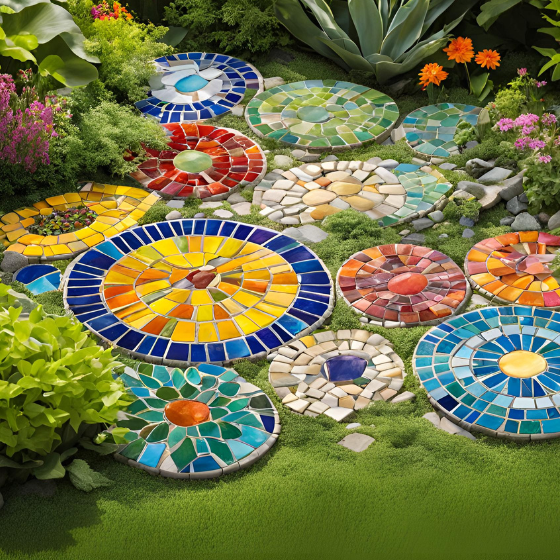
Mosaic garden stepping stones are an excellent way to add a splash of color and design to your garden pathways. These stones can be customized with a variety of patterns and colors, making each one a unique work of art.
Materials Needed
- Concrete stepping stones
- Mosaic tiles or broken pottery
- Adhesive (mosaic or tile adhesive)
- Grout
- Sealant
Instructions
- Prepare the Stepping Stones: Clean the surface of the concrete stepping stones to remove any debris or dirt. If necessary, sand the surface lightly to ensure better adhesion for the mosaic tiles.
- Design the Mosaic Pattern: Sketch out your design on paper or directly on the stone using a pencil. Arrange your mosaic tiles or broken pottery pieces according to your design.
- Apply the Tiles: Using adhesive, attach the mosaic pieces to the stepping stone, following your design. Allow the adhesive to dry according to the manufacturer’s instructions.
- Grout the Mosaic: Once the adhesive has set, apply grout over the entire surface of the stepping stone, pressing it into the gaps between the tiles. Wipe off excess grout with a damp sponge, and let it dry.
- Seal the Stone: Apply a sealant to protect your stepping stones from the elements and prolong their lifespan.
2. Upcycled Bottle Bird Feeders
Description
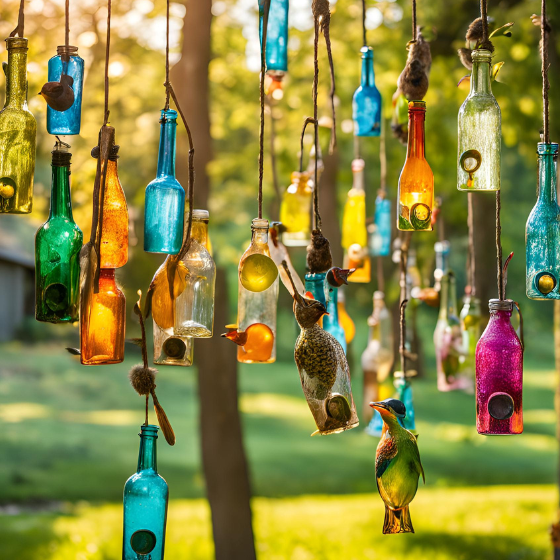
Turn old glass or plastic bottles into charming bird feeders that add both function and whimsy to your garden. These feeders are perfect for attracting local wildlife while reducing waste.
Materials Needed
- Empty bottles (glass or plastic)
- Feeder base (available at garden stores or DIY from other materials)
- Wire or string
- Drill or tool for making holes
Instructions
- Prepare the Bottles: Clean the bottles thoroughly and remove any labels. Ensure they are completely dry before proceeding.
- Attach the Feeder Base: Secure the feeder base to the bottom of the bottle. If using a DIY base, make sure it is stable and can hold bird seed.
- Drill Holes: Use a drill to make holes near the top of the bottle. These holes will be used to attach the wire or string for hanging.
- Add Wire or String: Thread the wire or string through the holes and secure it, creating a loop for hanging the feeder.
- Fill and Hang: Fill the bottle with bird seed and hang the feeder in a location where you can easily observe the birds.
3. Painted Rock Garden Markers
Description
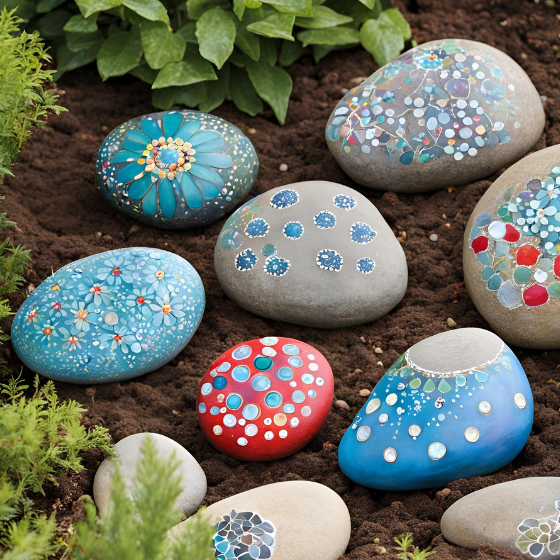
Painted rock garden markers are a delightful way to label your plants and add a touch of artistry to your garden. These markers are both practical and visually appealing.
Materials Needed
- Smooth, flat rocks
- Acrylic paint
- Paintbrushes
- Sealant
Instructions
- Select and Clean the Rocks: Choose smooth, flat rocks that will provide a good surface for painting. Wash and dry them thoroughly.
- Paint Designs and Names: Using acrylic paint, create designs or write plant names on the rocks. You can choose to use stencils or freehand your artwork.
- Seal the Rocks: Once the paint is dry, apply a clear sealant to protect your painted rocks from weathering.
4. Recycled Tire Planters
Description
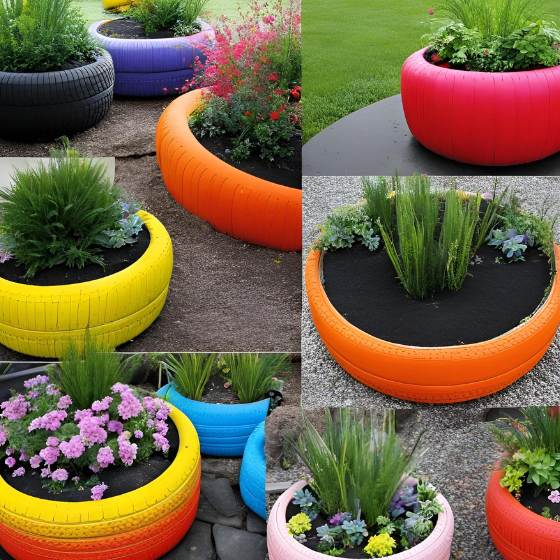
Old tires can be transformed into colorful and functional planters that make a bold statement in your garden. This project is both eco-friendly and visually interesting.
Materials Needed
- Old tires
- Paint (outdoor, non-toxic)
- Soil and plants
Instructions
- Clean and Prep the Tires: Wash the tires thoroughly to remove any dirt or debris. Allow them to dry completely.
- Paint and Decorate: Apply outdoor, non-toxic paint to the tires. You can choose to paint them in solid colors, create patterns, or even add decorative elements.
- Plant and Arrange: Fill the tires with soil and plant your favorite flowers or herbs. Arrange the planters in your garden or yard as desired.
5. Metal Garden Sculptures
Description
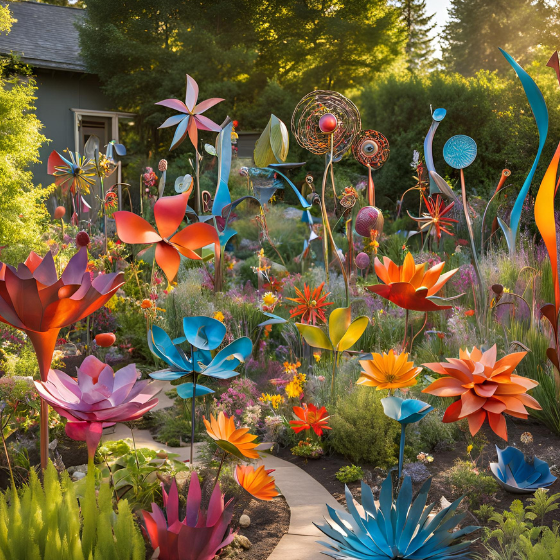
Creating metal garden sculptures from scrap metal or old tools is a fantastic way to repurpose materials and make a striking visual impact in your outdoor space.
Materials Needed
- Scrap metal or old tools
- Welding equipment (or strong adhesive for simpler projects)
- Paint or rust-proof coating (optional)
Instructions
- Design and Assemble: Plan your sculpture design and gather the metal pieces. Use welding equipment to assemble the sculpture, or use strong adhesive for simpler designs.
- Paint or Treat: If desired, paint your sculpture or apply a rust-proof coating to enhance durability and appearance.
6. Glass Jar Lanterns
Description
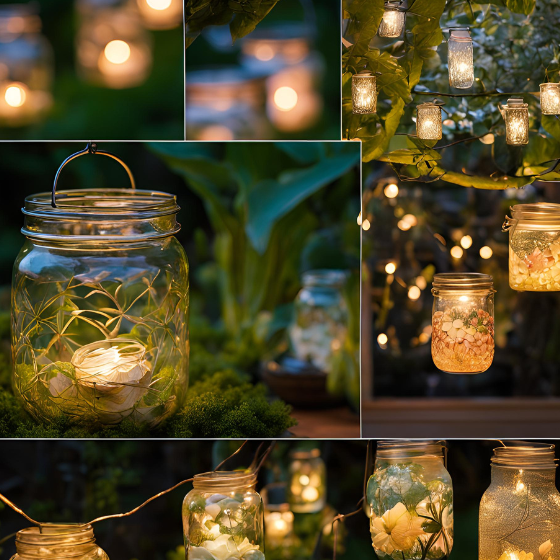
Glass jar lanterns add a cozy glow to your garden and are a great way to reuse jars that would otherwise be discarded. They are perfect for creating a magical ambiance during evenings.
Materials Needed
- Glass jars (mason jars or similar)
- Tea light candles or LED lights
- Wire (for hanging)
- Paint or decorative elements (optional)
Instructions
- Prepare the Jars: Clean and remove labels from the jars. You can paint or decorate the jars if desired.
- Add Light Source: Place a tea light candle or LED light inside each jar.
- Attach Hanging Hardware: Use wire to create a handle or hanging loop for the jars. You can also use pre-made jar hangers.
- Hang or Place: Hang the lanterns from trees, hooks, or place them on tables to create a warm and inviting atmosphere.
7. Wooden Garden Totems

Description
Wooden garden totems are eye-catching vertical sculptures made from stackable wooden pieces. They can be painted and decorated to add personality to your garden.
Materials Needed
- Wooden blocks or logs
- Paint
- Sealant
Instructions
- Shape and Paint: Shape the wooden blocks or logs and paint them in vibrant colors or patterns.
- Assemble the Totem: Stack the painted pieces to form a totem pole. Secure the pieces together if needed.
- Seal for Weather Resistance: Apply a sealant to protect your totem from the elements and extend its life.
8. Concrete Garden Sculptures
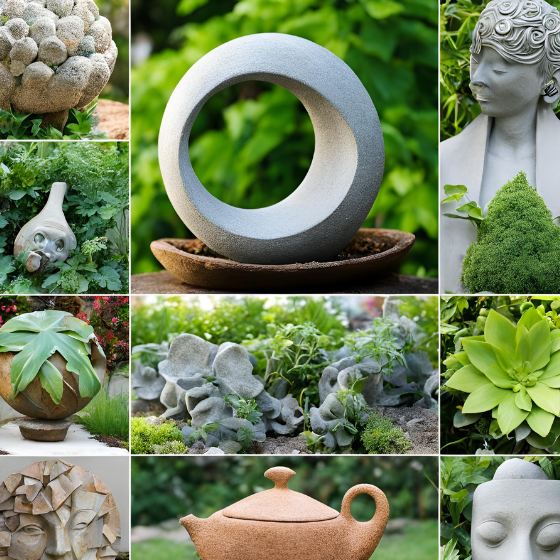
Description
Concrete garden sculptures offer a durable and customizable way to add artistic elements to your garden. With the right molds, you can create almost any shape or form.
Materials Needed
- Concrete mix
- Molds (store-bought or homemade)
- Paint or decorative finishes (optional)
Instructions
- Mix and Pour Concrete: Prepare the concrete mix according to the manufacturer’s instructions and pour it into the molds.
- Remove from Molds: Once the concrete has set and cured, carefully remove it from the molds.
- Finish and Decorate: Paint or add decorative finishes as desired to enhance the appearance of your sculptures.
9. Driftwood Art
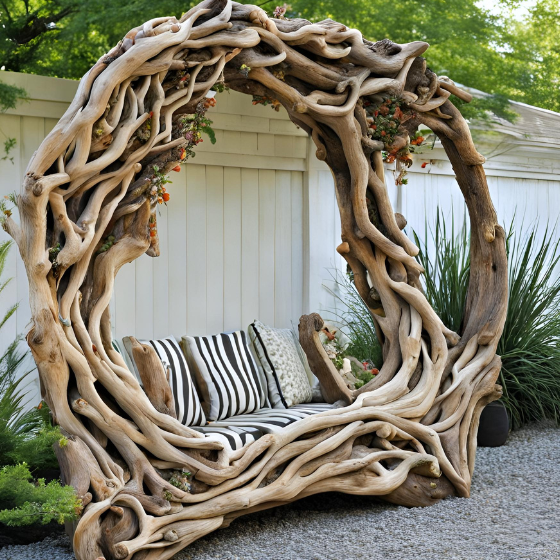
Description
Driftwood art involves using naturally weathered wood to create unique and rustic garden decorations. Each piece of driftwood has its own character and can be used to create stunning visual effects.
Materials Needed
- Driftwood pieces
- Wire or glue for assembly
- Paint or varnish (optional)
Instructions
- Arrange and Attach: Arrange the driftwood pieces into your desired design and use wire or glue to attach them together.
- Finish: Apply paint or varnish if desired to highlight the natural beauty of the wood or to add color.
10. Upcycled Garden Furniture
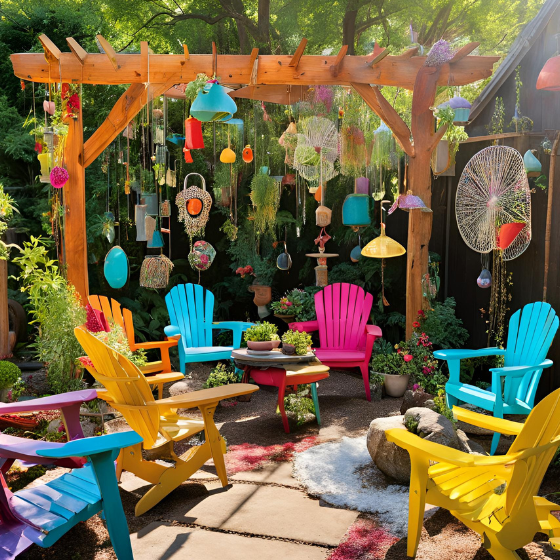
Description
Refurbishing old furniture for outdoor use is an excellent way to add functional art to your garden. With some creativity and elbow grease, you can turn discarded pieces into beautiful garden furniture.
Materials Needed
- Old furniture (e.g., chairs, tables)
- Sandpaper
- Outdoor paint or stain
- Tools for repairs (if needed)
Instructions
- Clean and Repair: Clean the furniture thoroughly and make any necessary repairs.
- Sand and Paint: Sand the surface to remove old paint or varnish, then apply outdoor paint or stain.
- Seal for Protection: Use a sealant to protect the furniture from the elements and ensure its longevity.
11. Hanging Garden Planters
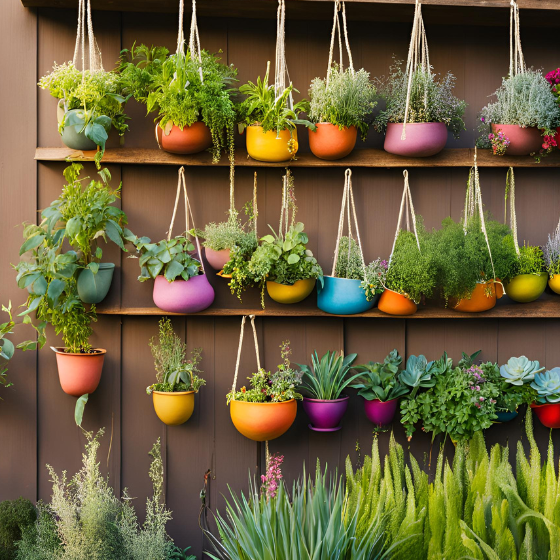
Description
Hanging garden planters are a stylish way to add greenery to vertical spaces, such as fences or trees. These planters can be made from a variety of materials and hung at different heights.
Materials Needed
- Planters (repurposed containers or purchased)
- Hanging hardware or rope
- Soil and plants
Instructions
- Prepare the Planters: Use repurposed containers or purchase new planters. Decorate or paint them if desired.
- Attach Hanging Hardware: Secure the hanging hardware or rope to the planters.
- Plant and Arrange: Fill the planters with soil and plants. Hang them in your desired location.
12. Stone Inlaid Pathways
Description
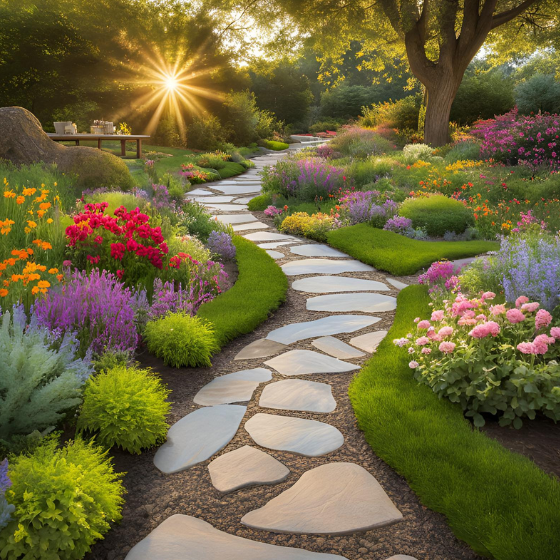
Stone inlaid pathways offer a durable and aesthetically pleasing way to create walkways or garden paths. Using stones or pebbles, you can design intricate and beautiful paths.
Materials Needed
- Stones or pebbles
- Sand or mortar (for setting)
- Landscape fabric (optional)
Instructions
- Plan and Lay Out: Plan the design of your pathway and lay out the stones or pebbles accordingly.
- Set the Stones: Use sand or mortar to set the stones in place. Ensure they are level and stable.
- Finish: Add landscape fabric underneath the stones to prevent weeds, if desired.
13. Fabric Garden Banners
Description
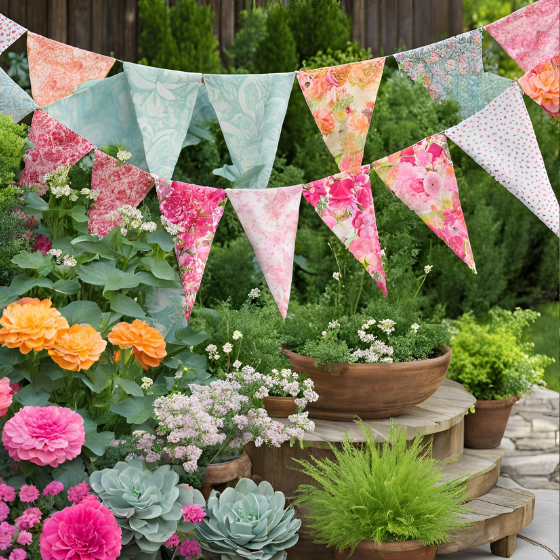
Fabric garden banners add a splash of color and personality to your garden. They can be customized with various designs, messages, or patterns to suit your style.
Materials Needed
- Fabric (weather-resistant)
- Paint or dye
- Sewing supplies or fabric adhesive
- Flags or banner poles
Instructions
- Design and Cut: Design your banners and cut the fabric accordingly.
- Paint or Dye: Apply paint or dye to create your desired patterns or messages.
- Assemble and Hang: Use sewing supplies or fabric adhesive to assemble the banners, and hang them on poles or from hooks.
Conclusion
DIY yard art is a fantastic way to enhance your garden with personalized touches and creative designs. Whether you choose to create mosaic stepping stones, upcycled bottle feeders, or driftwood sculptures, the possibilities are endless. Each project offers an opportunity to express your creativity and make your outdoor space truly unique.
Don’t be afraid to experiment with different materials and techniques, and remember that the joy of DIY projects lies in the process as much as the final result. Share your own DIY yard art creations or any additional ideas you have in the comments. Happy crafting!
Additional Resources
For more detailed tutorials and inspiration, consider exploring the following:
- YouTube tutorials for complex DIY projects
- Recommended suppliers for craft materials
- Tips for maintaining yard art
With these ideas and resources, you’re well on your way to creating a garden that reflects your personal style and brings joy to everyone who sees it.
4o mini

