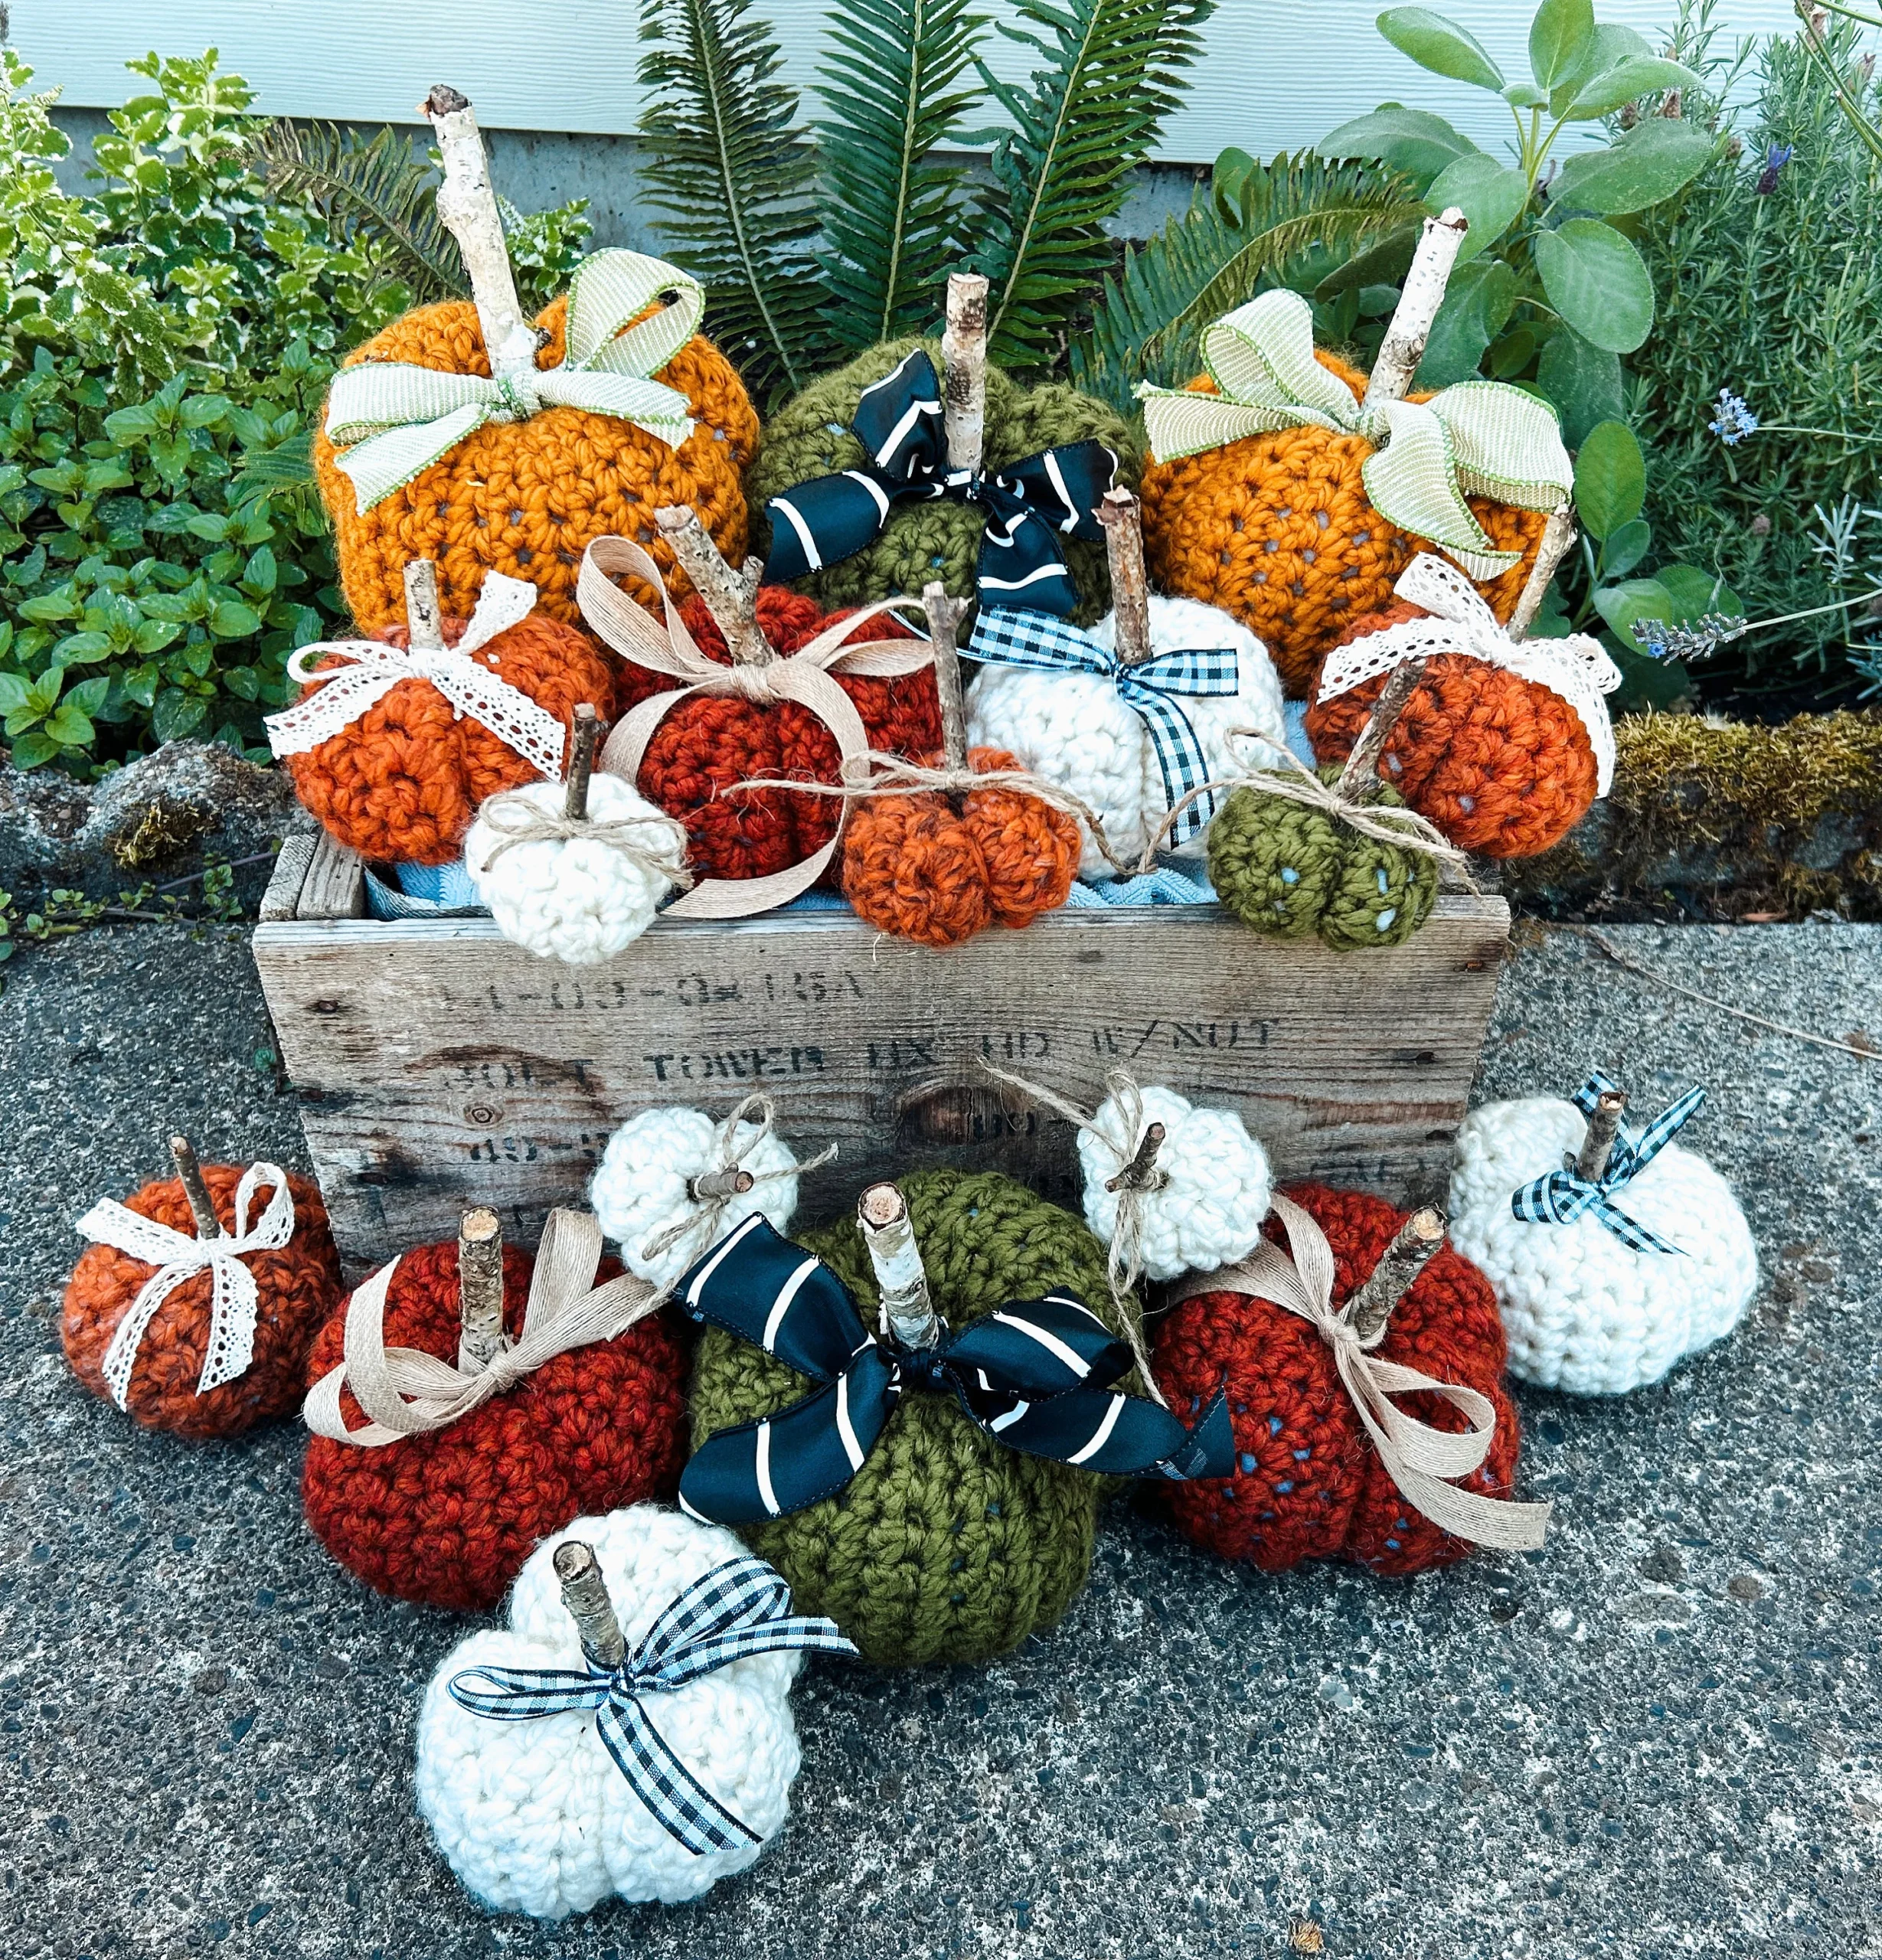
Pumpkin Painting Ideas; As the leaves turn vibrant shades of orange and gold, the season of pumpkin spice and cozy sweaters invites us to embrace all things autumn. One of the most delightful ways to celebrate fall is through pumpkin painting—a creative alternative to the traditional carving that allows for endless artistic expression. In this article, we’ll explore 23 fun and stylish pumpkin painting ideas that cater to every taste and skill level. Grab your brushes and let’s get started!
Basic Techniques for Pumpkin Painting
1. Choosing Your Pumpkin
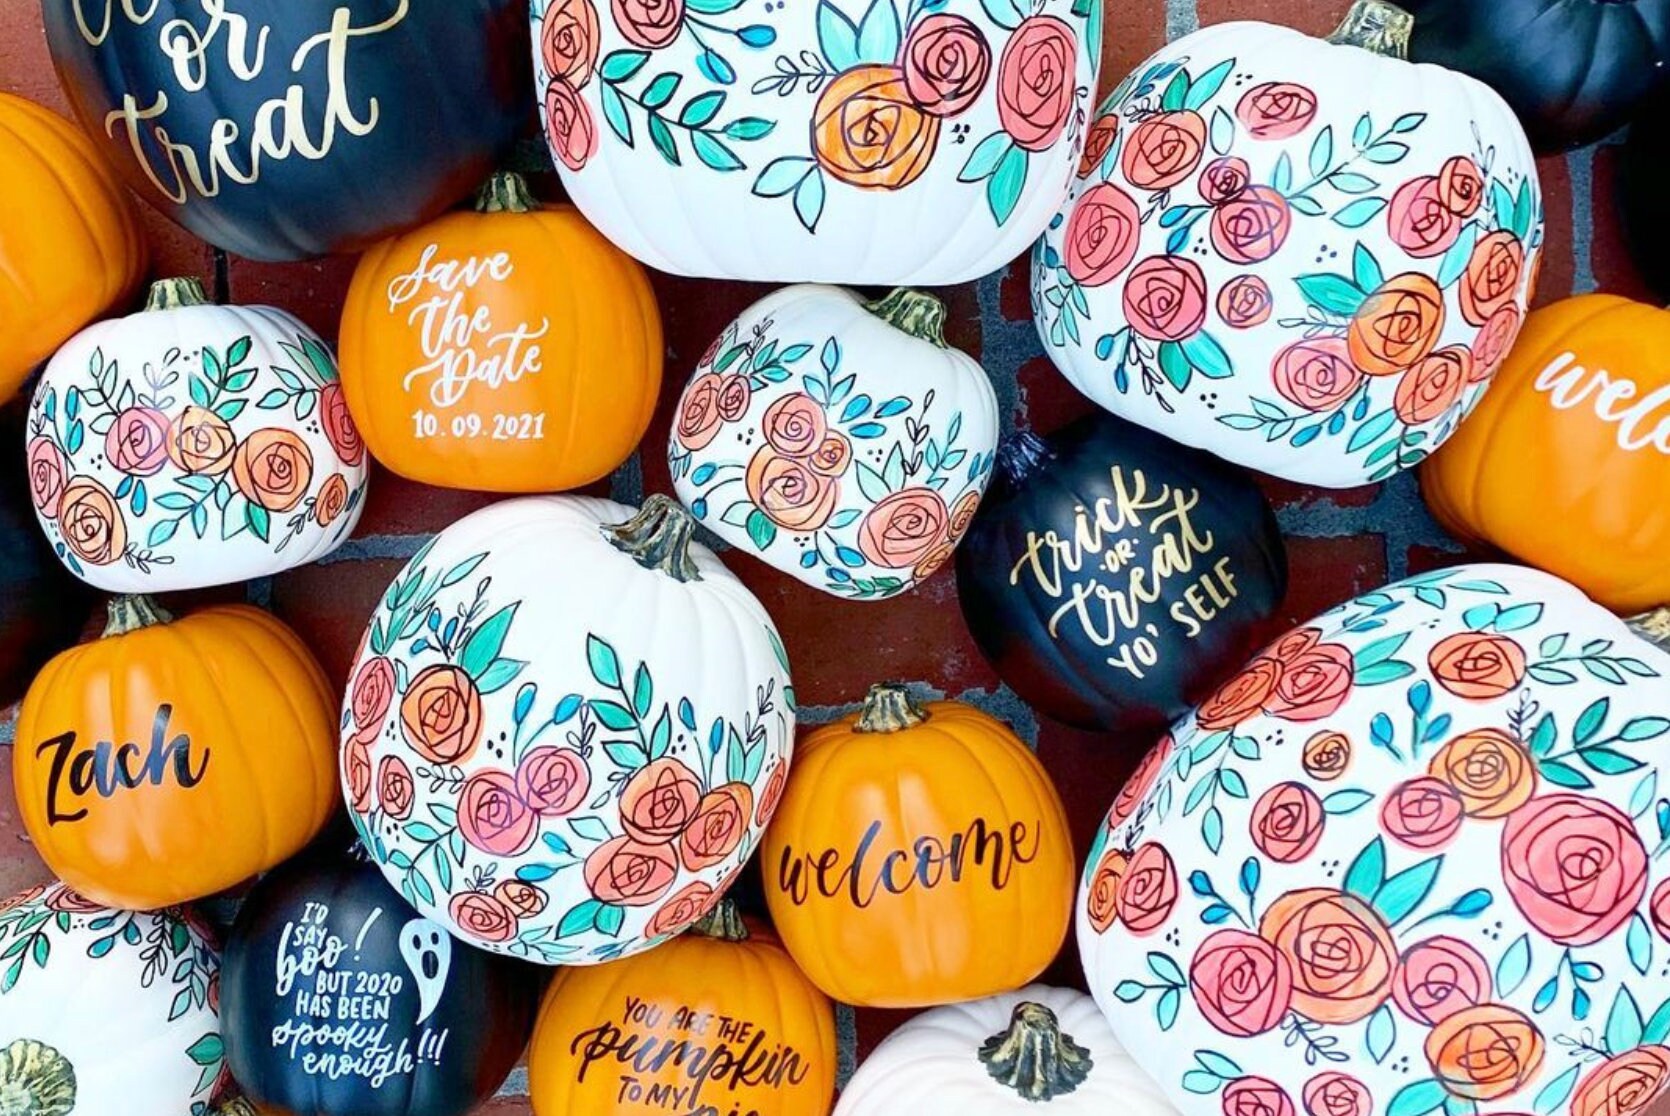
The first step in your pumpkin painting journey is selecting the perfect pumpkin. When choosing, consider the size and shape that will best suit your design. While classic orange pumpkins are always a great choice, don’t overlook white pumpkins, which provide a stunning canvas for colorful designs. Smaller pumpkins are perfect for intricate details, while larger ones can make a bold statement.
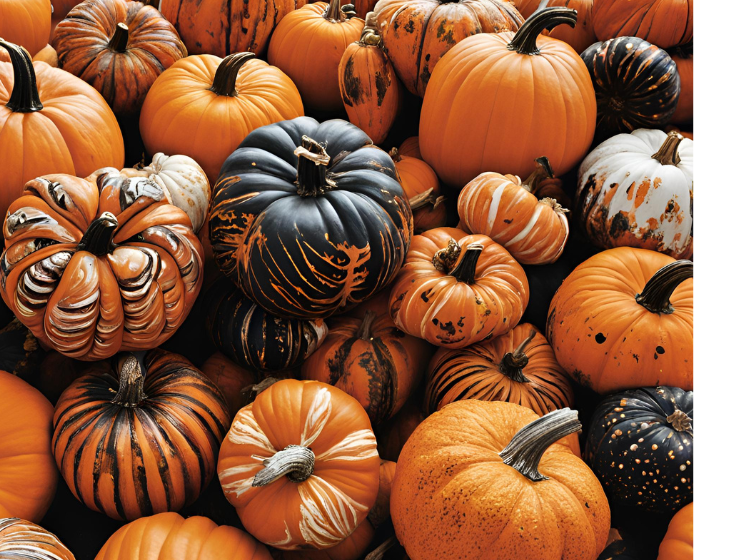
Consider the pumpkin’s skin texture—smooth surfaces are easier to paint, while bumpy ones may add character to certain designs. Look for firm pumpkins without soft spots, as these last longer and support the paint better. Think about how the pumpkin will sit; flatter bases prevent tipping. Specialty pumpkins, like the fairytale or heirloom varieties, offer unique shapes that can enhance your theme. Keep in mind how the pumpkin’s color will affect your paint—lighter pumpkins may need fewer coats.
2. Preparing Your Pumpkin
Before you start painting, it’s essential to prepare your pumpkin properly. Begin by washing it thoroughly with soap and water to remove any dirt or wax. Once clean, dry it completely. If you’re aiming for a smoother surface for painting, consider applying a coat of primer or sealer to help the paint adhere better and to ensure a more polished finish.
Sanding rough spots with fine-grit sandpaper can help smooth the surface for even application. If you’re using light-colored paints, apply a white base coat to make the colors pop. Let the pumpkin dry thoroughly between each step to prevent smudging. You can also use painter’s tape to section off areas if you plan to use multiple colors. A well-prepped pumpkin ensures your design will last longer and look more professional.
3. Essential Supplies
Gathering the right supplies is crucial for a successful painting experience. Here’s a list of essentials:
- Paints: Acrylic paints work best for pumpkin painting due to their vibrant colors and quick drying times. You can also use spray paint for a smooth base coat.
- Brushes: A variety of brushes—flat, round, and fine-tipped—will give you the versatility needed for different designs.
- Palette: A disposable palette or plate for mixing colors.
- Stencils: For those who prefer precise designs, stencils can simplify the process.
- Sealant: A clear acrylic spray can help protect your finished pumpkin.
Add painter’s tape, sponges, and cotton swabs to your supply list for extra precision and texture effects. Metallic paints, glitter glue, and fabric paint markers can add eye-catching details. For mess-free fun with kids, opt for washable paints. Keep paper towels and water nearby for quick cleanups and brush rinsing. Organizing your tools before starting makes the process smoother and more enjoyable.
Fun and Whimsical Designs
4. Polka Dots and Stripes
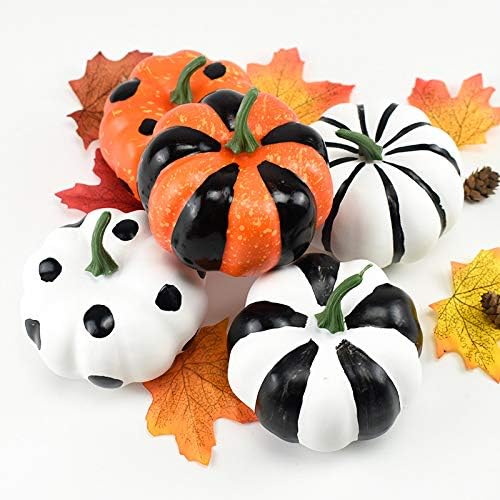
Polka dots and stripes are timeless and playful designs that can brighten any pumpkin. To create a polka dot pumpkin, use a round brush to dab paint onto the surface, varying the size and color of the dots for a fun effect. For stripes, tape off sections with painter’s tape and alternate colors for a clean, modern look.
Vary the direction and size of your stripes for a more dynamic look—horizontal stripes can feel playful, while vertical ones look sleek. Consider using complementary or monochromatic color schemes for a more polished effect. Glitter paint or metallic accents can add a fun twist to the simple patterns. These designs are also easy to replicate on multiple pumpkins for a cohesive display. Use stencils or masking tools to keep edges clean and consistent.
5. Animal Faces
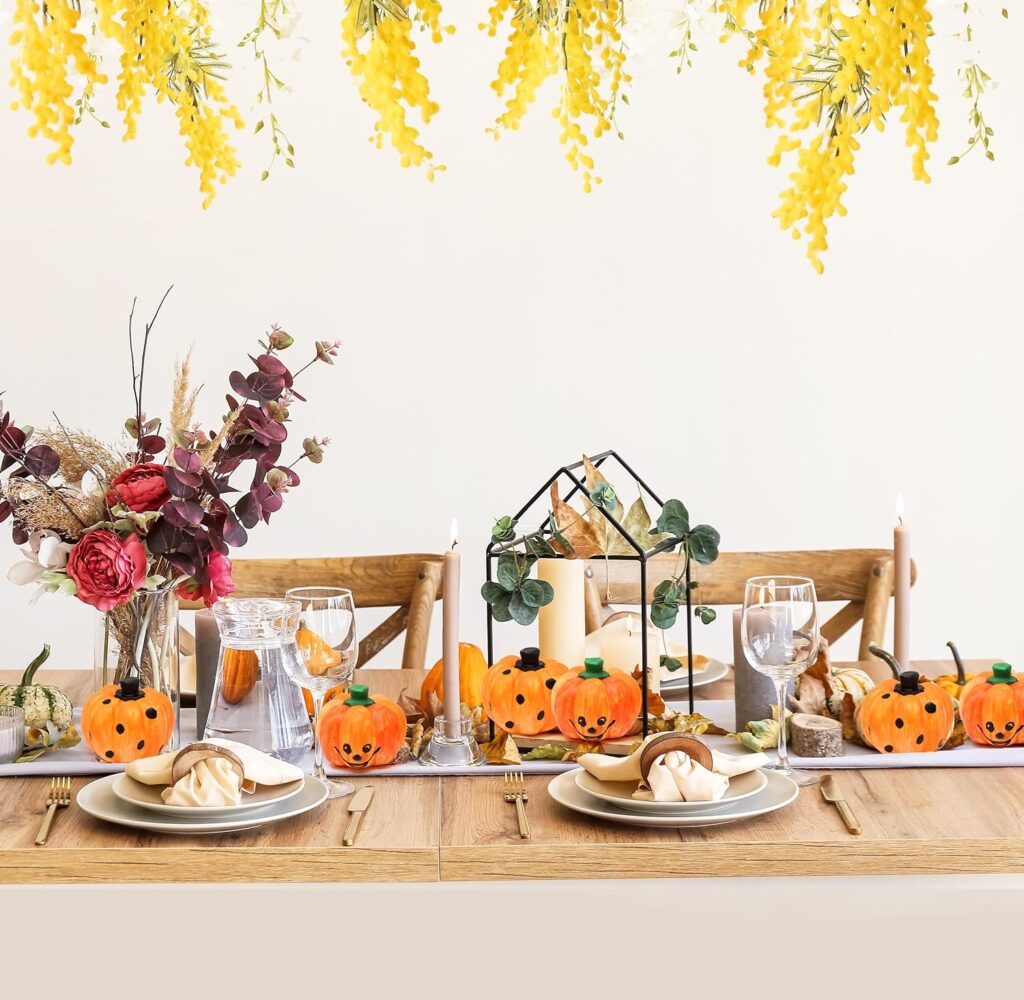
Turn your pumpkins into adorable animal faces! Whether it’s a cute cat, a wise owl, or a playful fox, animal designs can be whimsical and fun. You can sketch your design lightly with a pencil before painting, or use stencils for precision. Adding details like whiskers or feathers with fine-tipped brushes can really bring your animal to life.
Try using felt or googly eyes for added dimension and kid-friendly texture. Add ears or tails with construction paper or craft foam for a 3D effect. Paint on accessories like glasses, scarves, or hats to give each animal its own personality. This idea works especially well for classroom or group projects where everyone creates their own unique creature. Animal pumpkins can also be part of themed displays like a “pumpkin zoo.”
6. Rainbow Pumpkins
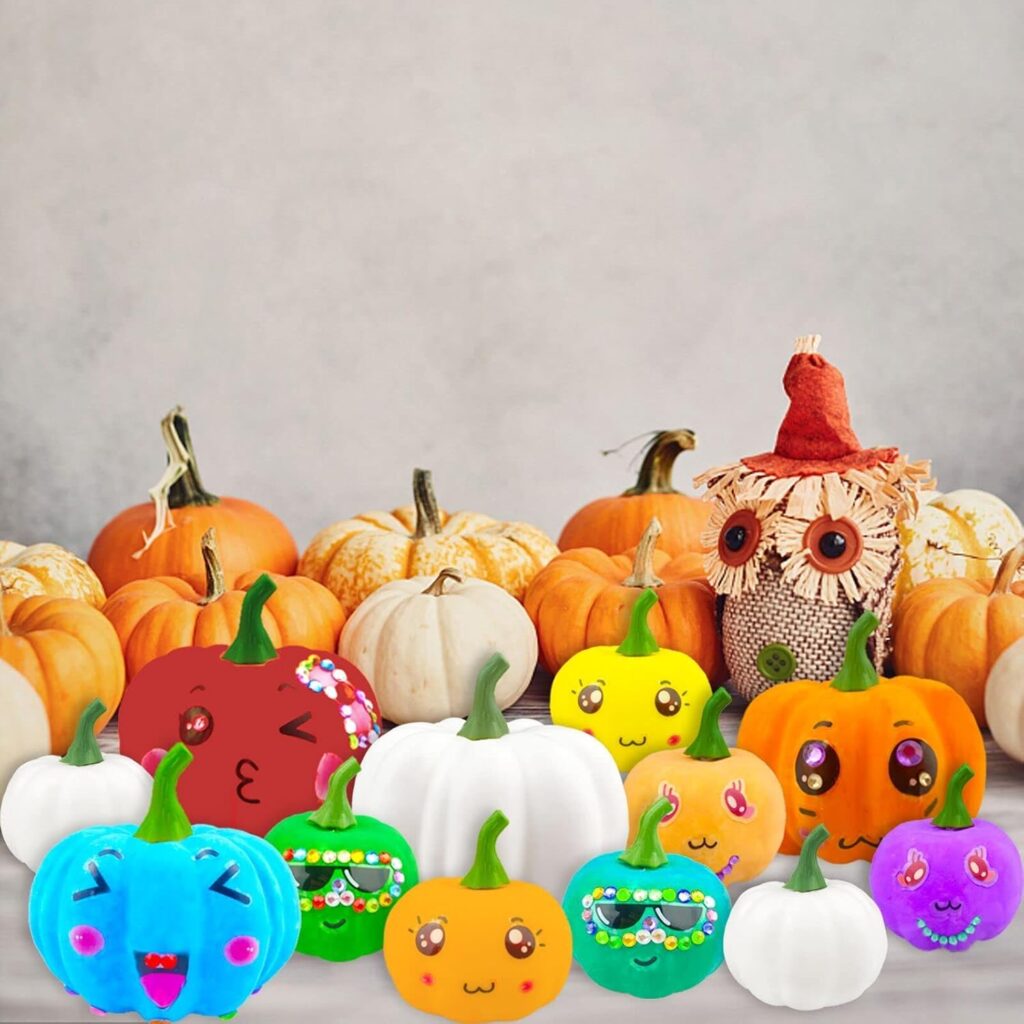
Celebrate fall with a burst of color by painting rainbow pumpkins! To achieve a vibrant rainbow effect, layer colors in arcs or stripes, blending them gently for a smooth transition. This design is perfect for those who love bold colors and a bit of whimsy.
Use painter’s tape or rubber bands as guides if you want crisp lines between the colors. Blend colors using a sponge for a more watercolor-like effect, or go bold with opaque stripes. Add white highlights to mimic light reflections and give the design more depth. Rainbow pumpkins look fantastic as table centerpieces or on porches to brighten gray fall days. You can also make mini versions for party favors or classroom crafts.
7. Galaxy Pumpkins

Take a trip into the cosmos with galaxy pumpkins! Start with a base coat of black or deep blue. Once dry, use a sponge to dab on different shades of purple, pink, and white to create a swirling galaxy effect. Finish with tiny white dots to represent stars for a magical touch.
Add shimmer with metallic paint or fine glitter to mimic stars and cosmic dust. Use a toothbrush dipped in white paint to flick stars across the surface. Try including a crescent moon or constellations for extra celestial flair. Glow-in-the-dark paint is a fun addition that makes your pumpkin pop at night. Pair galaxy pumpkins with star string lights or dark fabrics for an out-of-this-world display.
8. Emoji Pumpkins
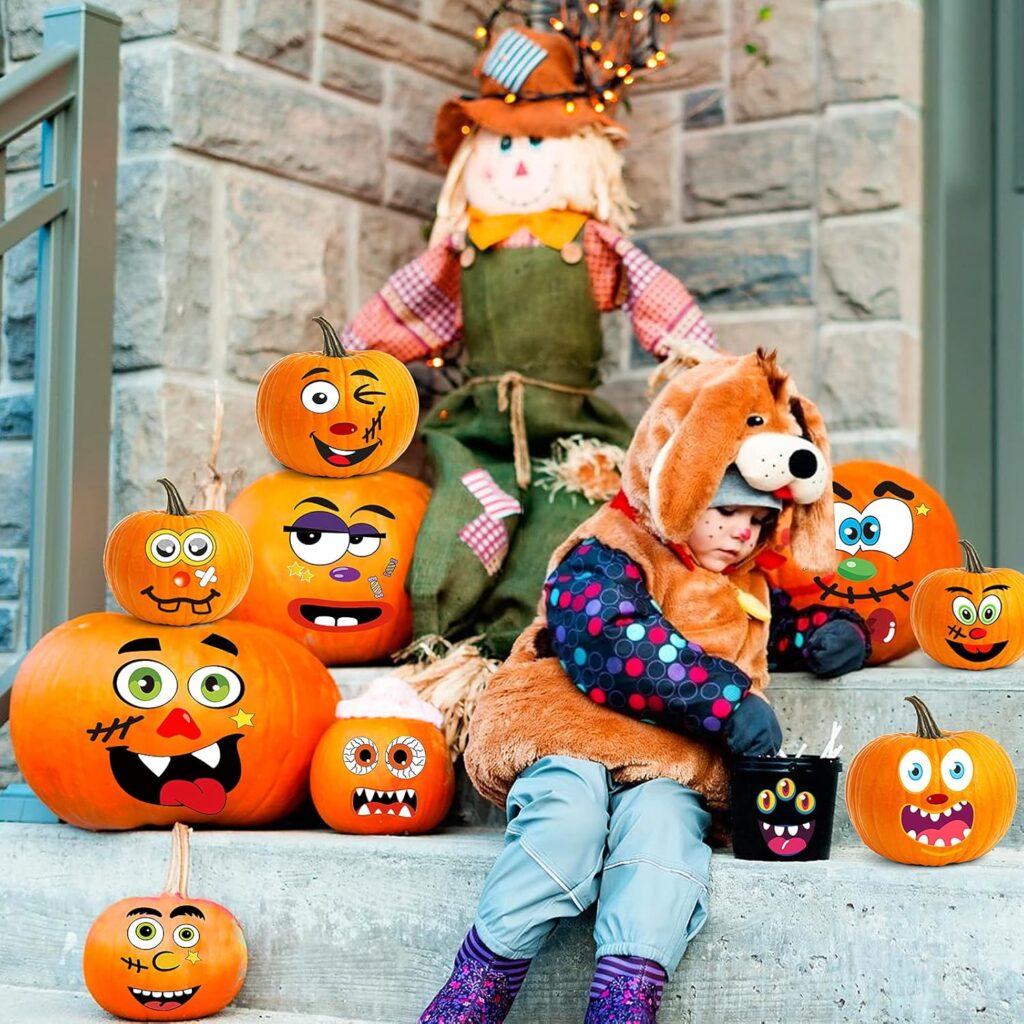
Bring your favorite emojis to life on pumpkins! Choose popular emoji faces like the heart eyes, smiley, or the ghost emoji. Use bright colors and keep the designs simple for an easy and fun project that kids will love too.
For best results, sketch the face lightly with a pencil before painting to ensure symmetry. Use foam sheets to cut out facial features for a raised effect. These pumpkins are great conversation starters and can reflect moods or fun themes. Group several emoji pumpkins together for a colorful, expressive centerpiece. They’re also perfect for school events, emoji-themed parties, or social media photo ops.
Elegant and Stylish Designs
9. Monochrome Elegance
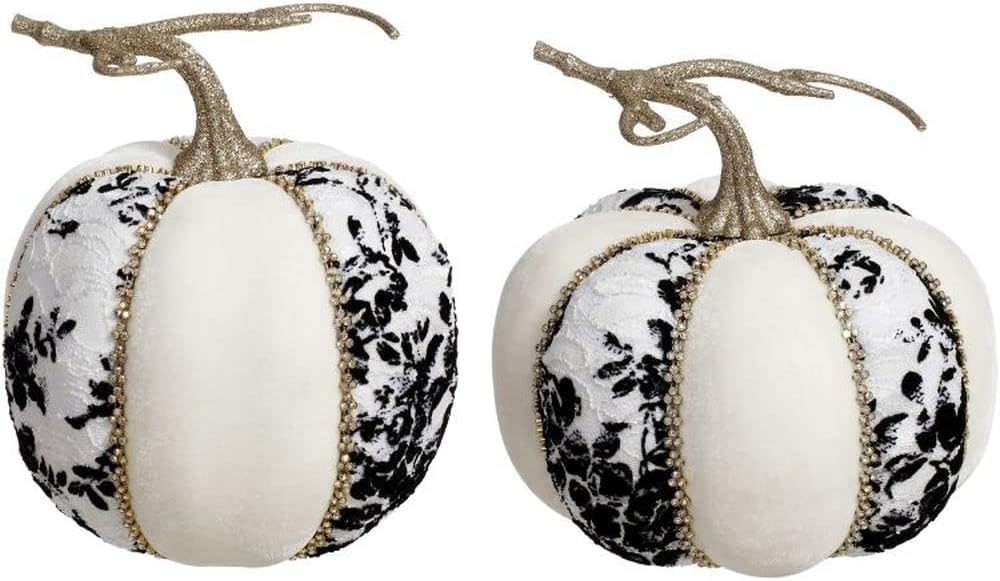
For a more sophisticated look, consider monochrome pumpkins. Using black and white paint, you can create intricate designs such as chevrons, herringbones, or elegant lace patterns. This minimalist approach exudes chic sophistication and can complement any fall décor.
Layer shades of a single color to create depth and shadow in your design. Add subtle embellishments like lace appliqués or rhinestones for texture. A matte finish gives a modern look, while glossy paint adds drama. Monochrome pumpkins pair beautifully with metallic accents in gold or silver. Use them in minimalist or black-and-white fall displays for upscale seasonal décor.
10. Floral Patterns
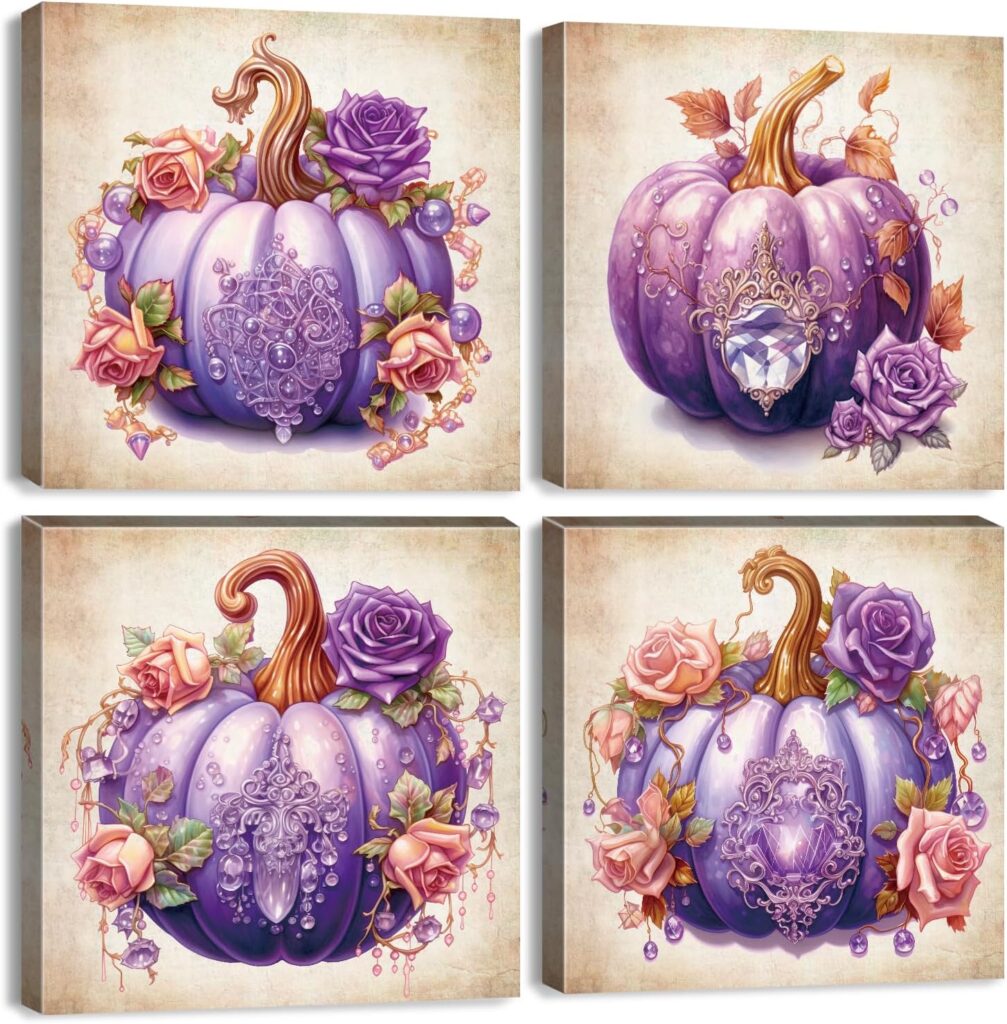
Floral designs can add a touch of elegance to your pumpkins. Choose a color palette that reflects the season, such as deep reds, golds, and whites. Use a fine brush to paint delicate flowers, or opt for a bold floral pattern for a statement piece.
Sketch floral outlines first to plan your layout and spacing. Add leaves, vines, or even small berries to complete the botanical theme. Consider using pastel colors for a soft romantic look, or jewel tones for autumn richness. Accent your flowers with touches of metallic paint for added depth. These pumpkins are ideal for weddings, baby showers, or fall garden parties.
11. Marble Effect
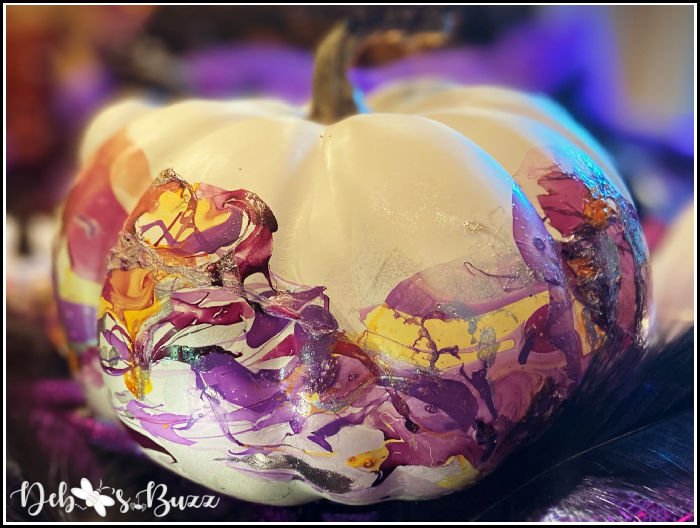
Achieving a marble effect on your pumpkin can create a stunning and stylish look. Start by painting the pumpkin with a base color, then mix two or more colors on your palette. Use a brush to swirl the colors together, mimicking a marble pattern. This technique results in a chic and sophisticated finish.
Experiment with color combos like white and gray for a classic marble, or rose gold and blush for a trendy twist. Use a plastic wrap or feathering brush technique to create the swirling effect. Apply several layers to build richness and dimension. Finish with a glossy sealant to enhance the stone-like shine. Marble pumpkins make stunning additions to modern or glam-themed fall décor.
12. Gold Leaf Accents
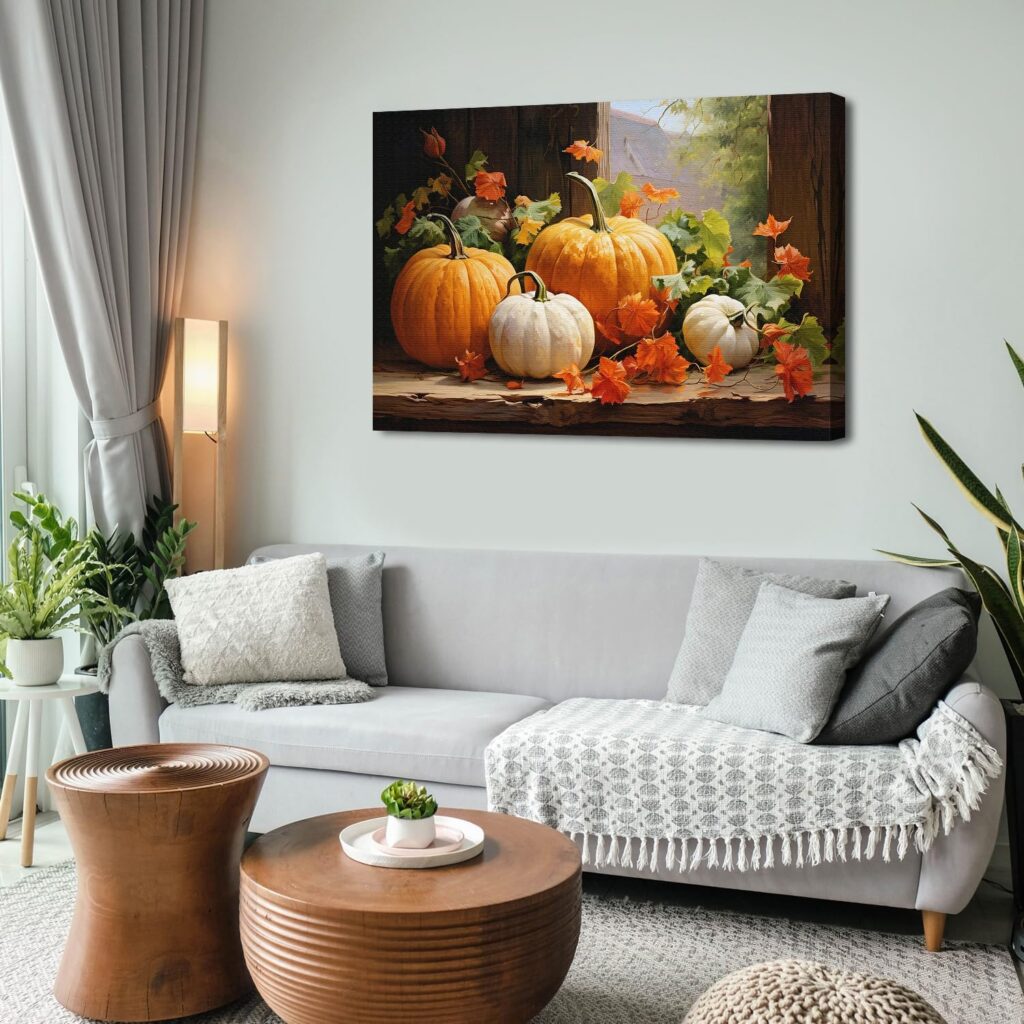
For a truly luxurious touch, consider adding gold leaf to your painted pumpkins. After painting your pumpkin, apply adhesive in the desired areas and carefully place gold leaf sheets on top. This adds a glamorous and shiny finish that will catch the light beautifully.
Use a soft brush to smooth gold leaf into fine cracks and crevices for an antiqued look. Pair gold accents with white, navy, or black paint for maximum contrast. You can also use gold paint pens for finer lines or lettering. Gold leaf adds a luxe vibe that works well in elegant tablescapes or upscale autumn displays. Just handle with care—it’s delicate and can tear easily during application.
13. Chalkboard Paint Pumpkins

Chalkboard paint provides a versatile and interactive option for pumpkin decorating. Paint the entire pumpkin with chalkboard paint, then use chalk or chalk markers to write fall quotes or draw seasonal designs. This allows you to change the design throughout the season!
These pumpkins are perfect for labeling dishes at a fall feast or writing welcoming messages. Let kids draw their own designs and erase them to start over, making it a fun, reusable craft. Pair them with colored chalk for a playful twist. You can also draw on faux stitching, spiderwebs, or countdown numbers to Halloween or Thanksgiving. Display them in entryways or kitchens where you can update messages easily.
Creative Themes
14. Seasonal Themes
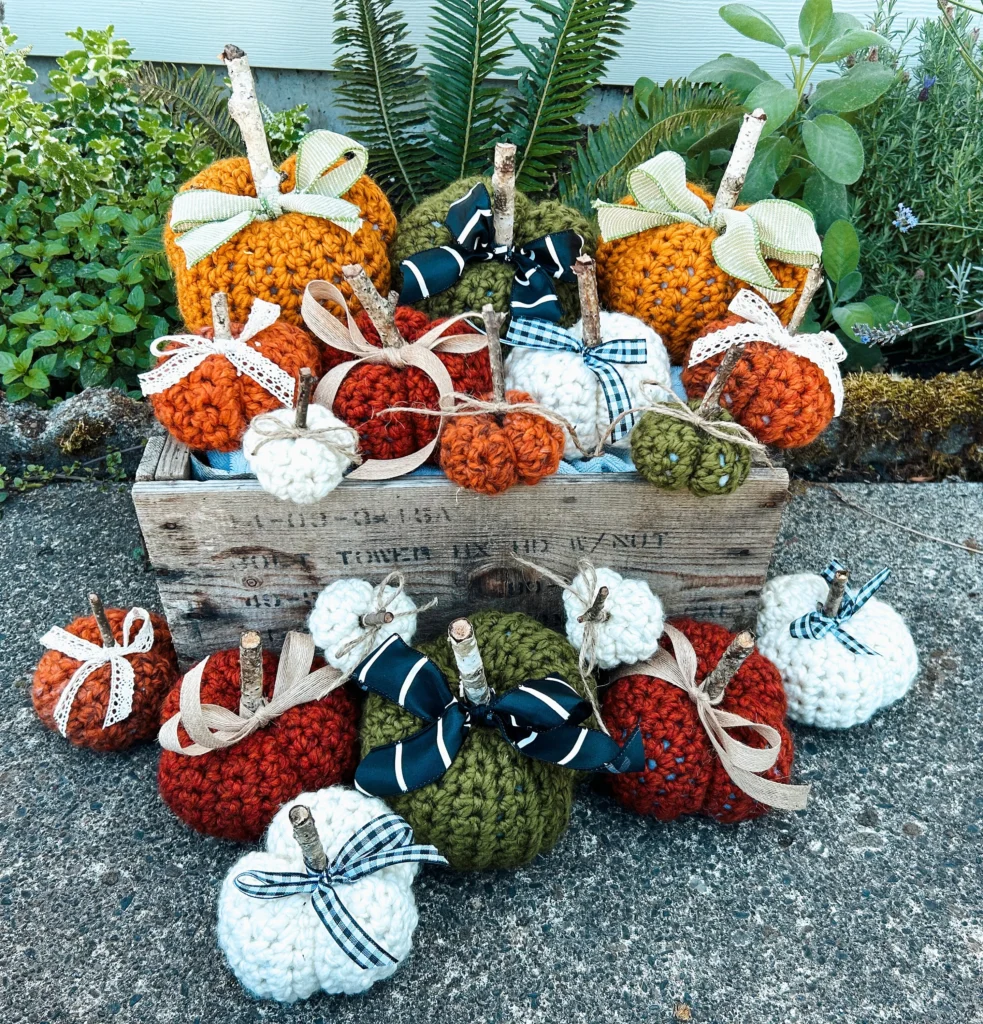
Incorporate seasonal themes into your pumpkin designs. For Halloween, consider spooky motifs like ghosts and bats, while for Thanksgiving, opt for autumn leaves or turkeys. This not only enhances the festive spirit but also provides inspiration for various color palettes and designs.
Use stamps, cutouts, or stickers to plan your layout before painting. Try layering silhouettes or shadow effects for more depth. Coordinate your seasonal pumpkins with matching table linens or wreaths for a cohesive look. These pumpkins double as holiday decorations and creative crafts. Don’t forget to use metallic or glitter paint to give your fall motifs extra sparkle.
15. Personalized Family Pumpkins
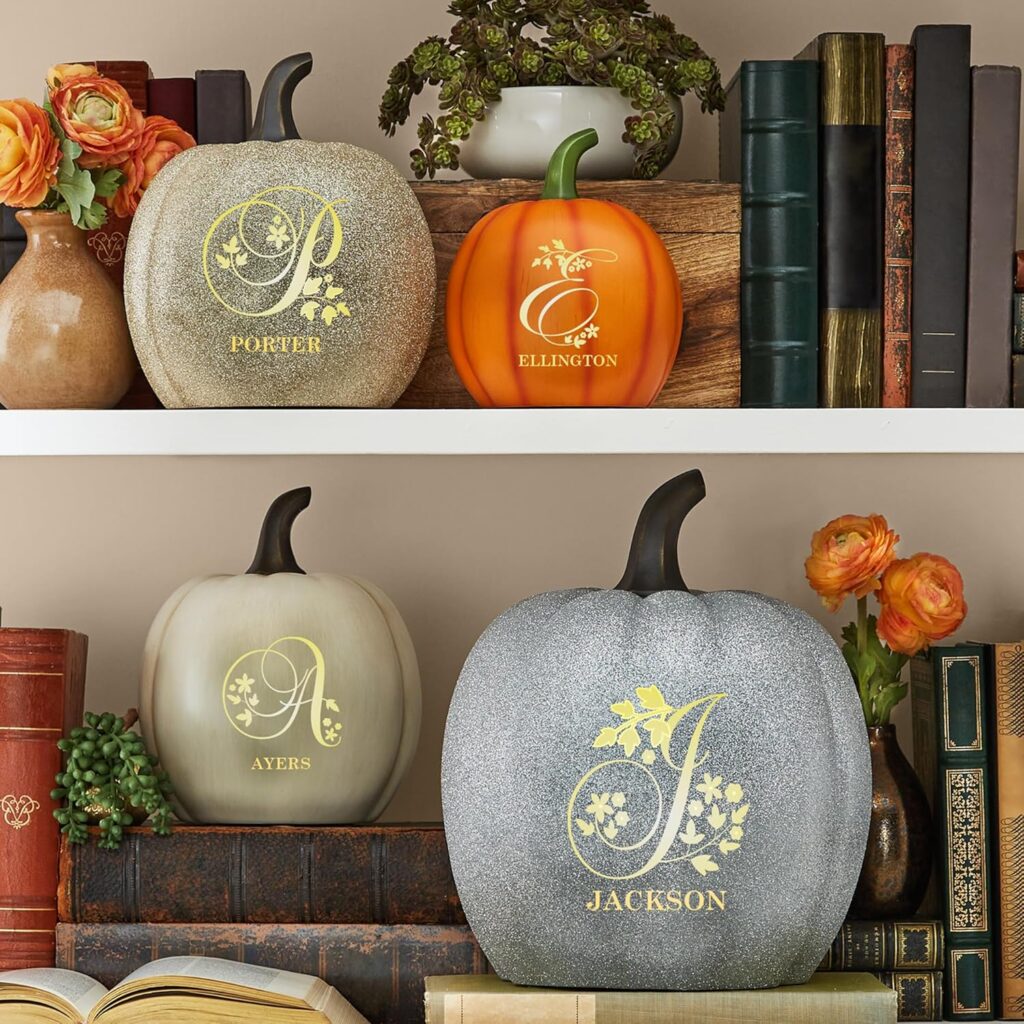
Create a unique set of pumpkins representing each family member! Paint pumpkins that reflect personal interests, hobbies, or favorite colors. This can be a fun family project that allows everyone to showcase their individuality while contributing to a cohesive display.
Include names or initials to personalize each pumpkin further. Add unique accessories like painted hats, hobbies (sports, music notes, etc.), or favorite animals. You can even let each family member paint their own. Display them together on your front porch for a welcoming, heartwarming statement. These pumpkins also make for great annual photo props!
16. Travel-Inspired Pumpkins

Channel your wanderlust by painting pumpkins inspired by different cultures or places. Use symbols, landmarks, or colors that represent various destinations. For example, you could paint a pumpkin inspired by Paris with the Eiffel Tower and French colors.
Paint global flags or passport stamps for a world-traveler aesthetic. Add little maps or famous quotes in the native language of your chosen destination. Use travel brochures for design inspiration and color palettes. Display them with postcards or souvenirs for a fun fall travel vignette. Great for globetrotters or those dreaming of their next adventure.
17. DIY Stenciling Techniques
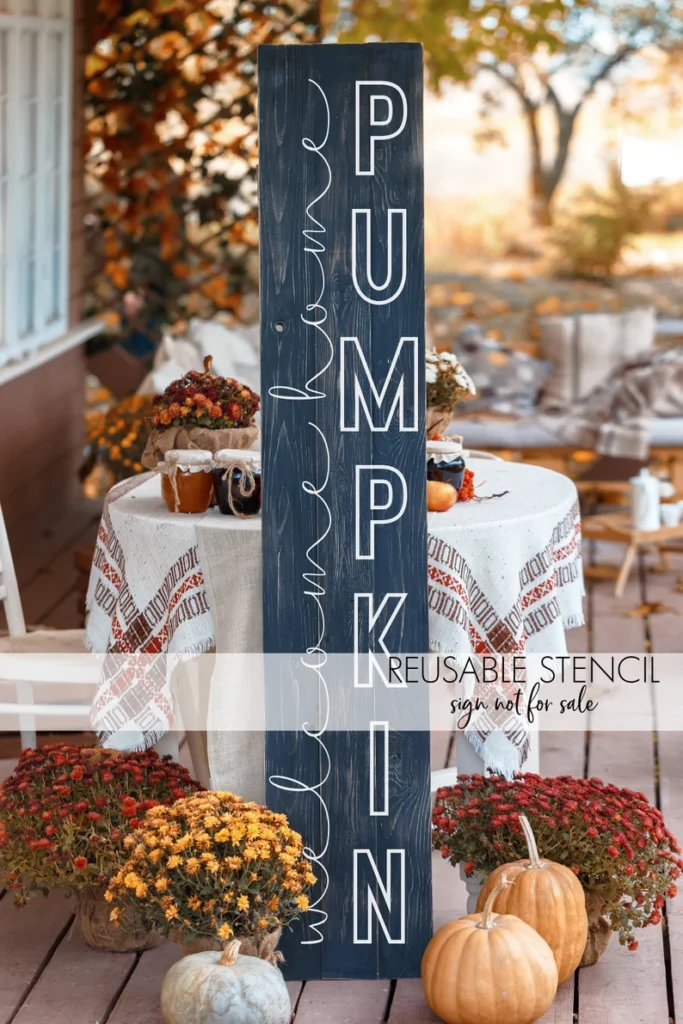
Stenciling can help achieve intricate designs without the stress of freehand painting. You can purchase stencils or create your own using cardstock. Secure the stencil on the pumpkin and dab paint over it with a sponge or brush for crisp, clean designs.
Spray adhesive helps stencils stay in place and reduce bleeding. Try layering multiple stencils for complex designs or borders. You can even create your own custom stencils with vinyl cutters. Stenciled pumpkins are ideal for precision lettering or repeating patterns like damask or houndstooth. Practice on paper first if you’re trying a new technique.
Tips for Displaying Your Painted Pumpkins
18. Arranging Your Pumpkins
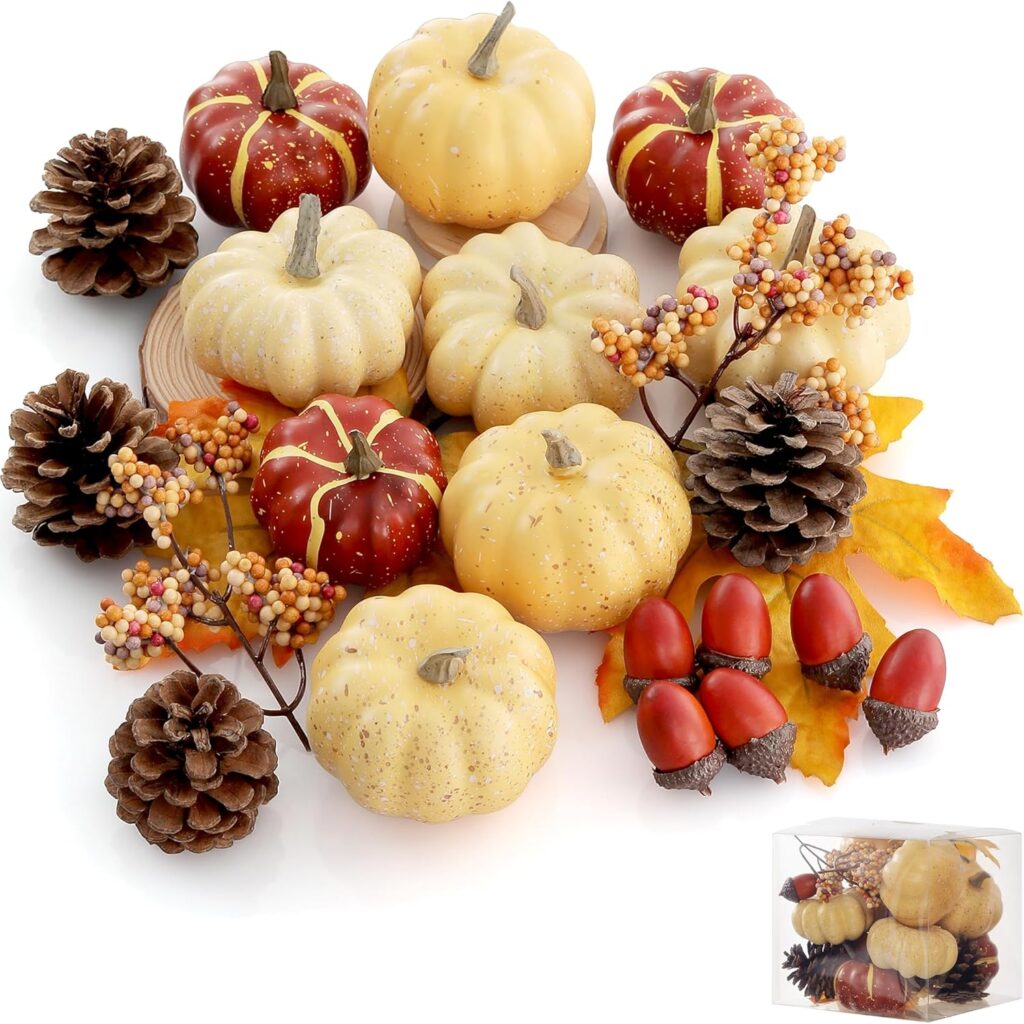
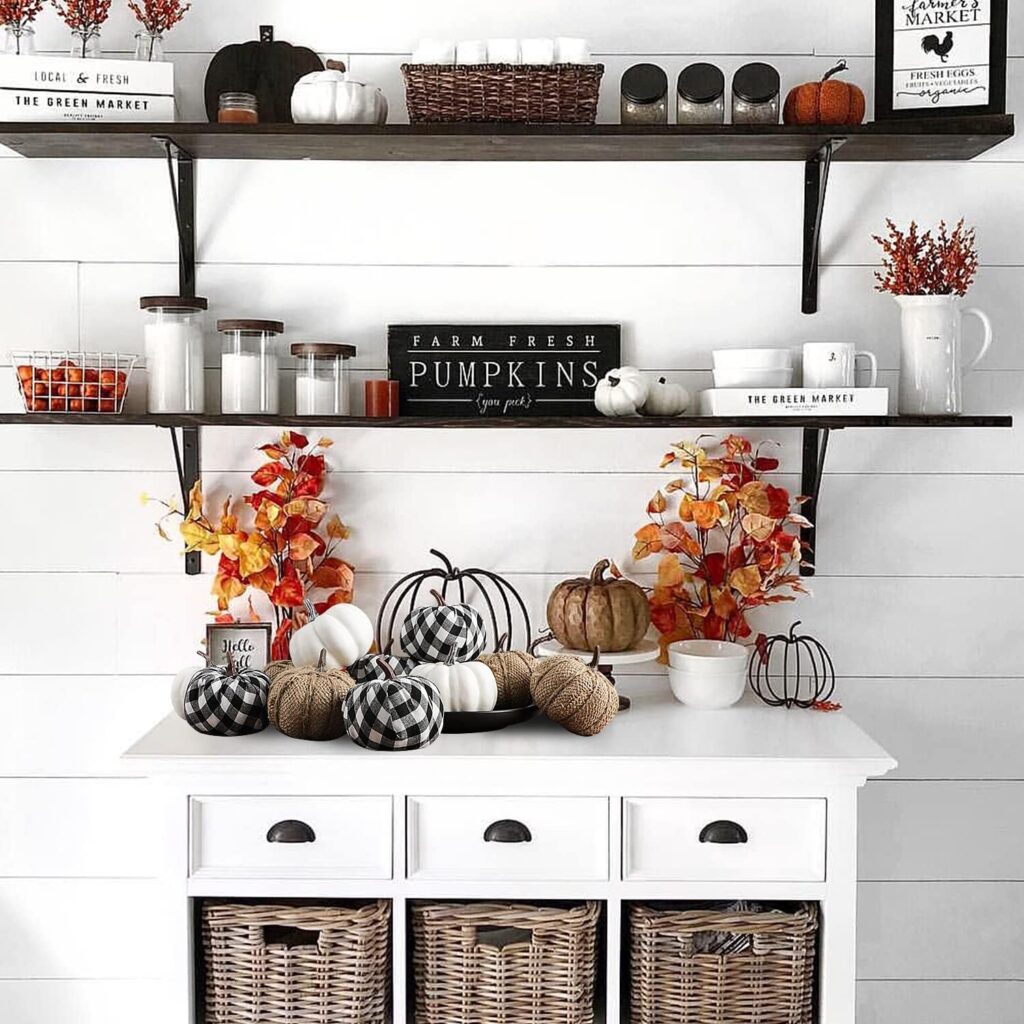
Once your pumpkins are painted and dried, it’s time to display them! Arrange them in groups of varying sizes and colors to create visual interest. Consider using risers or stands to elevate some pumpkins for a layered effect.
Use varying textures, like mixing painted pumpkins with natural gourds or hay bales. Grouping in odd numbers often creates a more visually appealing arrangement. Try placing them on cake stands, trays, or baskets to add interest. Add leaves, pinecones, or fairy lights for extra seasonal charm. Arrange them near doorways, fireplaces, or stairways to draw attention.
19. Lighting Options
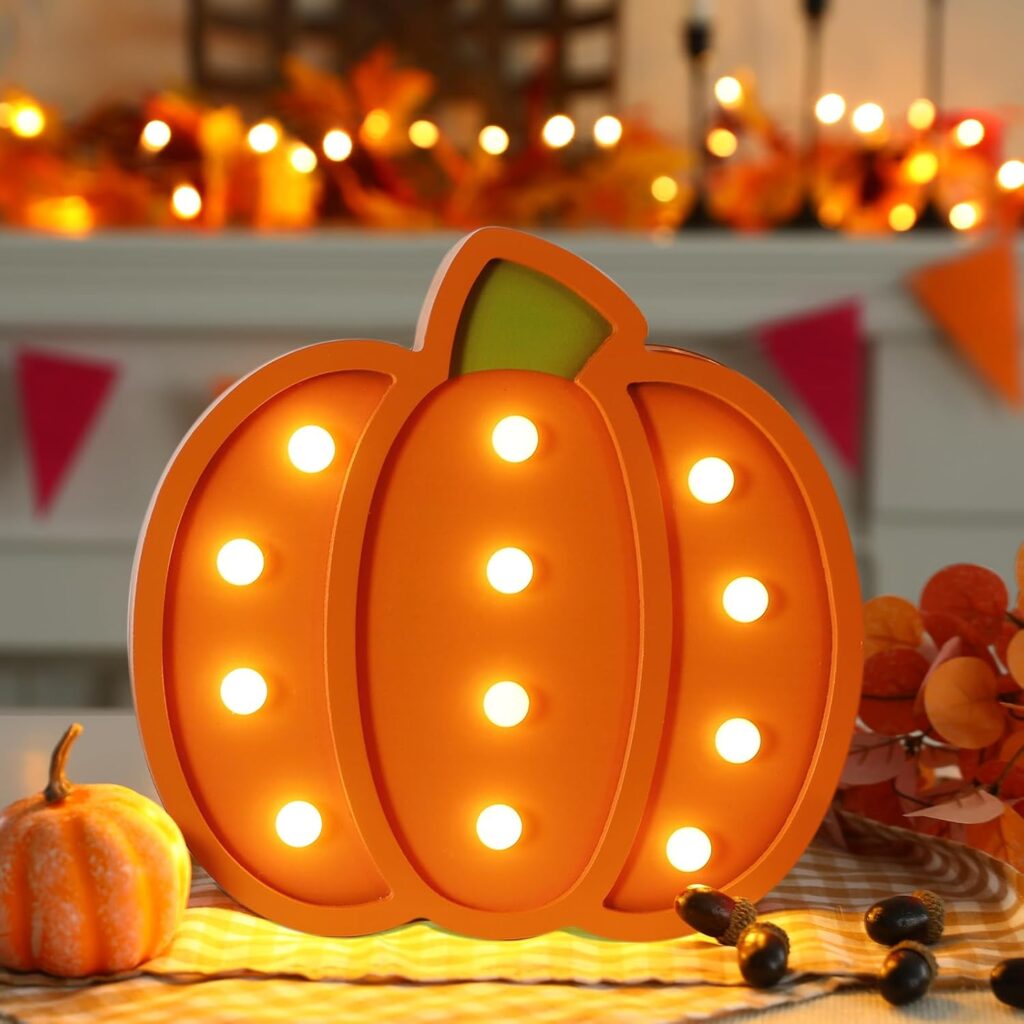
Lighting can dramatically enhance the beauty of your painted pumpkins. Use fairy lights inside clear pumpkins or place LED candles within to create a warm glow. For outdoor displays, consider lanterns or string lights to illuminate your pumpkin creations.
Wrap battery-operated fairy lights around the base or inside hollow pumpkins for a soft, twinkling glow. Use flickering LED candles to mimic real candlelight without the fire hazard. For added drama, backlight your pumpkins against a wall to cast interesting shadows. You can even drill small holes into pumpkins to create lantern-style designs. Combining painted surfaces with lighting creates a magical, dynamic display.
20. Outdoor vs. Indoor Displays
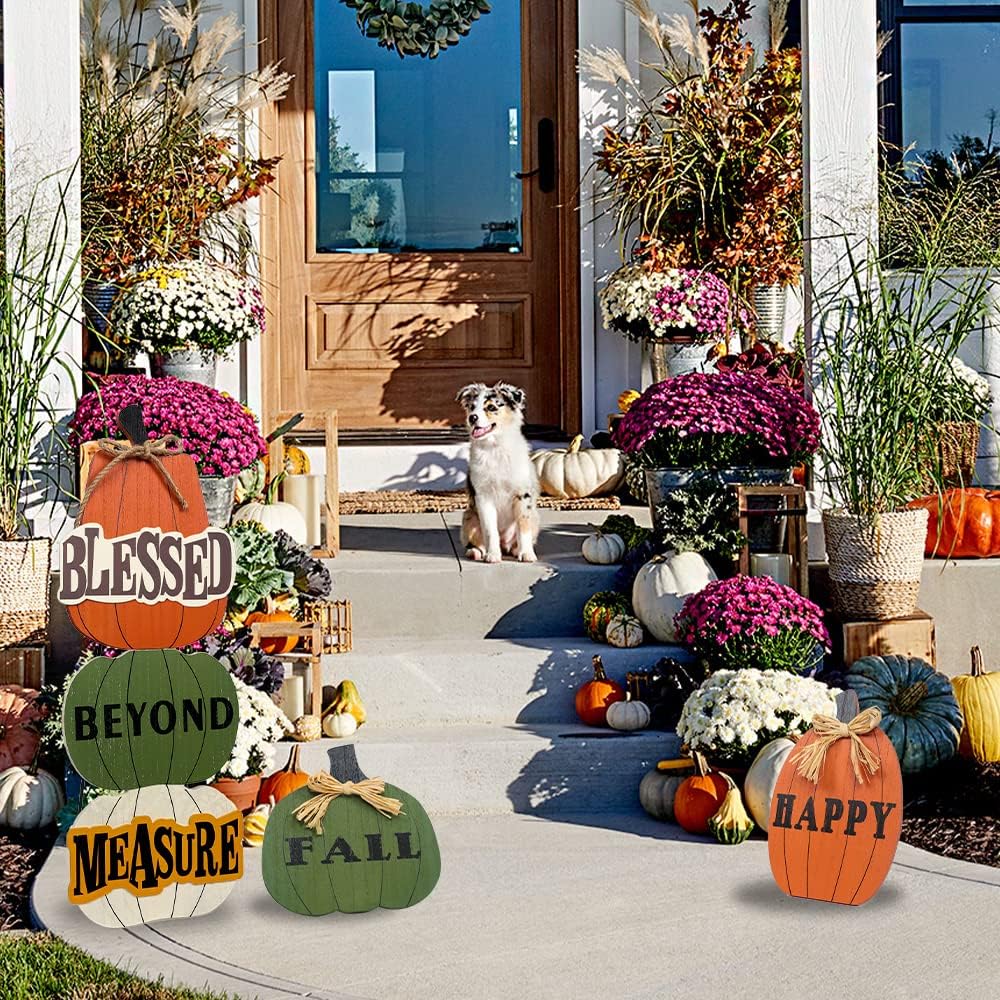
If displaying pumpkins outdoors, be mindful of the elements. Use a protective sealant to prevent paint from fading due to rain or sunlight. For indoor displays, consider placing your pumpkins on shelves, mantels, or dining tables to bring seasonal charm inside.
Rotate outdoor pumpkins every few days to help them weather evenly. Keep them elevated off damp surfaces using crates or mats. Indoors, place them in high-traffic areas like kitchen islands, side tables, or windowsills. Pair indoor pumpkins with fall-scented candles or dried floral arrangements. Keep the display cohesive by sticking to a set color palette or theme.
Conclusion
With these 23 fun and stylish pumpkin painting ideas, you’re ready to embrace the spirit of fall and express your creativity. Whether you opt for whimsical designs or elegant styles, pumpkin painting offers a wonderful opportunity to engage with the season. So gather your supplies, unleash your imagination, and let your pumpkins shine!
Encourage your friends and family to join in on the fun, and don’t forget to share your beautiful creations. We’d love to see what you come up with, so feel free to share your favorite pumpkin painting ideas or photos in the comments or on social media. Happy painting!

